What Is Luminosity Masking in Photoshop?
David JohnstonDescription
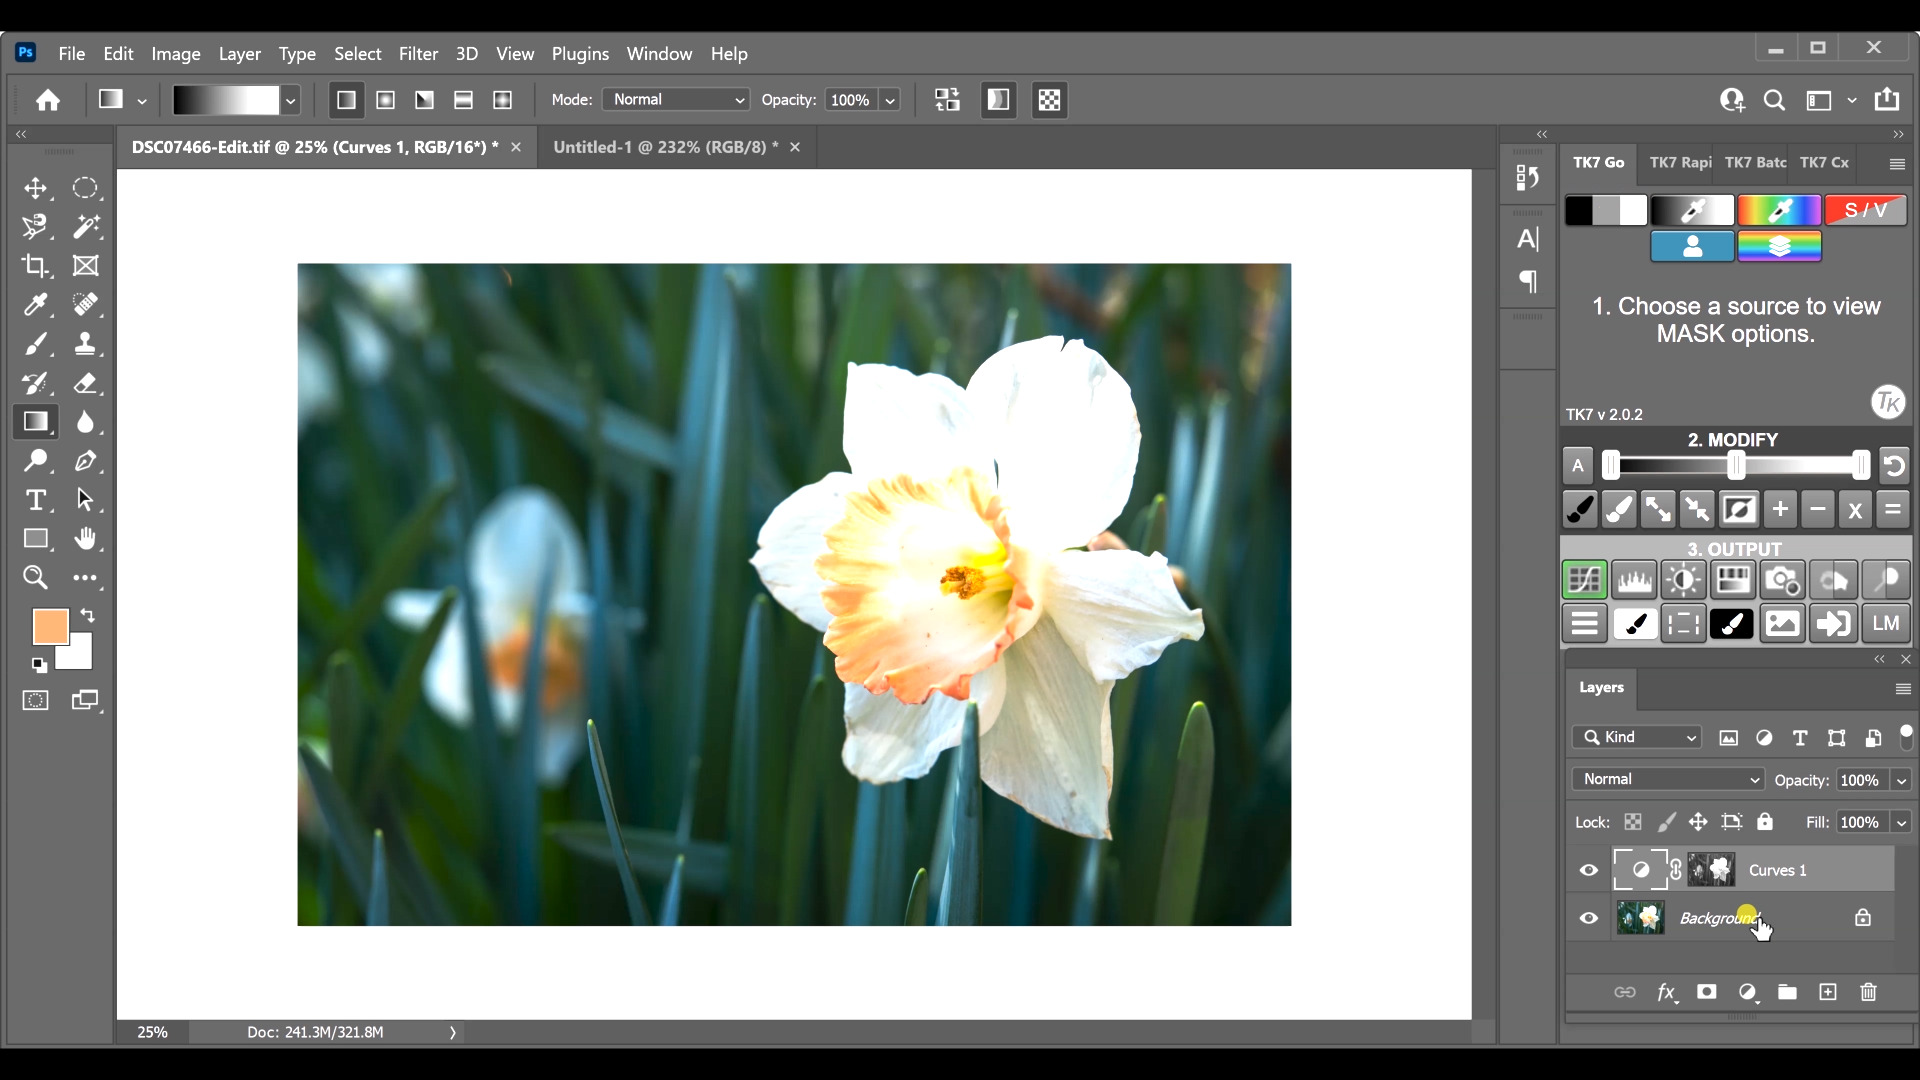
Luminosity masking in Photoshop is one of the latest editing techniques to enhance your images. In this video lesson, Outdoor Photography Guide’s pro photographer David Johnston takes you into his own editing studio and applies a luminosity mask on a flower image with various tones.
Having completed the initial Lightroom edit, he transfers the flower image to Photoshop. The whites of the petals seem slightly overexposed, and he turns to luminosity masking in Photoshop to bring up more detail. He has imported a TK 3rd party panel series, and he selects a specific grayscale mask. For this luminosity masking in Photoshop exercise, he is working with a tone curve that affects only the top half on the grayscale. The result is a darkening of the white flower petals while the background grass colors and luminosity remain the same.
To edit the bottom half of luminosity masking in Photoshop, David inverts his flower image and pulls the tone curve down to darken the background grass colors while not touching the white flowers. The final effect shows that he has darkened the shadows and heightened the highlights. For your final analysis, you’ve gone through two editing steps, first, enhancing your image in Lightroom, and then tweaking that image through luminosity masking in Photoshop.
In this video lesson, Outdoor Photography Guide’s pro photographer David Johnston demonstrates how to add contrast and beauty to your already beautiful photograph.
