Weaving In Ends
Mary Beth Temple
Description
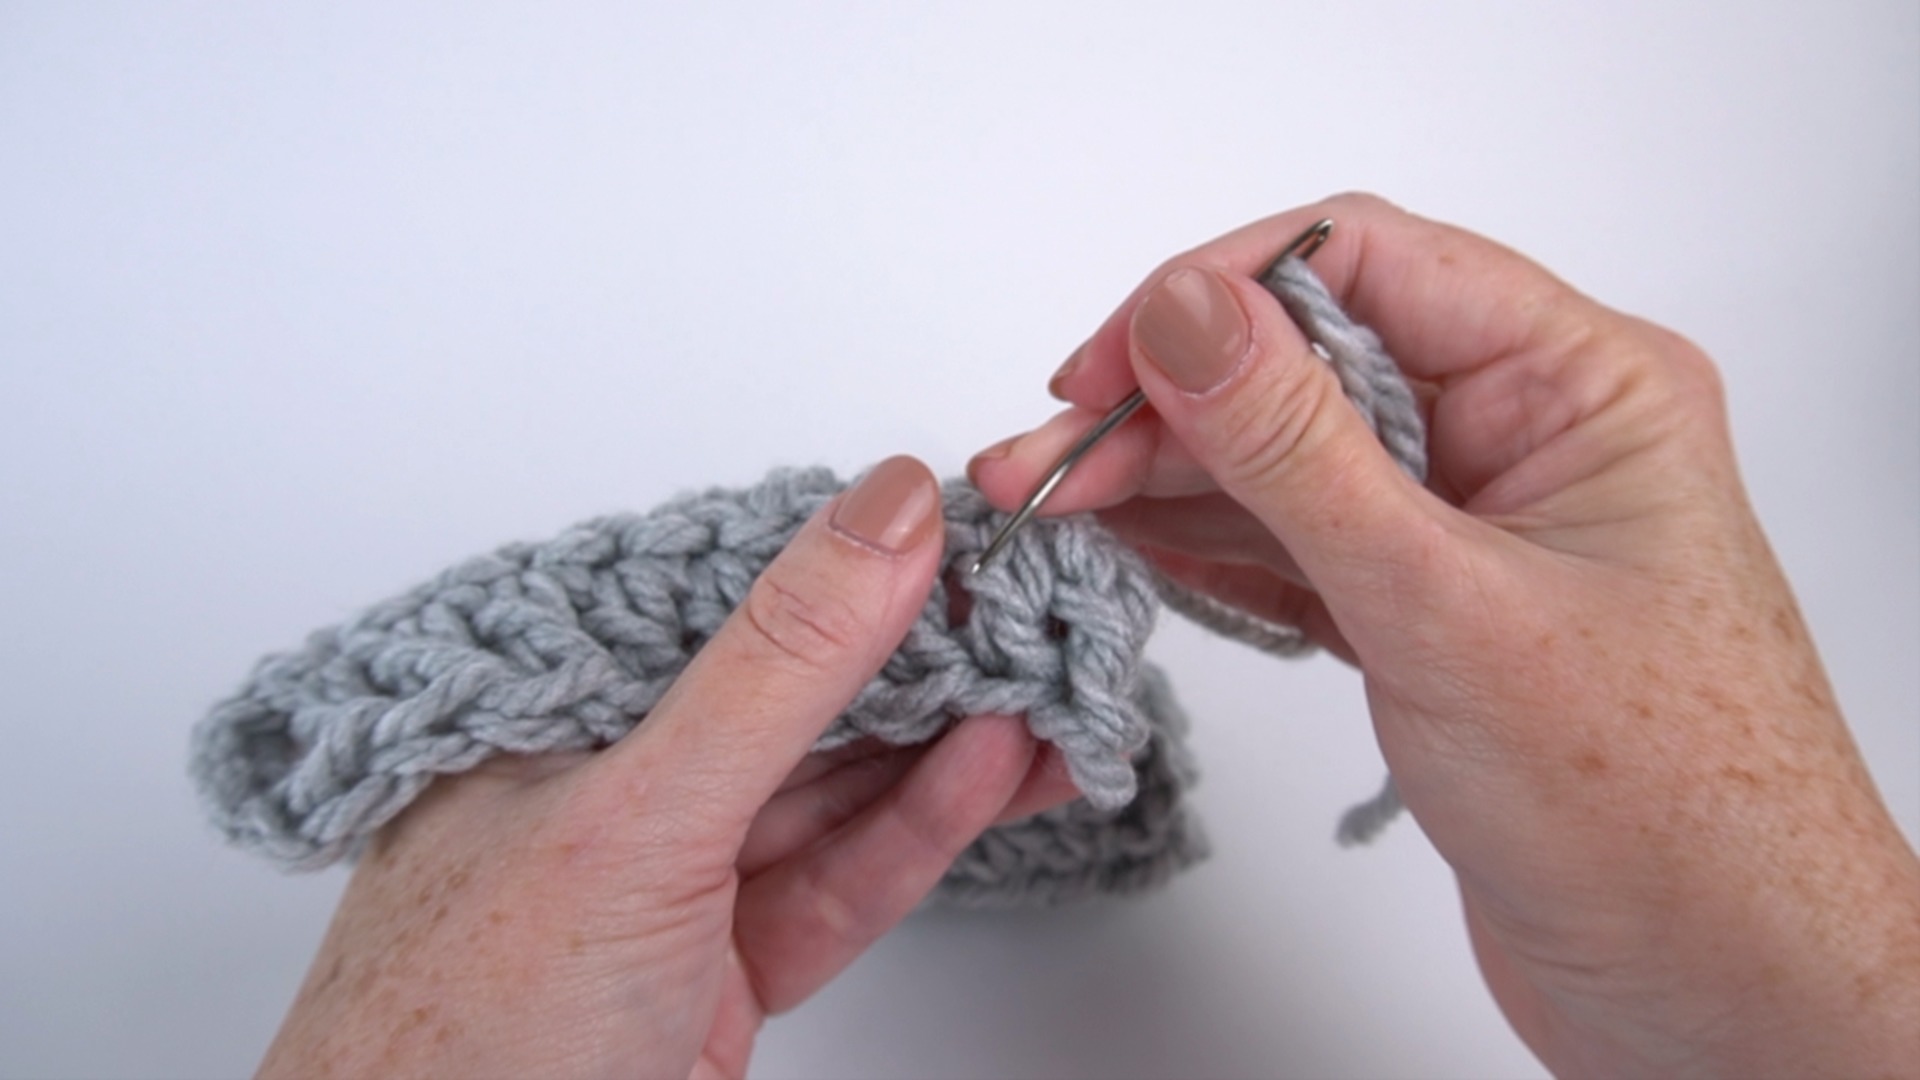
Once a project is complete and the yarn tail has been fastened off, it’s time to weave in the ends. In this video, crochet expert Mary Beth Temple demonstrates how to weave in the ends on a crochet project.
Mary Beth begins by noting that is particularly important to learn how to properly weave in your ends. If not done neatly, the ends can start to come out or you can be left with an unattractive “lump” on the project.
Using a blunt, large-eye tapestry or yarn needle, Mary Beth threads the yarn tail onto the needle. The yarn tail is at least four to six inches in length. The yarn tail must be long enough to comfortable weave in the ends of the project. Once the yarn tail is threaded, Mary Beth begins to weave in the end by bringing the needle through the stitches and tugging slightly. She notes that it’s important not to tug too tightly while weaving in ends, or the stitches will begin to pull out of shape.
Once the end is securely woven into the project, the yarn can be trimmed close to the fabric. Mary Beth notes that typically the ends are woven in on the wrong side of the crocheted piece, so that they are invisible from the right side (or public side) of the project. She ends the video my mentioning that weaving in ends is “more of an art than a science.” It’s important to just take your time, follow your stitches, and not pull too tightly.