Understanding Light Direction
David Johnston
Description
Light direction often predetermines how you approach a landscape subject, how you compose a shot and also the angle you shoot at any given time of day. There are three types of light direction. The first is front lighting, the sun shining on the subject, the light behind you and illuminating your composition. If your background is darker than your subject, this creates depth, the colors and shapes dramatic.
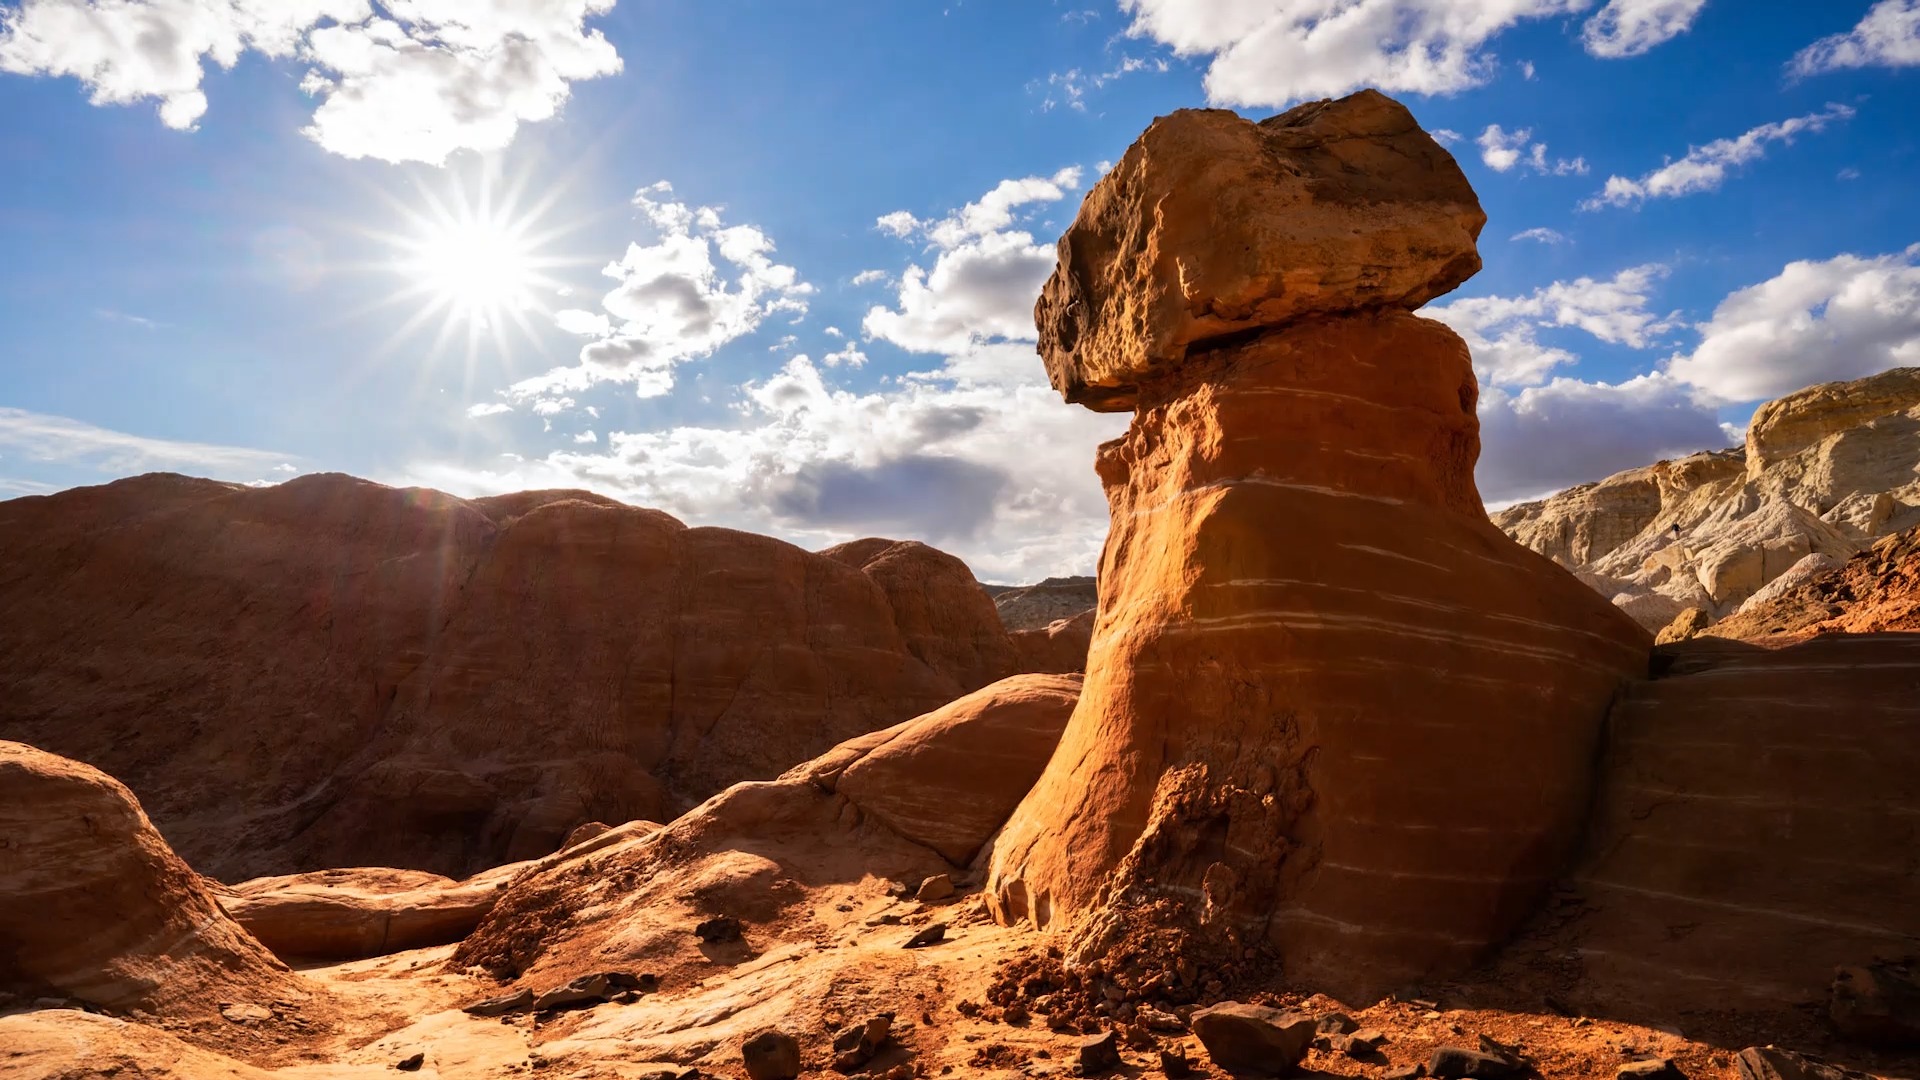
The second type of light direction is sidelight, the sun source on either side of your subject, which creates an angle glow and also depth on the corners of your frame. The third type of light direction is back lighting, which means you are shooting directly into the sunlight source. By illuminating your composition from the back, you have to carefully measure the light. David brackets multiple exposures and blends them together in editing. Light direction from the back is effective for sunset and sunrise images. It creates rim lighting, the glowing effect along the edges of the subject.
David also likes to shoot in diffused light, a composition created with even light direction all around the scene. This technique works for subjects that are closer to you, a rock face, a crevice, shadow patterns. David loves shadowy light for its variety of composition choices.
In this video lesson, Outdoor Photography Guide’s pro photographer David Johnston demonstrates how the three types of light direction will improve your outdoor images. On your next field trip, pay attention to light direction. It will open up your photographic world.