Taking In a Shirt
Aurora Sisneros
Description
Try It On
The first step to taking in a shirt is obviously trying it on, not just relying on the size on the tag. This allows you to see how much larger the fit is for a big shirt and to also determine if different areas of the shirt fit better than others. Aurora shows you how she recommends trying the shirt on inside out, making the shirt ready to pin for the needed alterations.
Pinning
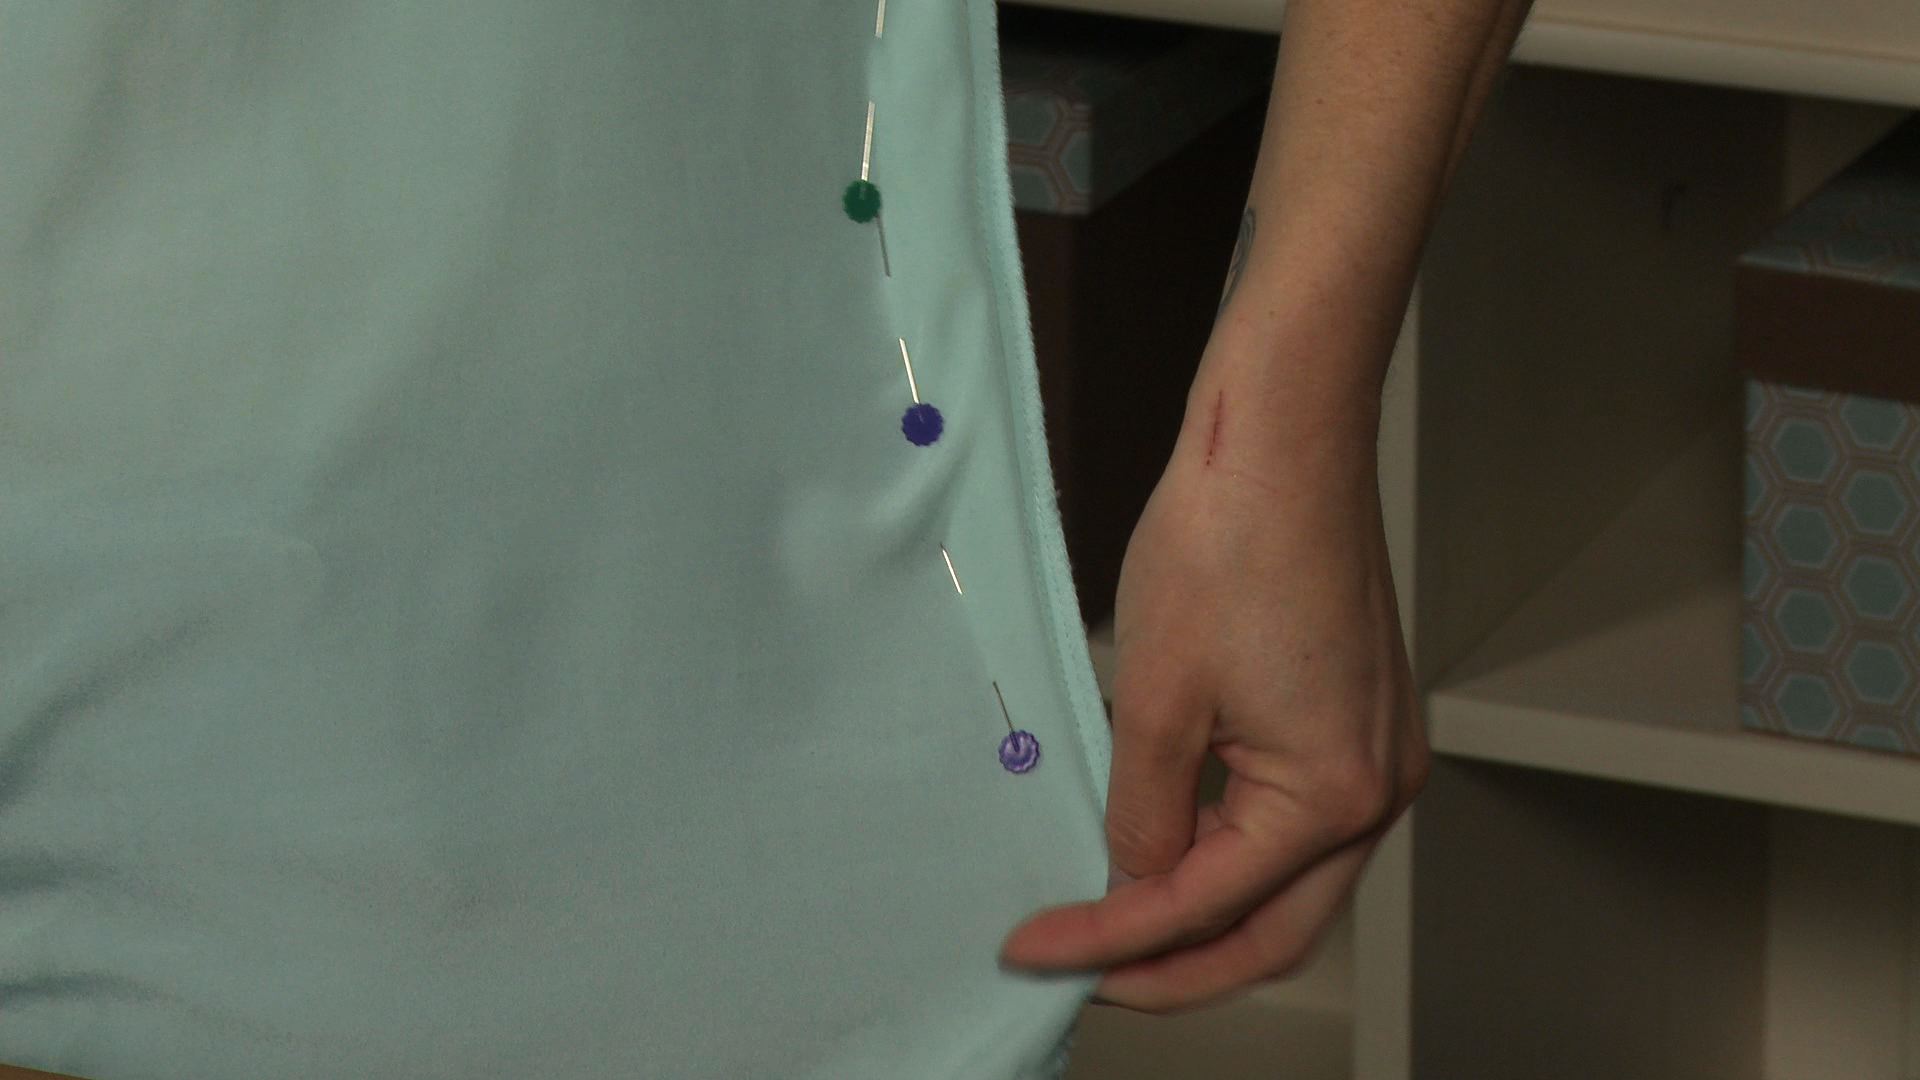
With your shirt on inside out it should be easy to see where any alterations need to be made. As shown in the video, one of the most common places for taking in a shirt is along a side seam. Aurora shows how to start pinning at the center of your alteration, or where the shirt needs to be taken in the most, and then how to work your way out toward existing seams. Beginning and ending the alteration at existing seams allows you to backstitch along the seam to ensure your stitching is secure.
Stitching
Once you’ve pinned your shirt, it’s time to stitch. Aurora explains how to use the pins as ‘dots’ to connect in order to draw a stitching line onto your shirt. After you have stitched along the drawn line, it is important to try the shirt on another time to ensure it fits before cutting away any of the excess fabric. Once you know your shirt fits the way you would like it to you can cut away the excess fabric and serge or zig-zag finish the raw edges.
Fitting
While this tip is great for taking in a shirt that’s too big, it’s also a great sewing shortcut for other garments as well. For example, this same technique could be used on a dress to either take it in if it’s too big or turn a boxy dress into one that’s more form-fitting.