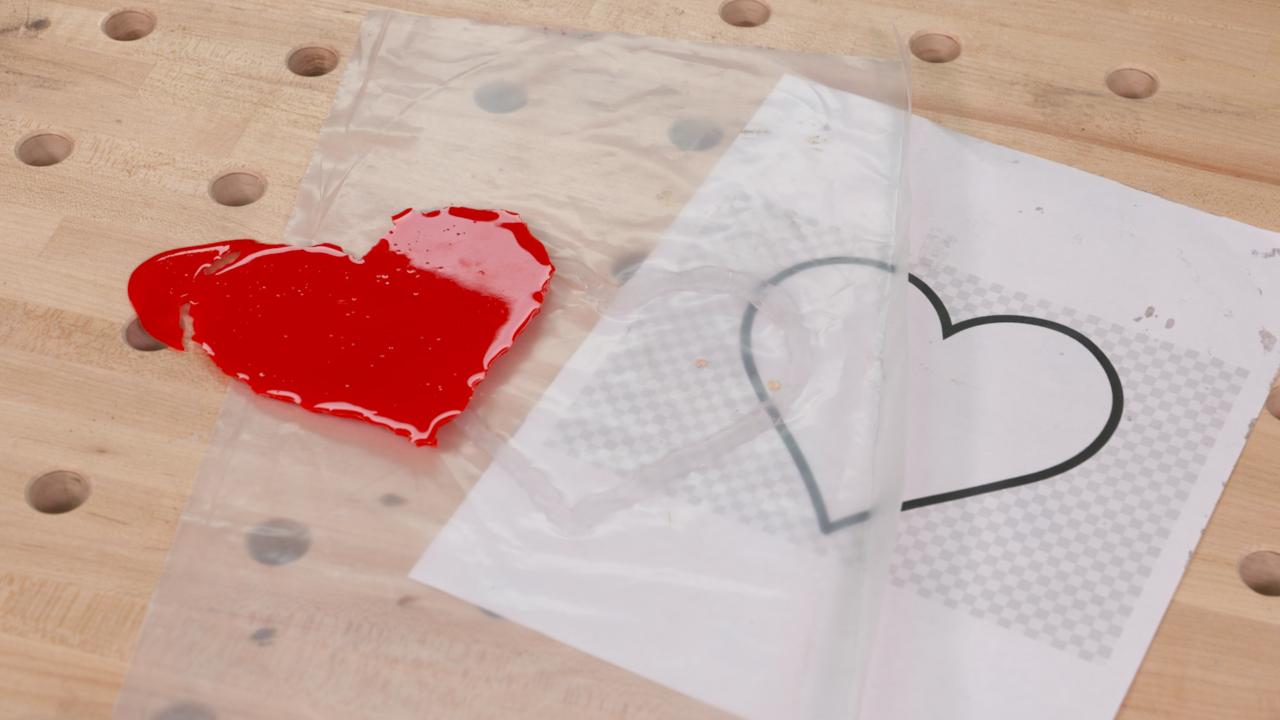
Shop-made Epoxy Mold
Jess Crow
Description
Start with a Printer
Start your work at the computer by finding a shape you like for your resin mold and printing it on a piece of paper. OK, you could skip the printer step if you can draw well. Look for cool shapes by adding the work clip art to your search. For example: star clip art, state map clip art, or heart-shaped clip art. The bottom line is you’ll need your design printed or drawn on a piece of paper.
What you Need
Gather your artwork, a piece of heavy mil plastic (6-mil or more) and a tube of 100% silicone caulk. The plastic needs to be slightly larger than your artwork. It’s really important that you use 100% silicone caulk for your resin mold. Epoxy won’t stick to it.
Build a Dam
With the plastic overlaying your artwork, trace the design with your silicone. The caulk needs to be built up to a height that matches the thickness you want your final resin piece to be.
Pour and Go
Let the caulk dry overnight, and you’re ready to pour your resin. Once the resin cures you can flex the plastic and silicone away from it to release it from the mold. Sand the edges, if you want, to make them more uniform.
Thanks to Jess Crow of Crow Creek Designs for this great tip.