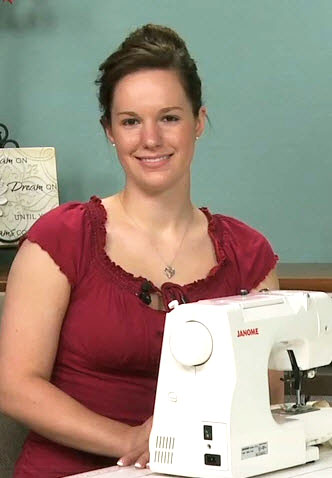
Mitering Any Degree Corner
Ashley HoughWhen it comes to quilting, a mitered corner is generally done when adding a binding to finish a quilt or project, which is generally rectangular or square. However, a perfectly mitered corner isn’t just for a 90-degree angle. Learn how to fold and stitch a mitered corner onto any angle on a project.
Mitered Corner
The first step to adding a mitered corner onto a project is having both a project that needs to be finished and binding ready-made.
Ashley explains how to make a straight grain binding, which is what is generally used to bind an edge where there are no curves. She explains that, depending on the project, it can be made in different widths. A traditional quilting binding is generally made from a strip of fabric that was cut at either 2 ¼” or 2 ½”, depending on how wide the desired finished binding is and/or what seam allowance width is used when stitching the binding in place.
Ashley explains that for the small sample she is demonstrating on, she is using a narrower binding and made hers with a starting strip cut at 2”. While it is fairly easy to do with a smaller project, Ashley explains that it is important to have enough binding to go around your project before you begin attaching it. You can cut several strips and sew them together or use another method known as continuous mitered binding to ensure you have enough binding for the project.
Ashley then explains some mitered border basics that are used on a traditional 90-degree corner and then shows how to implement them on another degree angle. She shows how to align and stitch the binding to the project, demonstrating where to start and stop the stitching.
She then shows how to take the project off of the machine, fold the binding in the needed direction and then continue stitching.
Once stitched to the front, Ashley shows how to fold the binding around the raw edge of the project and secure it to the back.