Lone Star Block
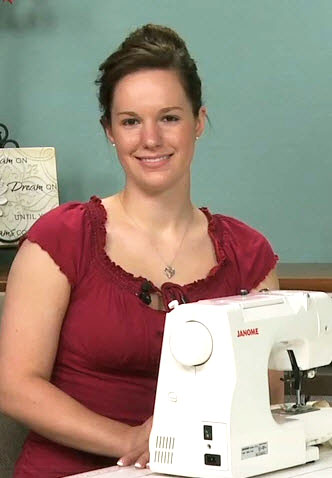
Ashley HoughLone Star Quilt Block
This Lone Star quilt block is fun to make because it looks a lot harder than it actually is. Ashley begins explaining how to make the Lone Star quilt block by talking about fabric selection. She explains that this block lends itself well to fabrics that are a good contrast to one another or that come in a gradient of colors and shades. Ashley shows the fabrics she has selected and arranges them from light to dark. Depending on where you want the main focus of your lone star quilt block to be, you can have either the light or the dark fabric in the center.
Ashley then shows how to lay out your fabrics and number each one. This block is made by first making several strip sets, and it is important you make sure you are using the correctly numbered fabric in each strip.
Ashley then shows how to make a strip set, giving tips on how to stitch and press your strips so that they always remain straight. Once all of the strip sets have been stitched, Ashley shows how to use the 45-degree line on a ruler to make an angled starting cut along one edge of a strip set.
Once that cut has been made, she shows how to cut wedges or slices from each strip set to give you the correct number of pieces needed to make up the star block.
She then shows how to stitch the wedges together, giving tips on how to ensure that the seams are aligned and nested when possible and how to press everything flat.
After the center star has been constructed, Ashley shows how to use the Y-seam construction method to attach the final triangles and squares to turn the center star into a Lone Star quilt block.
