How to Make Your Subjects Pop in Post-Processing
David JohnstonDescription
By way of example, David shows you his image of a dark red barn sitting on a green field, the sky a lovely pastel orange. Right away, he sees that the barn is too dark. In Lightroom, he uses the adjustment brush, paints over the barn, and then works with various slider tools such as exposure, clarity, and temperature to brighten the barn and draw in the viewer’s eye.
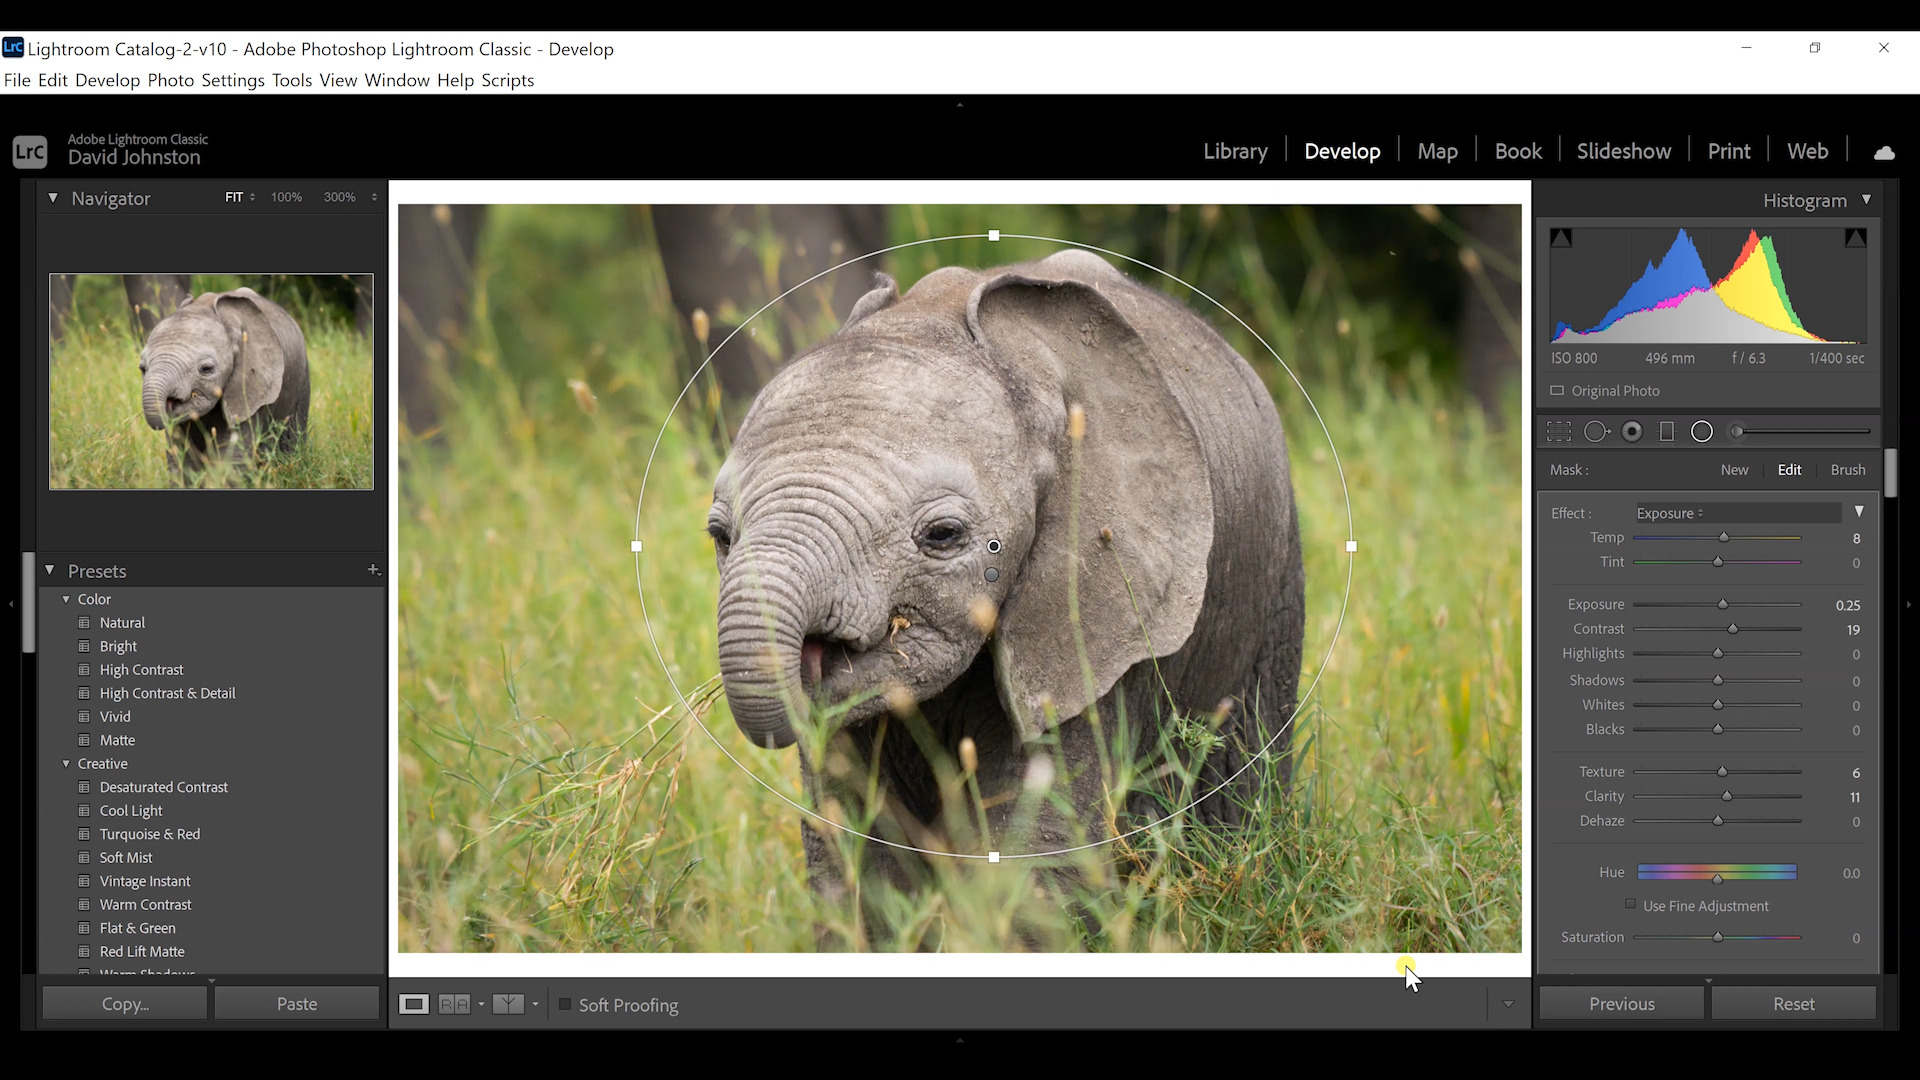
For a second method to make his subject pop, he turns to an image of a baby elephant centered in a grassland scene. In Lightroom, he selects the radial filter and creates an oval around the elephant, manipulating the outer ring. When he adjusts the exposure slider, everything outside the oval is affected. He lowers the exposure which darkens the outside area, causing the elephant to stand out. Then, selecting another radial filter, he inverts it, and creates another oval, then increases exposure, contrast and clarity on the elephant. Essentially, he is applying the opposite adjustments of what he processed on the outside of the oval ring.
When you are finished editing your image, it’s always a good idea to compare the before and after in the post-processing of your image. In this premium video, join Outdoor Photography Guide’s professional photographer David Johnston takes you into his studio and uses the Lightroom tools to make subjects stand out from the backgrounds.
