How to Create a Double Panorama
David Johnston
Description
In panoramic landscape photography, you need to capture two separate rows of images of your scene. David uses a 35mm lens in the vertical format. The technique includes 3 separate exposures for the valley at the bottom of the frame, each overlapping, and 3 overlapping exposures for the mountains at the top of the frame. Post processing will knit the six images together to create the double panorama. For panoramic landscape photography, you need to include the horizon lines in both the bottom and top rows. These lines will later line up in the final photograph.
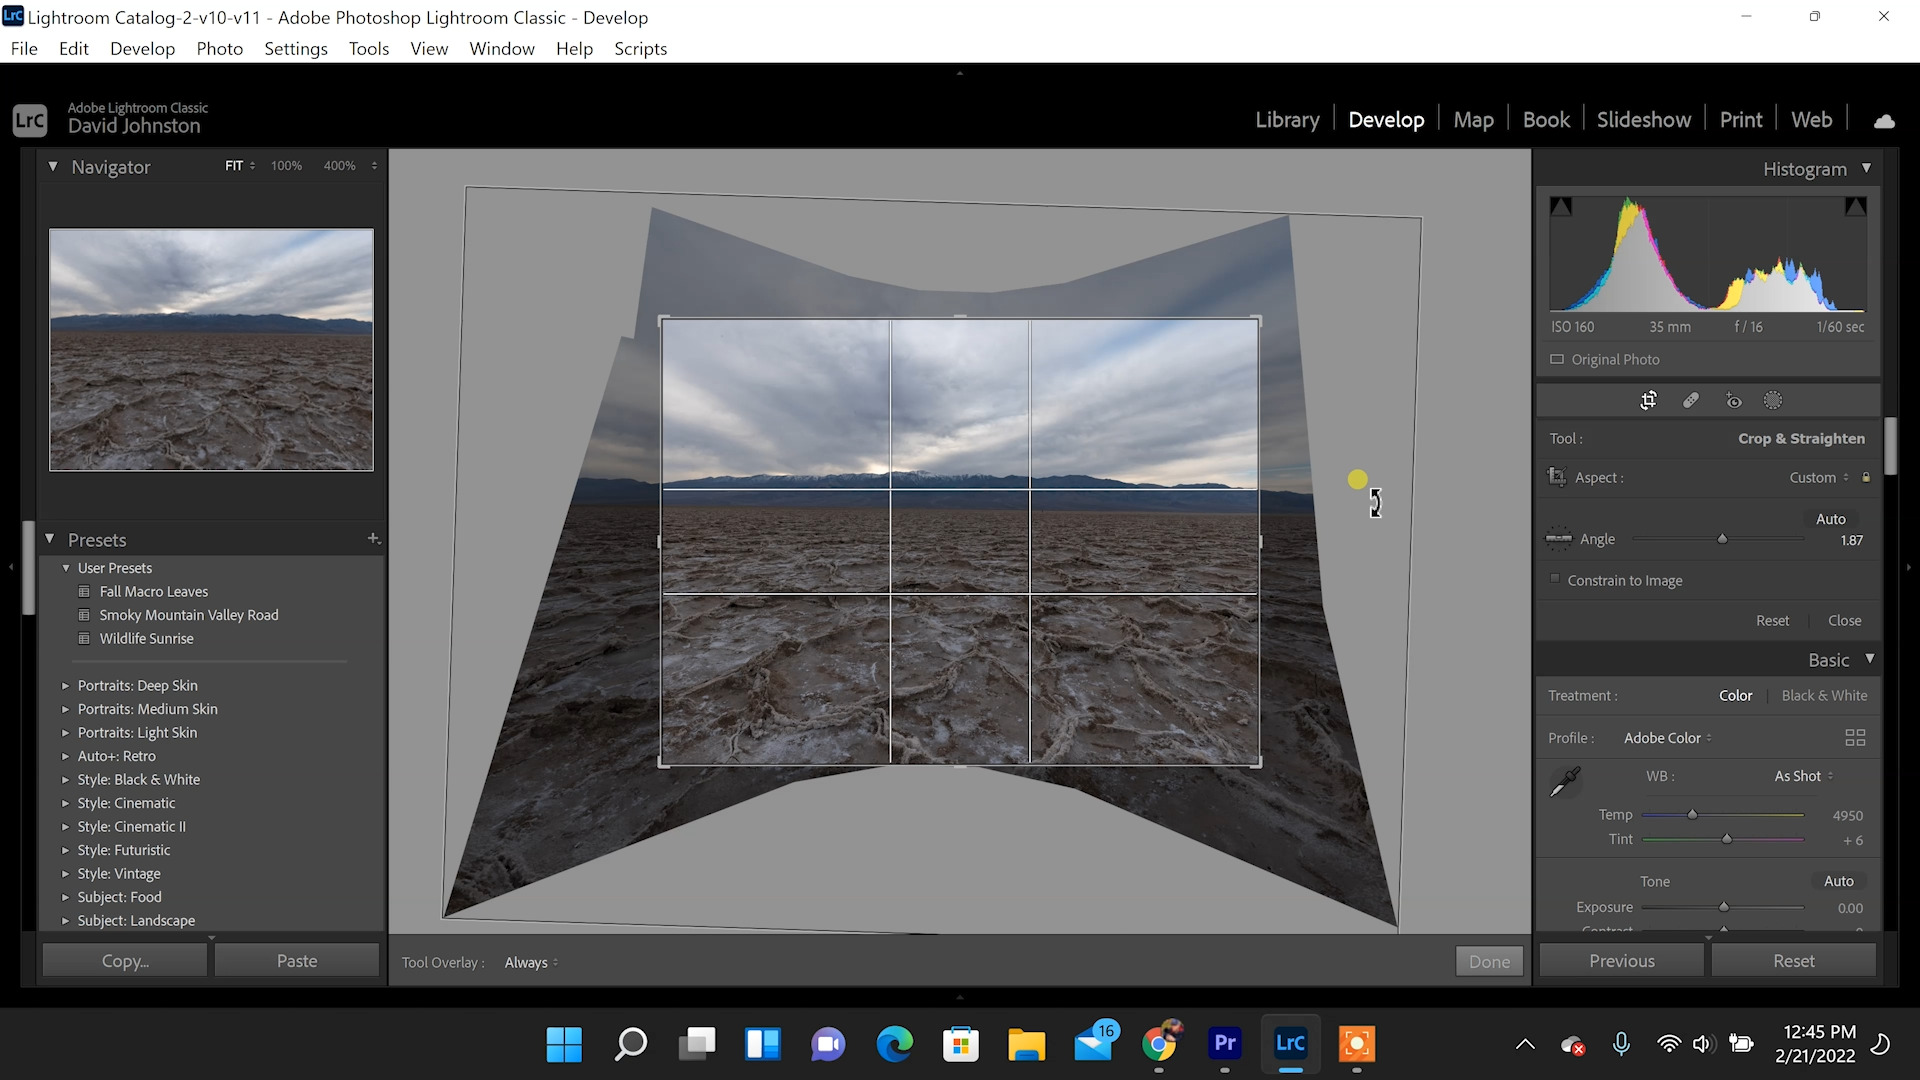
The final step in panoramic landscape photography is post processing. David takes you into his studio to merge his Death Valley images into the double panorama. In Photoshop Lightroom, he imports his rows of images, clicks on them all, goes to Photo merge and Panorama. After a short time, Lightroom has seamlessly merged all his photos in the double panorama.
Next, he selects the Perspective Projection for depth. For post processing in panoramic landscape photography, it is also important to select Auto Crop. Working deeper in Lightroom, David makes small adjustments: leveling the horizon, adjusting for the rule of thirds, boosting contrast, and even converting the image into black and white.
Panoramic landscape photography takes patience, but it’s important to capture your images in alignment in order for the post processing to work well. In this video lesson, Outdoor Photography Guide’s David Johnston guides you through the complete process of panoramic landscape photography and creates a dramatic image.