Fold Over Elastic Binding
Nicki LaFoille
Description
In this video, Nicki LaFoille shows you step by step how to sew fold over elastic to these areas.
Fold Over Elastic
Nicki begins by explaining what fold over elastic is and how it is different from standard elastic.
Nicki also talks about some of the different widths and colors it can be found in. While it has two distinct sides, a dull side and a shiny side either can be used as the ‘right’ side, depending on personal preference.
Nicki then explains the two main ways that fold over elastic can be sewn into a knit garment in the neck and arm openings: in the round and in the flat. She begins by demonstrating how to sew fold over elastic in the round around the neck opening. Nicki explains how to measure in order to know how much elastic to cut to give you enough to overlap the ends, sew them together, and still have the elastic lay flat when it is attached to the garment.
She then explains how to quarter mark both the elastic and the shirt. This step is essential in making sure that the elastic is evenly distributed around the neck opening of the shirt.
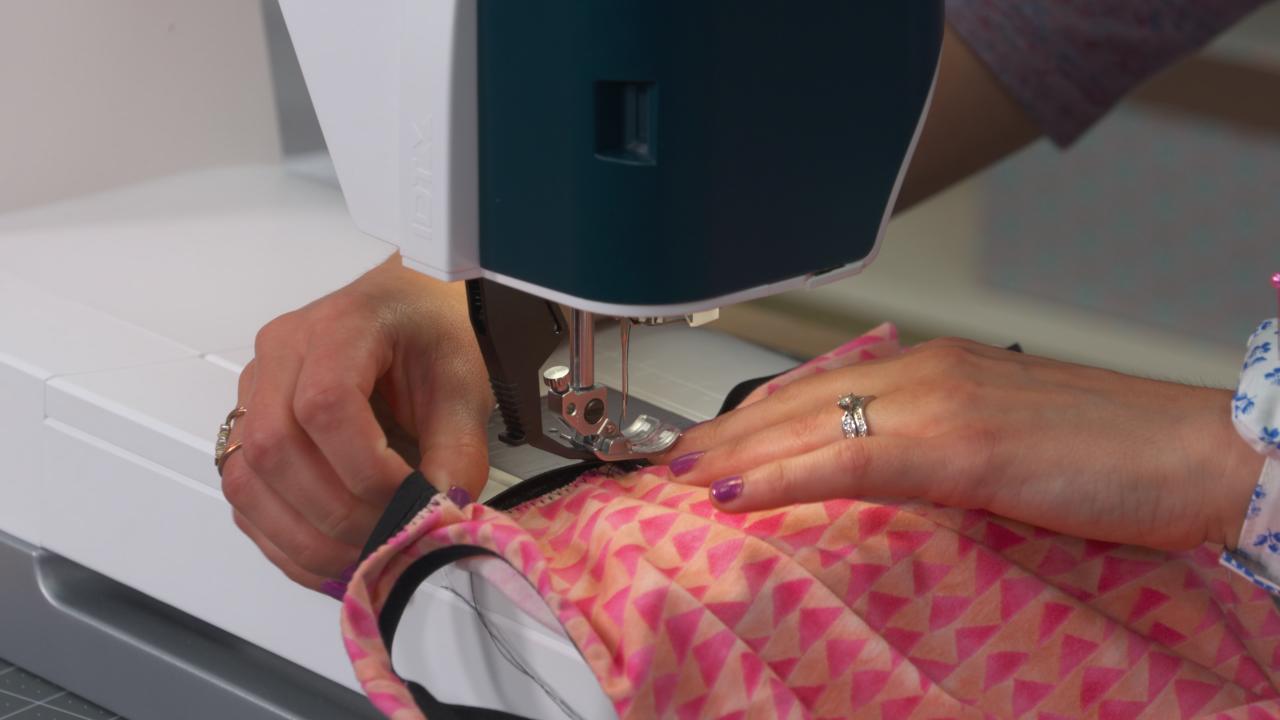
She then shows how to sew fold over elastic to the edge of the garment, explaining what sewing machine settings to use, as well as what stitch, needle and thread is best. Attaching the fold over elastic to the edge of the garment in the method that Nicki shows is a multi-step process. However, she explains additional ways it can be done.
She then finishes by showing how to do the same process to attach the fold over elastic to the garment in the flat along the armscye opening and how to join and finish the edges of the elastic when this method is used.