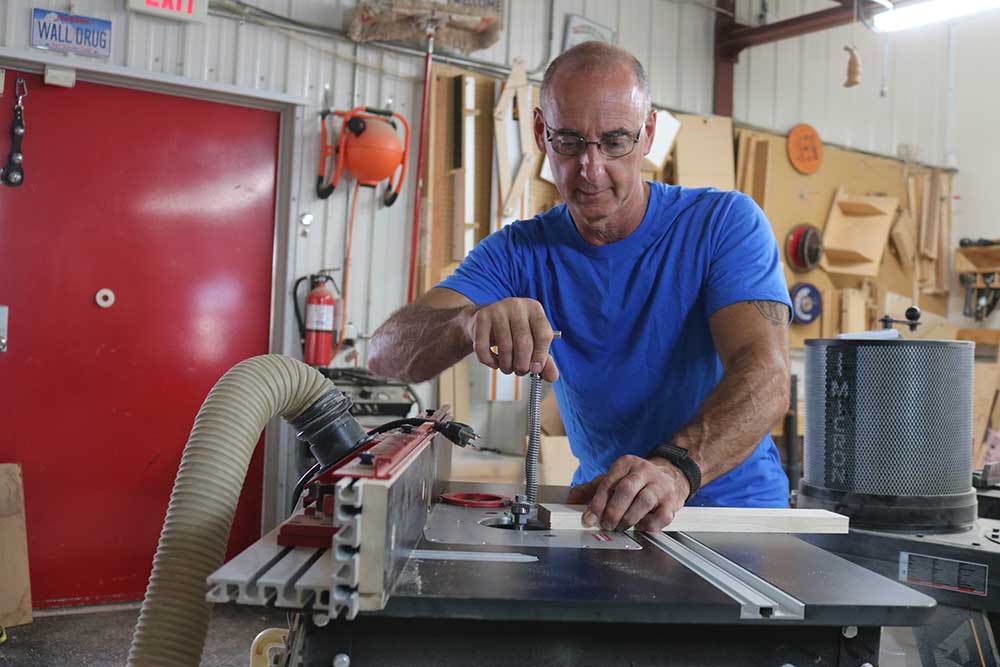
Cross Halving Joint: Narrow Stock
George VondriskaDescription
George uses different approaches for a cross halving joint depending on the width of materials that he is using. George’s process for milling a cross halving joint on thin materials is as follows:
Determine thickness. First, you will want to determine the thickness of materials that you want to use for your joint. The easiest approach will be to choose based on the widths that you can achieve with your dado stack.
Surface material to match. Once you have identified the desired thickness of materials used for your joint, plane your stock accordingly.
Set dado height and fence. Based on the width of your material, and the designed distance from the end of the material that you would like to position the joint, set up your dado height and position the fence accordingly.
Run material. Using the tip that George shows in the video to maintain consistency in positioning your joint, run all pieces through the milling steps.
Once you have mastered the cross halving joint, you will be ready to incorporate it into your next project.