Adding Texture in Photography
David Johnston
Description
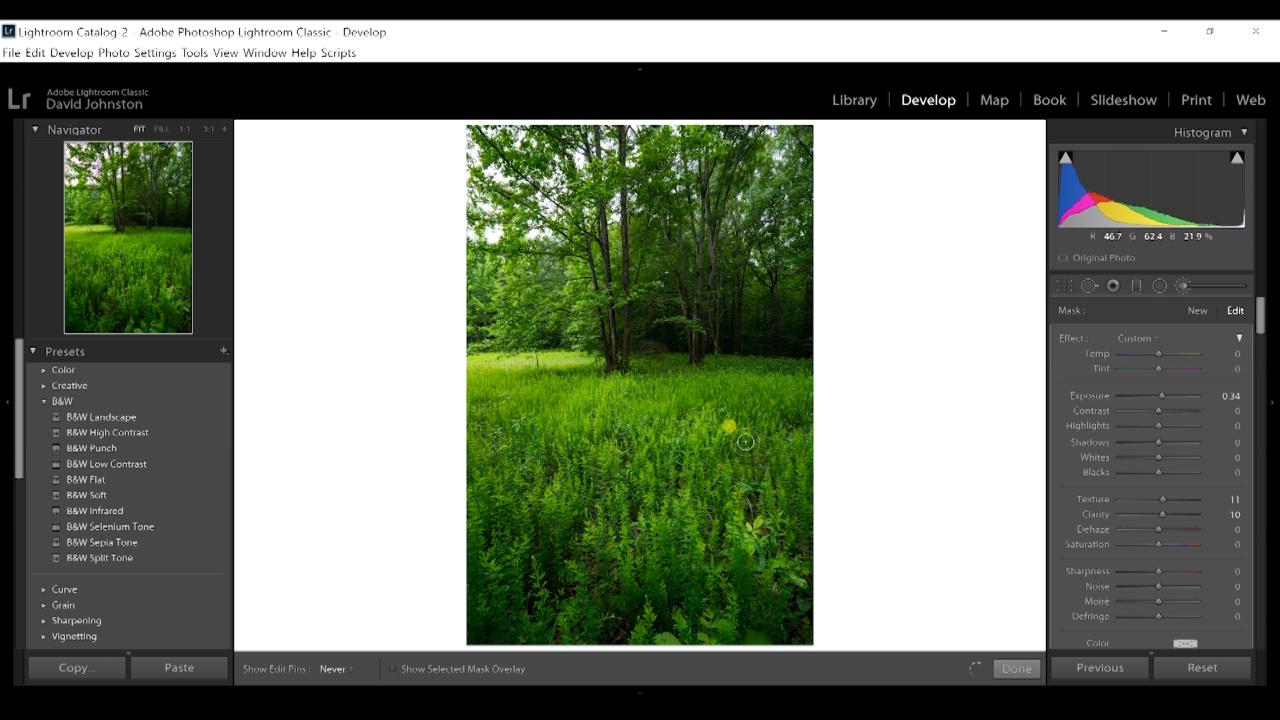
You will learn texture in photography through the use of the Adobe Lightroom software program. To demonstrate the techniques of texture in photography, David works on his woodlands scene of wildflowers and trees. The goal is to enhance the textures of the foreground which will then lure the viewer into the frame. For this lesson on texture in photography, he first alters the exposure, tones, vibrance and saturation. Then, to add texture, he works the clarity slider back and forth until he is satisfied. Your goal is to enhance the texture but still make your image look realistic.
For the next step in texture in photography, David selects Lightroom’s presence category and finds the texture tool. He zooms into a foreground area of his image to see how much texture to add. A good technique is to increase the texture slider all the way to 100 and slowly drag it back until the selected area looks realistic. You are not making a special effects photograph. You are creating an exquisite landscape image.
For your own texture in photography, if you want to isolate part of your image, you select the adjustment brush tool, increase the texture and clarity sliders, and then paint the parts of your photograph where you want to increase texture. For fine tuning, you can again adjust the sliders and make another pass at your image.
Join Outdoor Photography Guide’s professional photographer David Johnston, for practical ideas on how to add texture in photography. You will be amazed at the results.