
SketchUp: Beyond the Basics
David Radtke
Class Preview
- In-depth Instruction; over 96 mins
- On-demand video access anytime
- Bonus downloadable PDF resources
- Access to class Q&A
Session 1: Mortise and Tenon
23:35
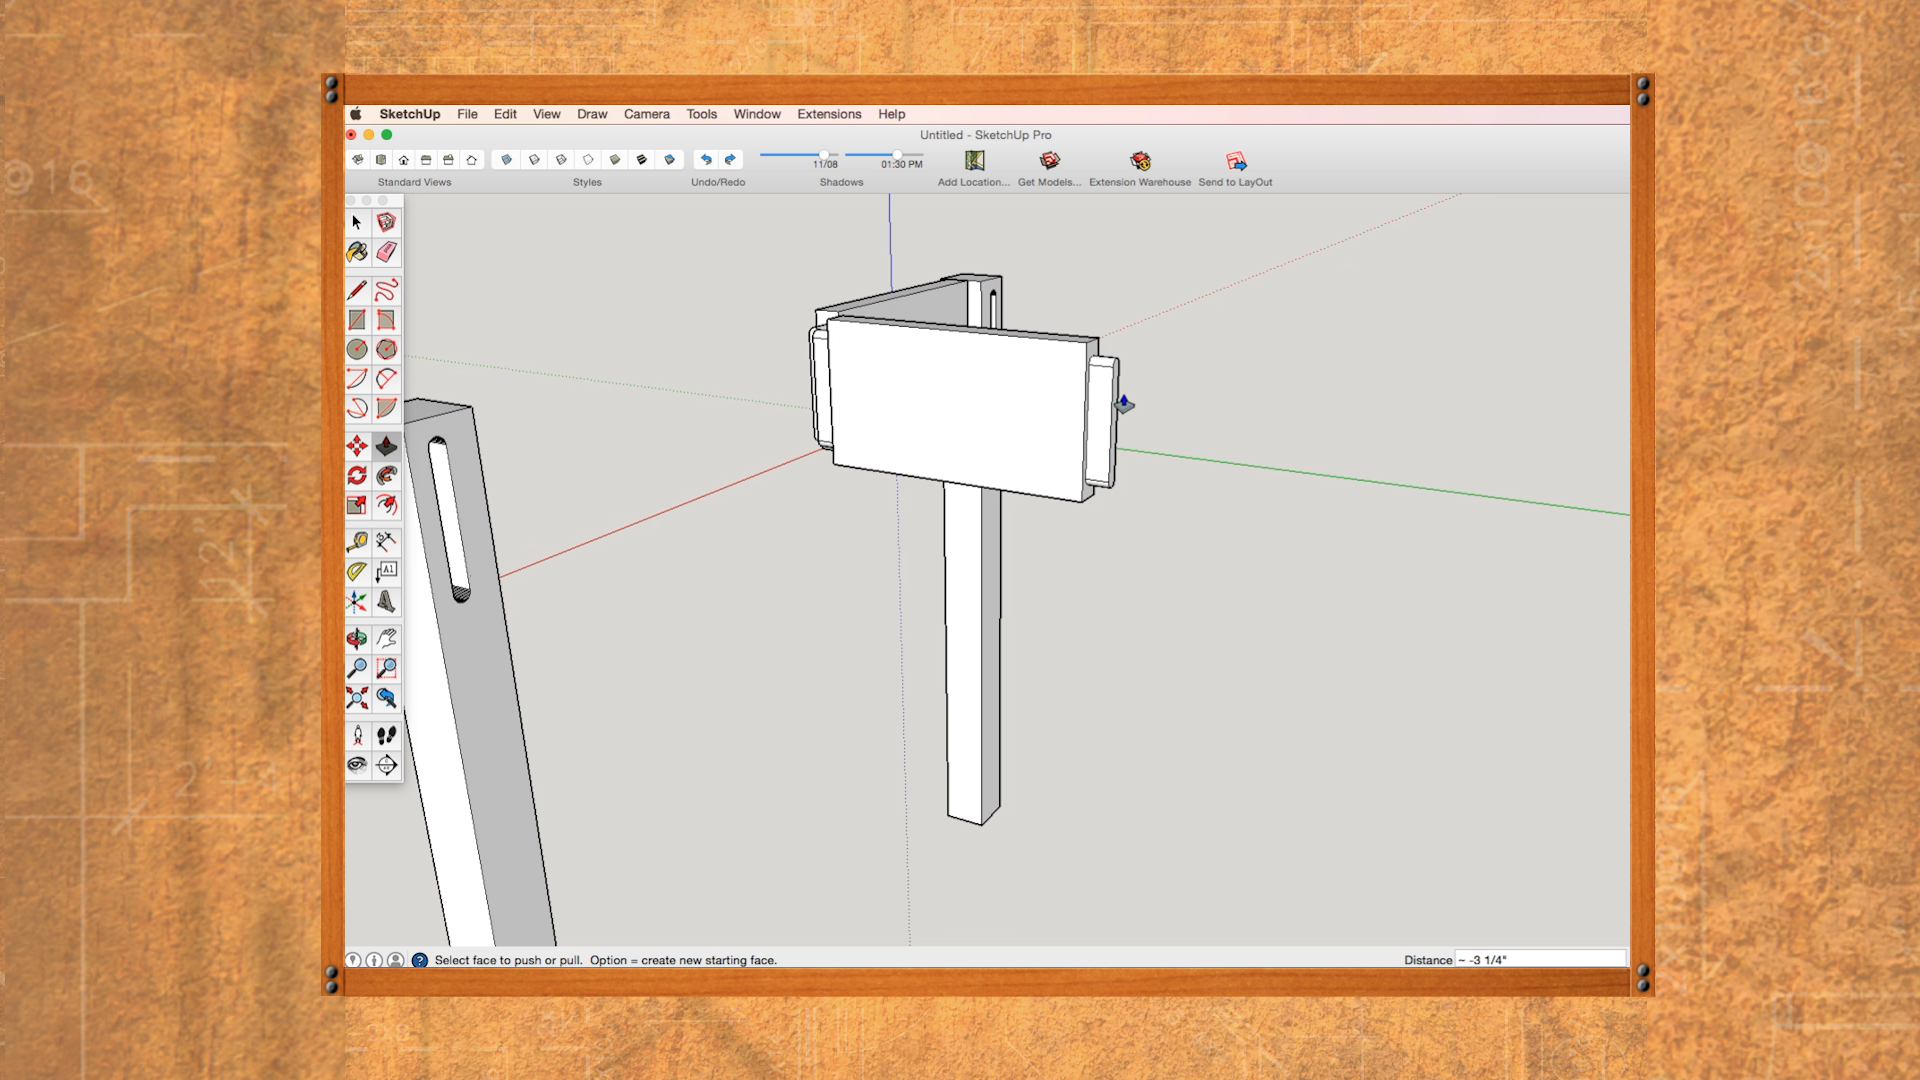
In this first session, you’ll learn to draw a simple table with mortise and tenon joinery. You’ll begin by drawing a table apron and then drawing a tenon outline, then push/pulling the tenon to length. From the tenon joinery, you’ll transfer the geometry onto a simple leg drawn in place. To complete the joint, you’ll hide the apron and then push/pull the mortise into the leg part.
Session 2: Pocket Hole Joinery
7:57
This session uses the 3D warehouse function in SketchUp called Get Models. Just like using a browser, you can search for 3D models to download into your drawing. You’ll download a pocket hole joinery component right into our drawing. You’ll learn how to open the parts of your face frame, draw guide lines and position and paste the pocket hole joinery right onto the components in your drawing.
Session 3: Biscuit Joinery
7:44
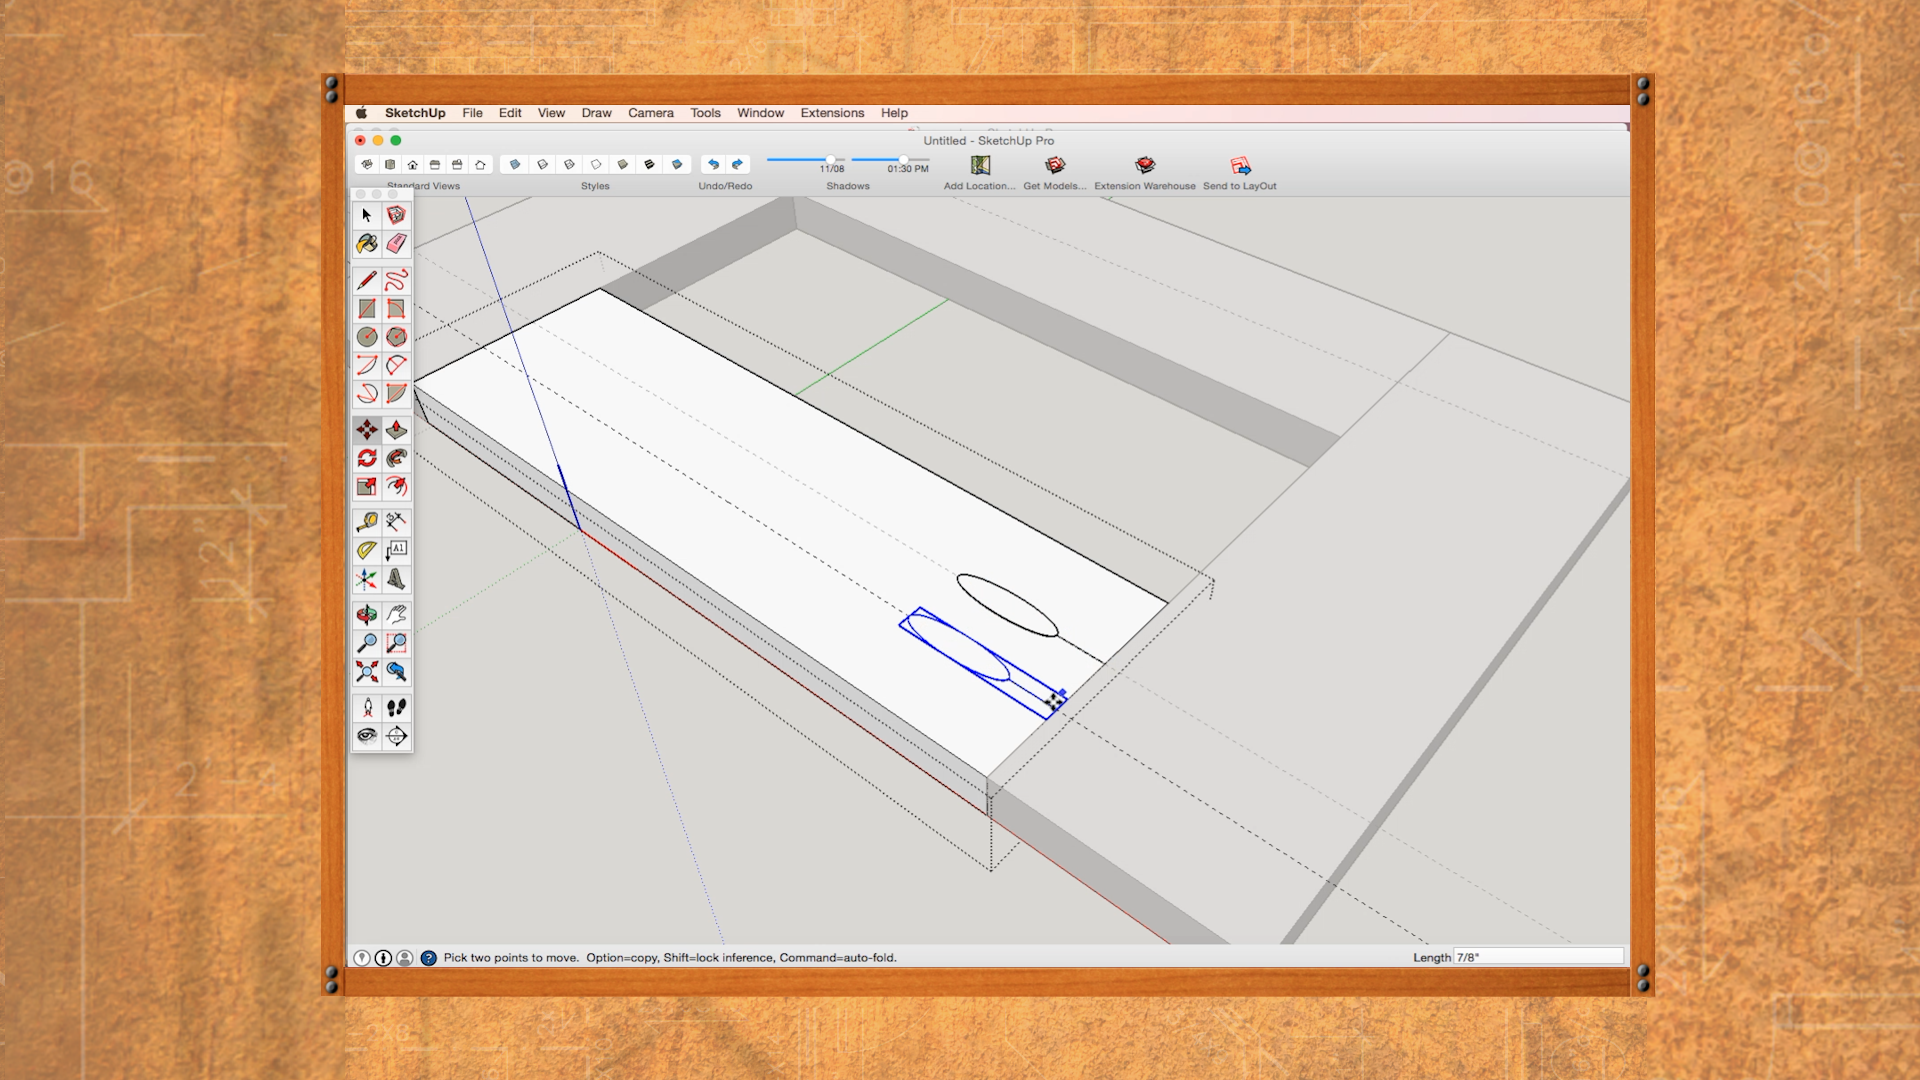
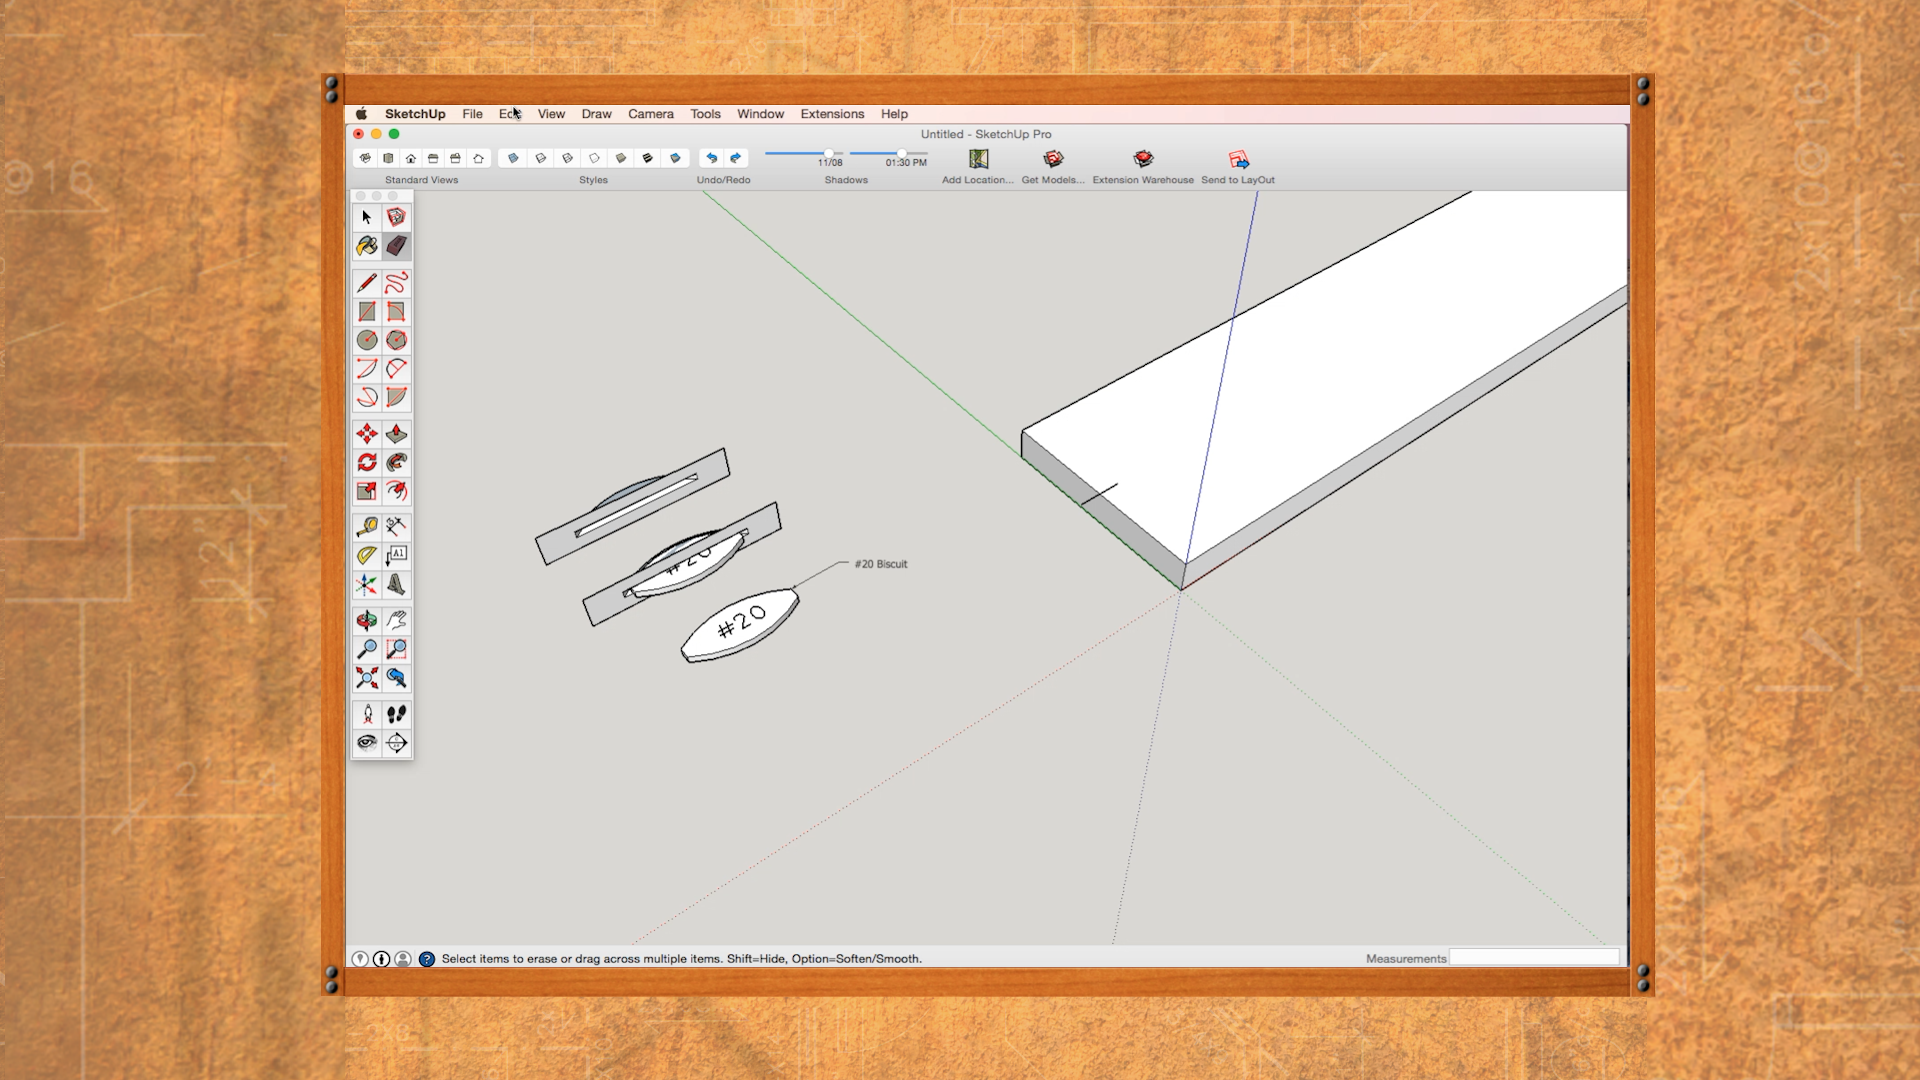
Like the pocket hole joinery, you’ll download components from the 3D warehouse and learn to modify the joinery to fit your existing face frame. You’ll see how to open your components and paste the joinery to your parts. This will help you determine biscuit size and placement on the parts of your drawing saving time and potential pitfall during the building process in your shop.
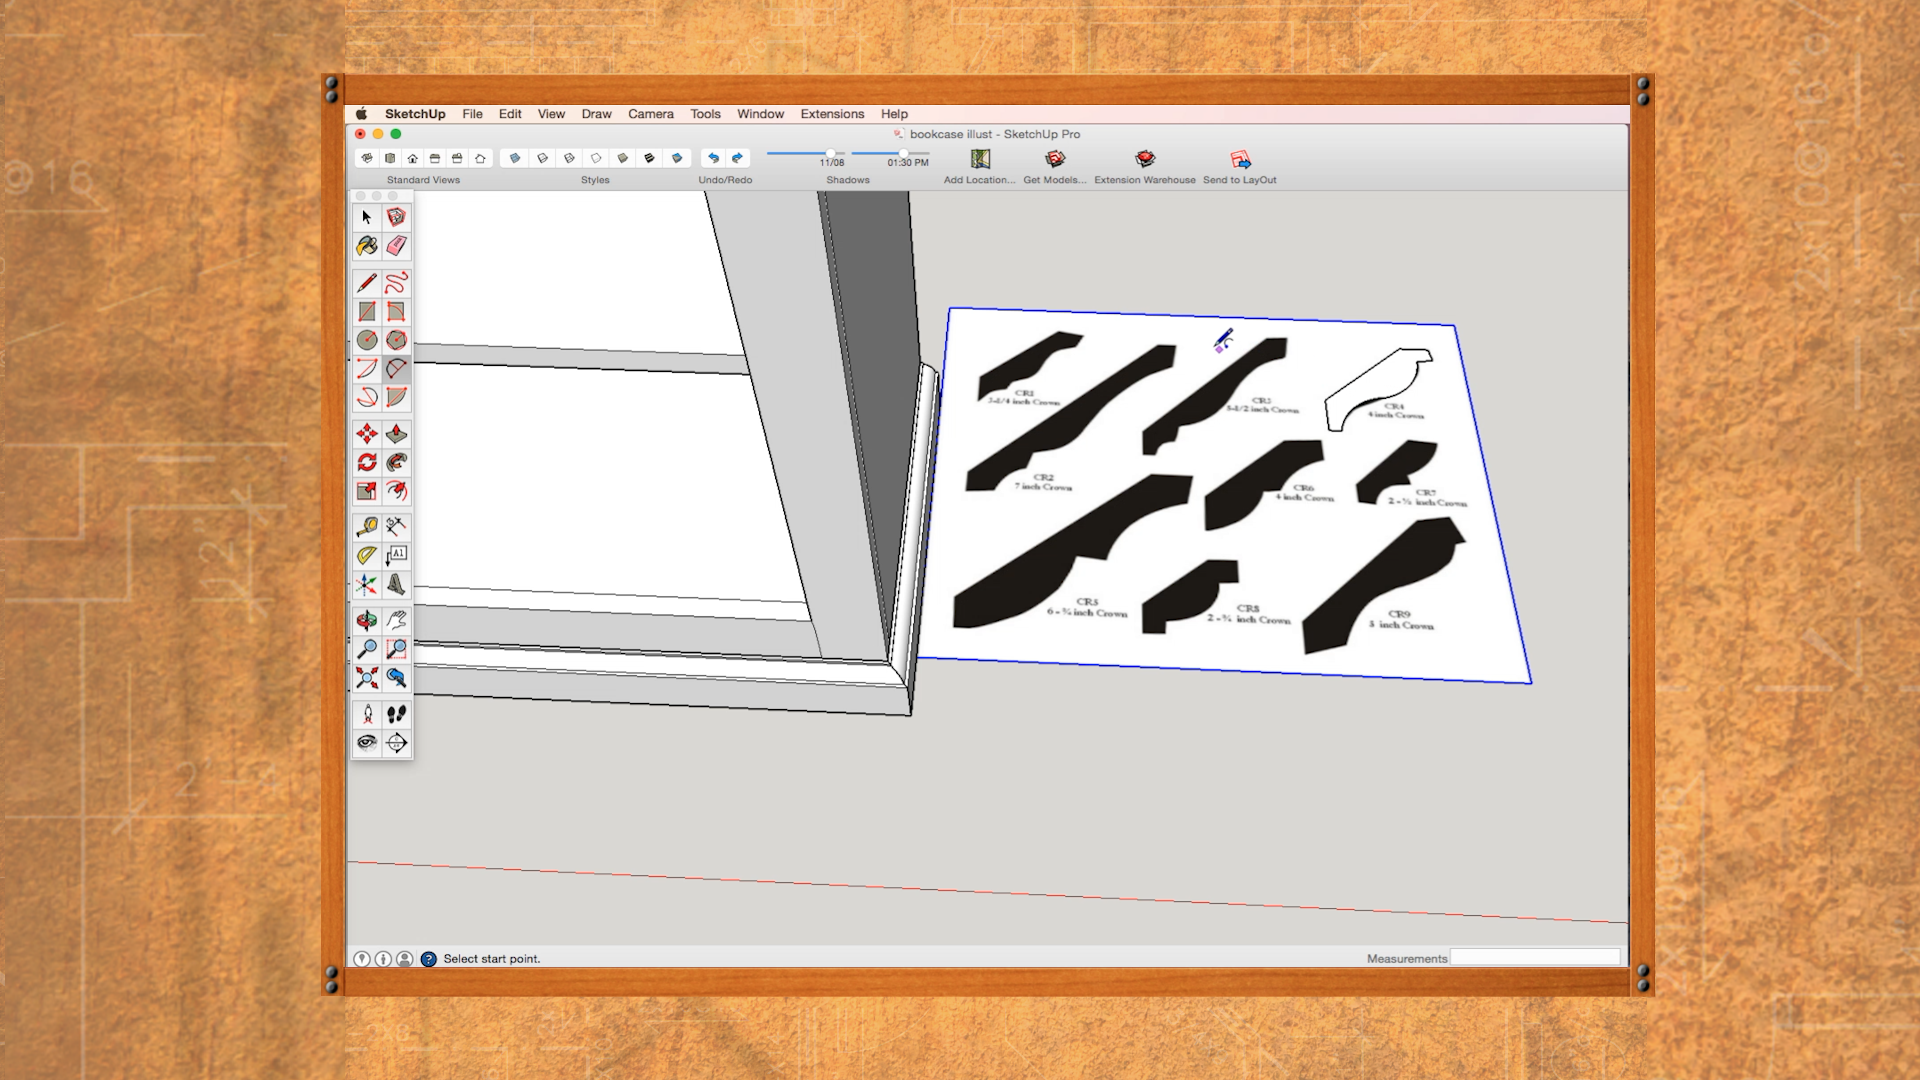
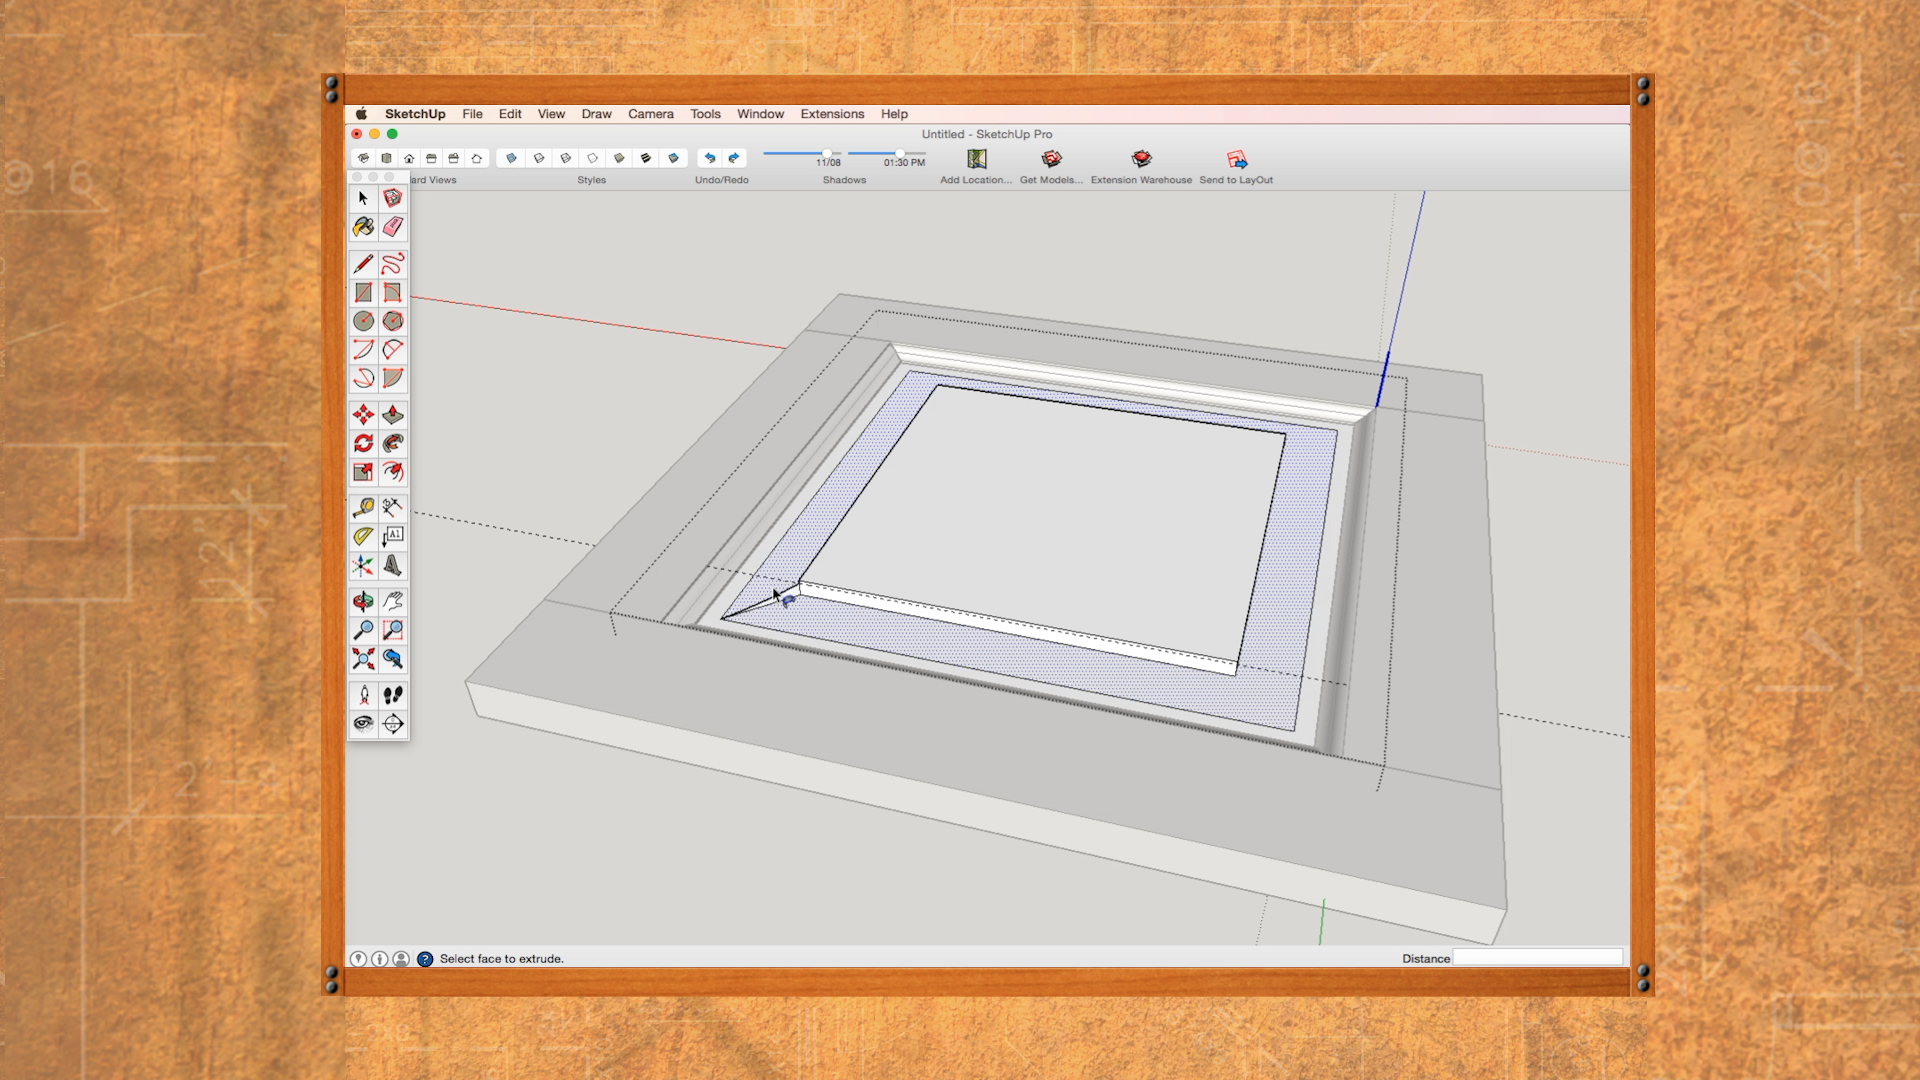
Session 4: Make Your Own Molding
29:36
In this session, you’ll first learn how to draw your own molding shape, and then learn how to download a shape from the Internet and convert it to molding for your project. You’ll construct a 2D shape and then extrude that shape around the base of the bookcase using a powerful SketchUp tool called “Follow Me”. Once the molding is made, you’ll learn to isolate individual pieces of molding and save them in a file for future use.
Session 5: Create Your Own Rail & Stile Door Components
26:47
This final session will stretch your skills to create all the parts of a cabinet door. You’ll learn how to make an ogee profile on a stile and then use that geometry to create the mating rail profile. You’ll also learn to make a door panel and then change the size of all these individual parts to make any size door.
Description
This class goes beyond the fundamentals of using SketchUp for woodworking.
To get the most out of this class, you should understand how to use the basic drawing and editing tools within SketchUp, and how to make groups and components. If you’re new to SketchUp or need a good refresher on many primary skills, check out our SketchUp Fundamentals class.
In this beyond-the-basics class, you’ll not only learn to navigate and use new drawing tools, but you’ll learn new skills using these tools. We’ll show you how to save components you’ve drawn, and will likely use again in future drawings, into your own library. From this library file, you’ll be able to copy and paste these components into new drawings so you don’t have to reinvent the wheel every time you draw.
We’ll show you how to make the traditional mortise and tenon joint by first making a tenon and then using the magic of SketchUp to create the mating parts.
In this class, you’ll also learn to navigate a feature of SketchUp called “Get Models” from the tool bar. Here, you can explore many pre-drawn online parts and components contributed by SketchUp and its users that are free to download right into your drawing.
We’ll also show you how to find a molding shape online, download the image, and then import the image right into your SketchUp drawing. From here, you’ll learn to trace and size the molding for your drawing. You’ll also learn to place molding onto a project such as a bookcase, and extrude it right onto your project using the “Follow Me Tool.”
You’ll also learn to draw all the components of a rail and stile door, and to size these parts to build any size door from just one drawing.
These are just some of the new skills you’ll learn in this next-level class of SketchUp, designed especially for woodworkers.
In addition to the detailed video instruction you’ll receive, this online class provides you with a detailed Class Guide that you can download as a helpful reminder for the key points of the class instruction.
SOFTWARE NOTE: The SketchUp program utilized in this Class was published in 2015. The current version of SketchUp was published in 2017. While the vast majority of functions and keys are the same, there may be subtle differences in certain aspects of these software versions. For the version of SketchUp best matching this Class, use SketchUp Make 2017.
David Radtke
David Radtke is a custom cabinetmaker, woodworker, illustrator, home design consultant and freelance writer living in Minneapolis, Minnesota. As a former Senior Editor of a popular home improvement magazine, he designed and built specialty bookcases, landscape architectural projects and a variety of home improvement projects. He currently designs and builds furniture and writes woodworking articles for woodworking magazines and custom publications. Other projects include writing scripts for The Home Pro television series and making guest appearances on Minnesota Public Radio’s home improvement segments. He enjoys archery, bowmaking, woodturning, canoeing and cycling whenever he’s not standing behind a table saw or sitting in front of the drawing board.
Bonus materials available after purchase