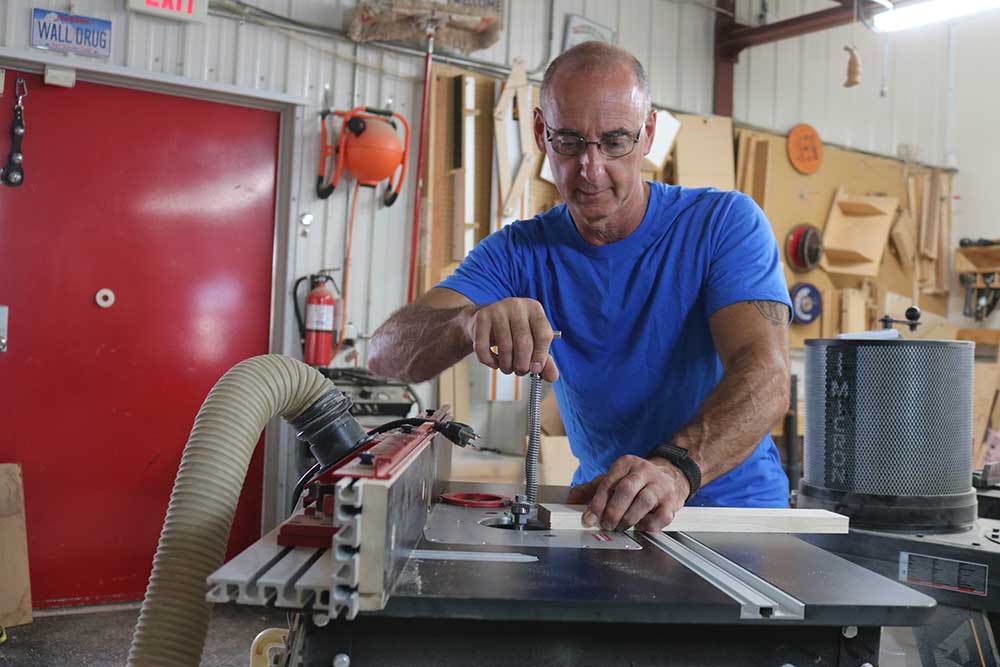
Shop Jigs, Helpers and Shop-Made Solutions
George Vondriska
- In-depth Instruction; over 72 mins
- On-demand video access anytime
- Bonus downloadable PDF resources
- Access to class Q&A
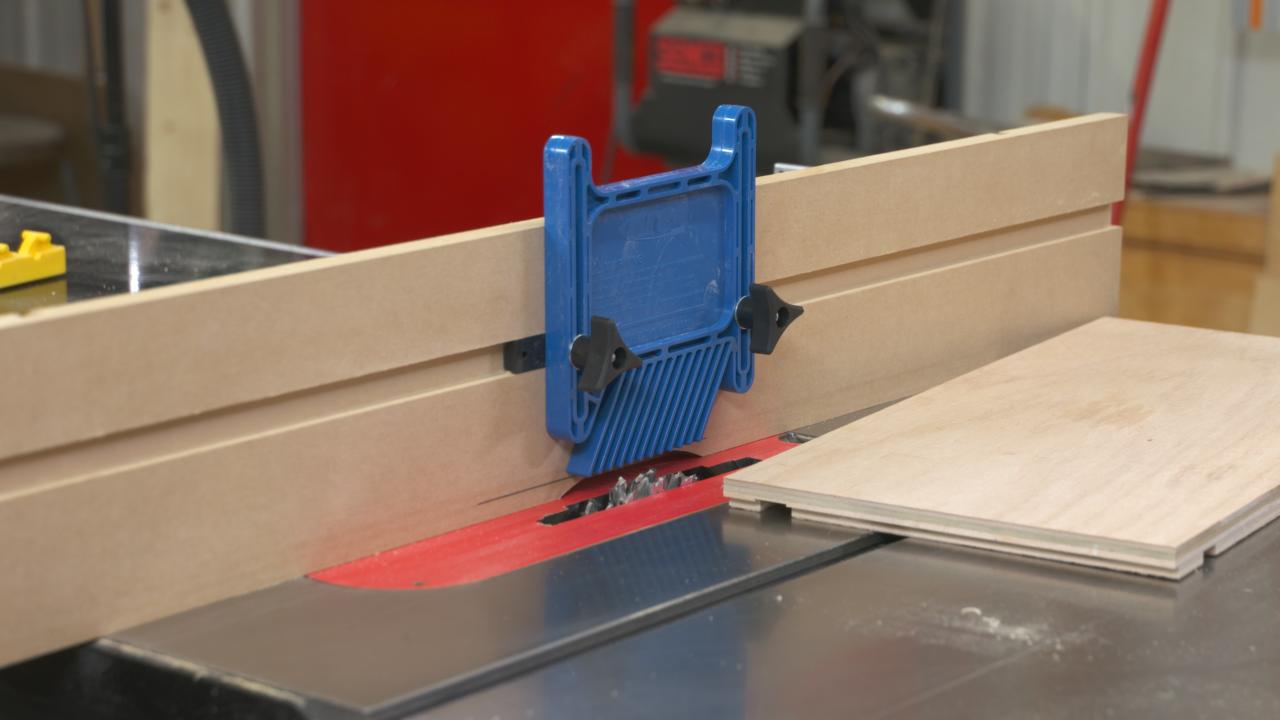
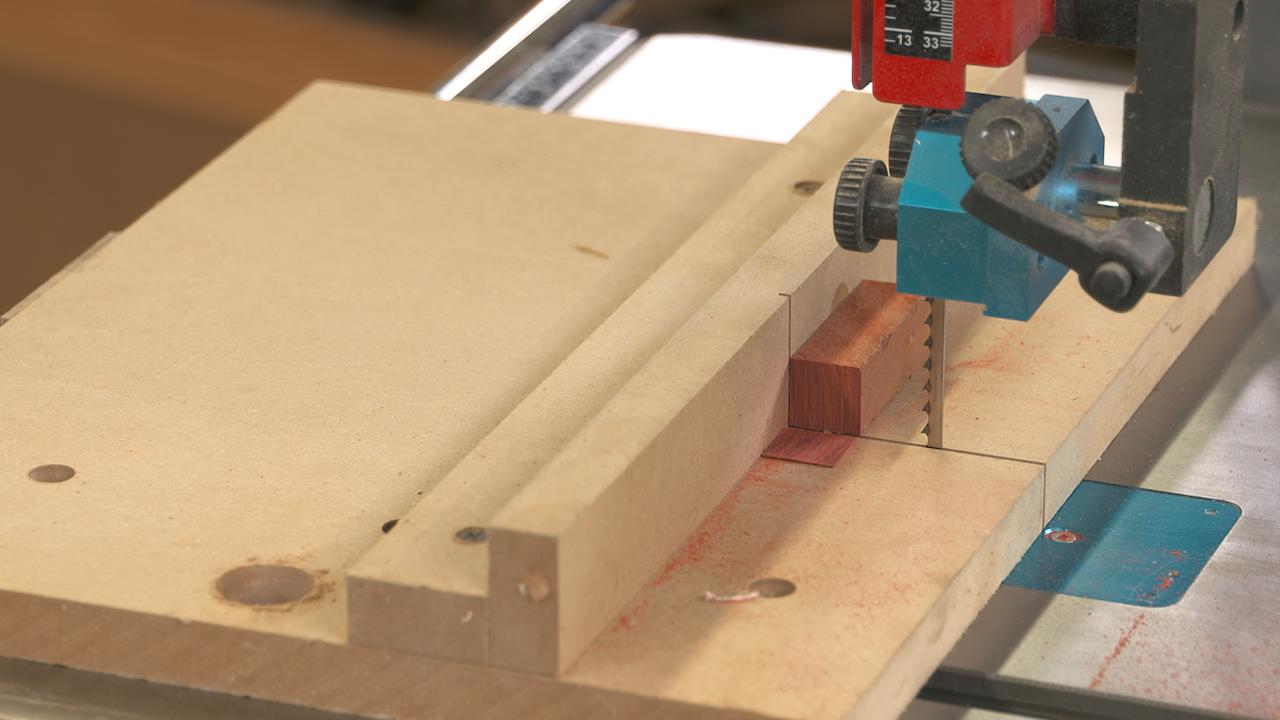
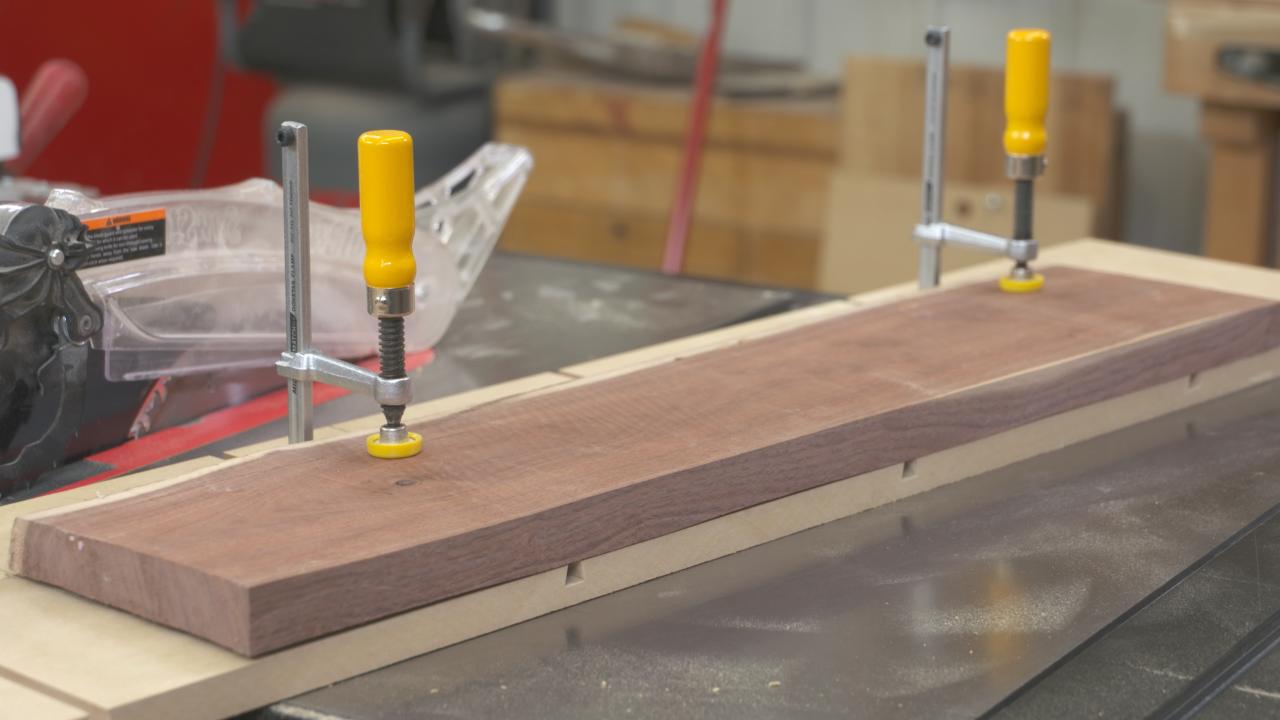
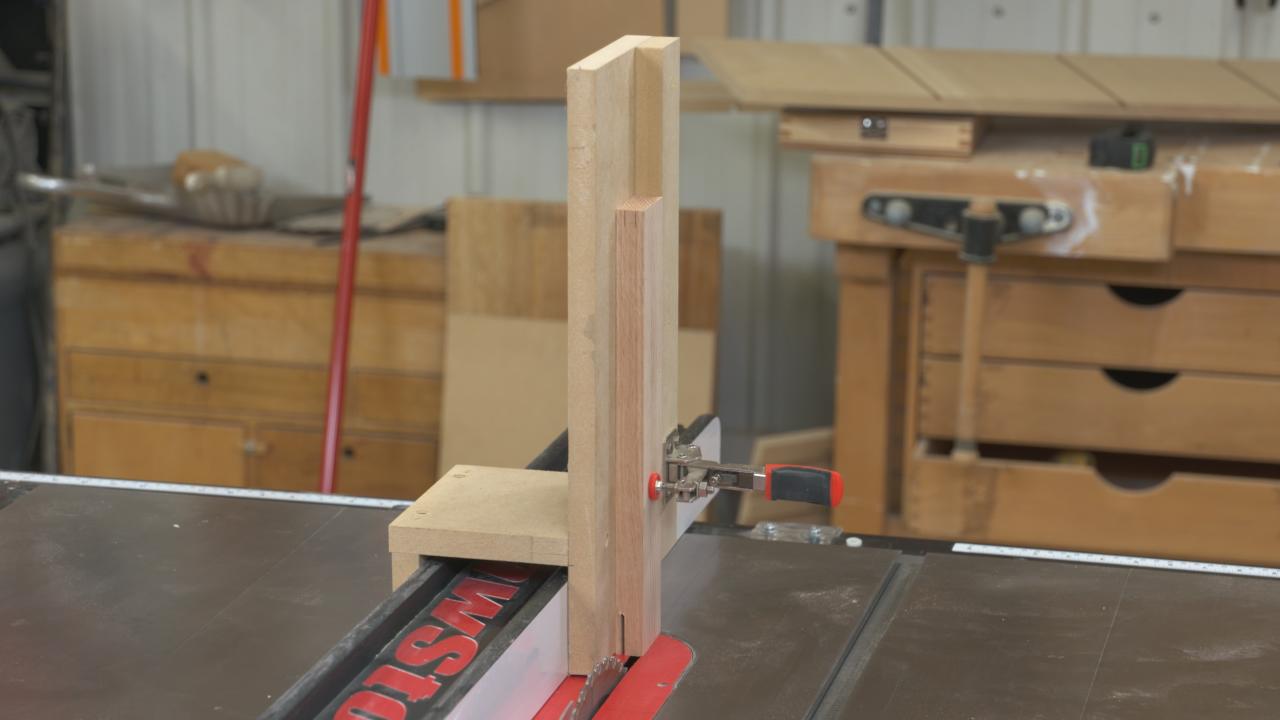
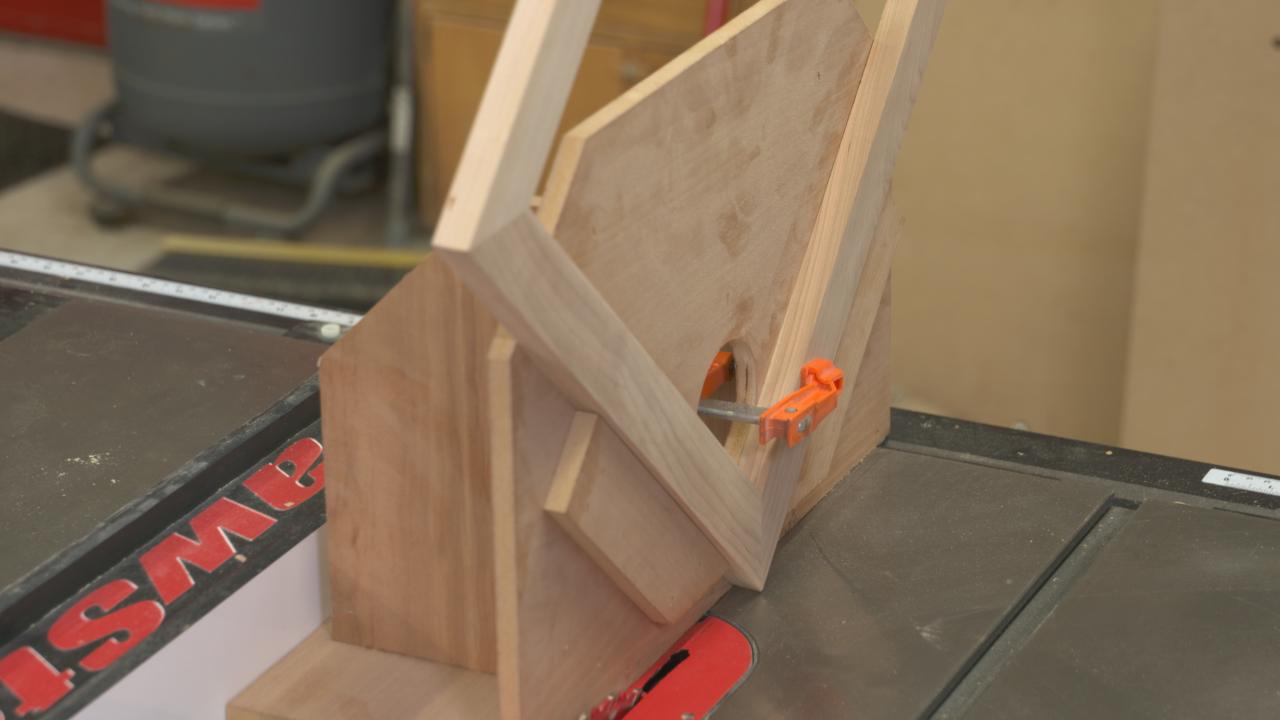
Woodworkers seem to love building, instead of buying, jigs and fixtures for their shop. It’s easy to understand why! When you build your own jigs, you can easily customize them to your tools and your needs. It’s also rewarding to create simpler and safer ways to do things with the jigs you build.
Ready to add some great jigs to your shop? You’re in the right place.
The jigs in this class
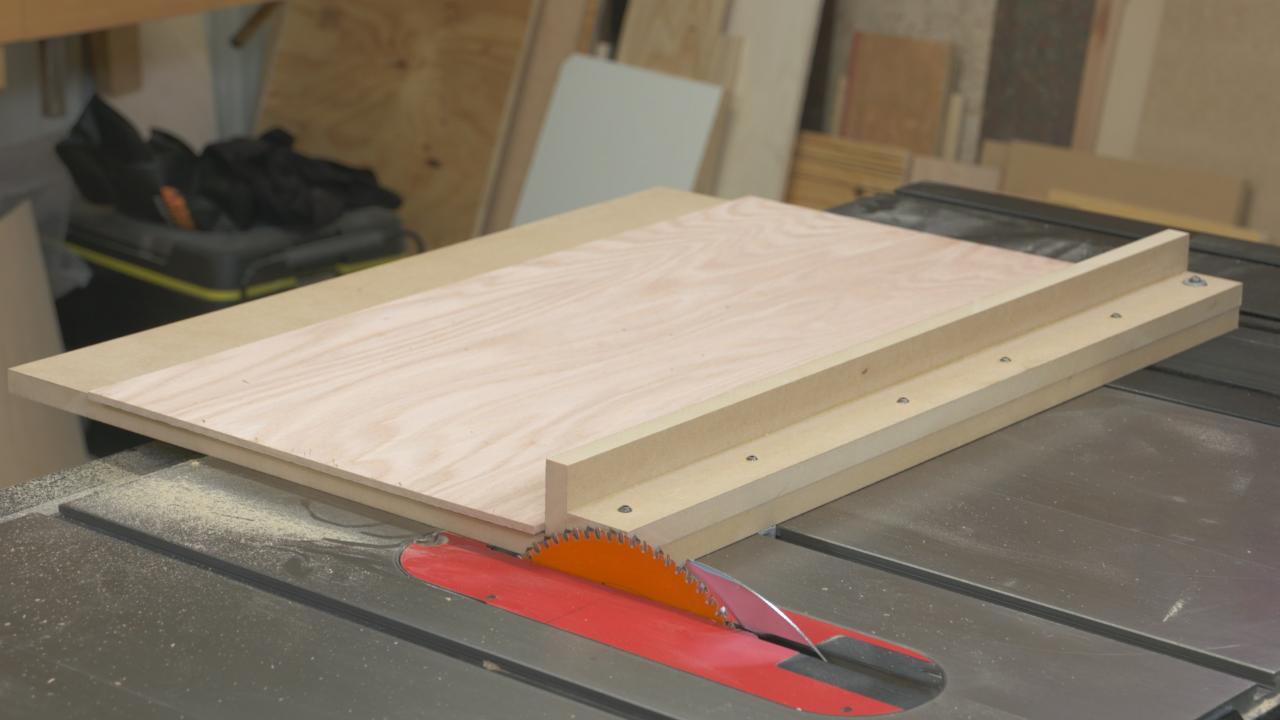
The jigs you’ll learn to build in this class will help you in a number of ways on your table saw and bandsaw. In addition to simplifying the following tasks, you’ll get more repeatable results and, in some cases, a higher level of safety.
- Cross cutting large panels
- Table saw tenons
- Cutting small parts on the bandsaw
- Splining mitered corners
- Cutting tapers, and straight-line edging boards
- Cutting dadoes and rabbets on the table saw
The class includes step-by-step instructions for building each jig, and demonstrations of how to use the jigs.
Materials and hardware
MDF is a great choice for jigs. It typically remains very flat, it’s inexpensive, and is readily available from home centers. We provide the dimensions for each of the jigs, and also let you know what accommodations you need to make on each, so the jigs will work with your tools.
Some of the jigs require specialized hardware or accessories. We’ve got that sourced for you, so you’ll be set to go.
Once you’ve worked your way through our jigs, you’re sure to come up with ideas for other jigs you can use in your shop. And the instruction you get here is sure to help you build on your own.
In addition to the detailed video instruction you’ll receive, this video class provides you with some downloadable resources and helpful information to print and keep, including: A detailed Class Guide you can follow and use as a reminder for the key steps of the class instruction; and source references for the materials used in the class.
George Vondriska
Formally trained in technology education, George Vondriska has been teaching woodworking since 1986. He has been the managing editor of Woodworkers Guild of America since 2007. In addition to classes at his own Vondriska Woodworks School, George teaches at woodworking shows across the country and has taught woodworking for the Peace Corps, Andersen Window, Northwest Airlines and the Pentagon.

Bonus materials available after purchase