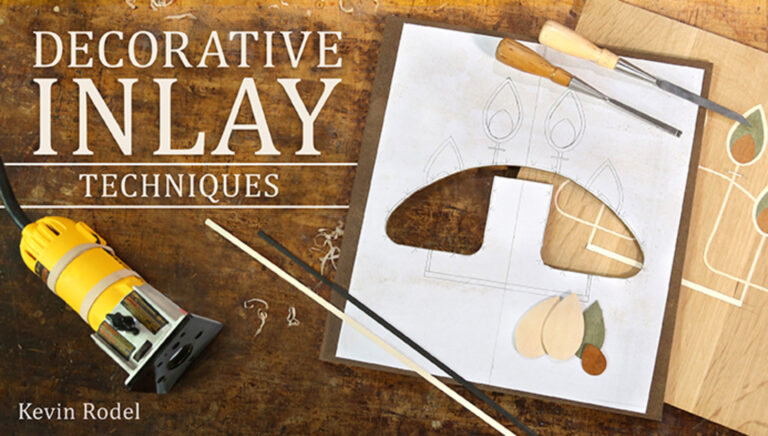
Decorative Inlay Techniques
Kevin Rodel
Video Player is loading.

Class Preview
- In-depth Instruction; over 120 mins
- On-demand video access anytime
- Bonus downloadable PDF resources
- Access to class Q&A

Design & Materials
15:41
Meet your instructor Kevin Rodel, who will help you develop your decorative inlay techniques. First, he'll review the history of inlay and the artistic value behind your project. Then he'll demonstrate two different ways you can cut your own inlay bands if you choose to not purchase them ready-made.

Cutting Channels
10:46
A little bit of planning goes a long way. If you plan your cutting sequence first, you'll finish with a beautiful project. Kevin shows you how to plan, and also how to set the router tip depth and distance to perfectly cut the inlay channels.

Finishing Strip Inlay Design
16:04
Learn techniques to achieve a professional inlay design as you follow Kevin's instruction to square the corners with a chisel, cut all inlay strips to length and glue them in. Just flush the inlay to the surface of your project and use oil or a finish of your choice to make it shine!

Creating Templates
11:06
Take your skills up a notch to create a templated inlay design. Kevin will show you how to make a multi-insert template with the correct sizes that you can use again and again. Along the way, build skills for creating your very own designs.

Tight Bends
22:48
Think tight curves are an inlay challenge? Think again! Kevin demonstrates how to cut a curved channel quickly. Then he'll show you the laminate bend and the hot pipe bend, two tried-and-true ways to create inlays for your curved channels. Pick your favorite and get fitted!

Creating Inserts
30:19
Finish the bent inlays you made in the previous lesson. Kevin helps you to fix any minor discrepancies. Then, he demonstrates how to make his insert "sandwich" which will allow you to cut multiple pieces with ease. Finally, see how install the decorative insert shapes.

Finishing & Advanced Techniques
13:07
Take your skills up a notch and learn Kevin's trick for using inlay on a curved surface. He'll even provide tips to using other inlay materials, such as soft metals or colored epoxy resin. The creative possibilities are endless!
Description
Learn how to inlay wood with confidence for beautiful results. With expert woodworker Kevin Rodel as your guide, you’ll start with how to plan your cutting sequence and set up the depth and distance of your router. Next, discover how to create an inlay like a pro as you square corners with a chisel, cut your inlay strips to length, glue them in, flush your inlay to the surface and finish it. With these essential skills under your belt, Kevin will help you create more intricate inlay designs with a multi-insert pattern. Take your skills even further as you learn to create inlays for curved channels using two tried-and-true techniques: the laminate bend and the hot pipe bend. Plus, discover advanced methods for creating wood inlays on concave and convex surfaces.
Kevin Rodel
Kevin Rodel has been a fine-furniture maker for 35 years. He has taught at furniture schools throughout the country, written numerous articles for Fine Woodworking magazine and co-authored the book Arts & Crafts Furniture: From Classic to Contemporary. His work has also been featured in several books on crafts and design, and he has exhibited at the annual CraftBoston Show as well as the Smithsonian Craft Show.

Bonus materials available after purchase