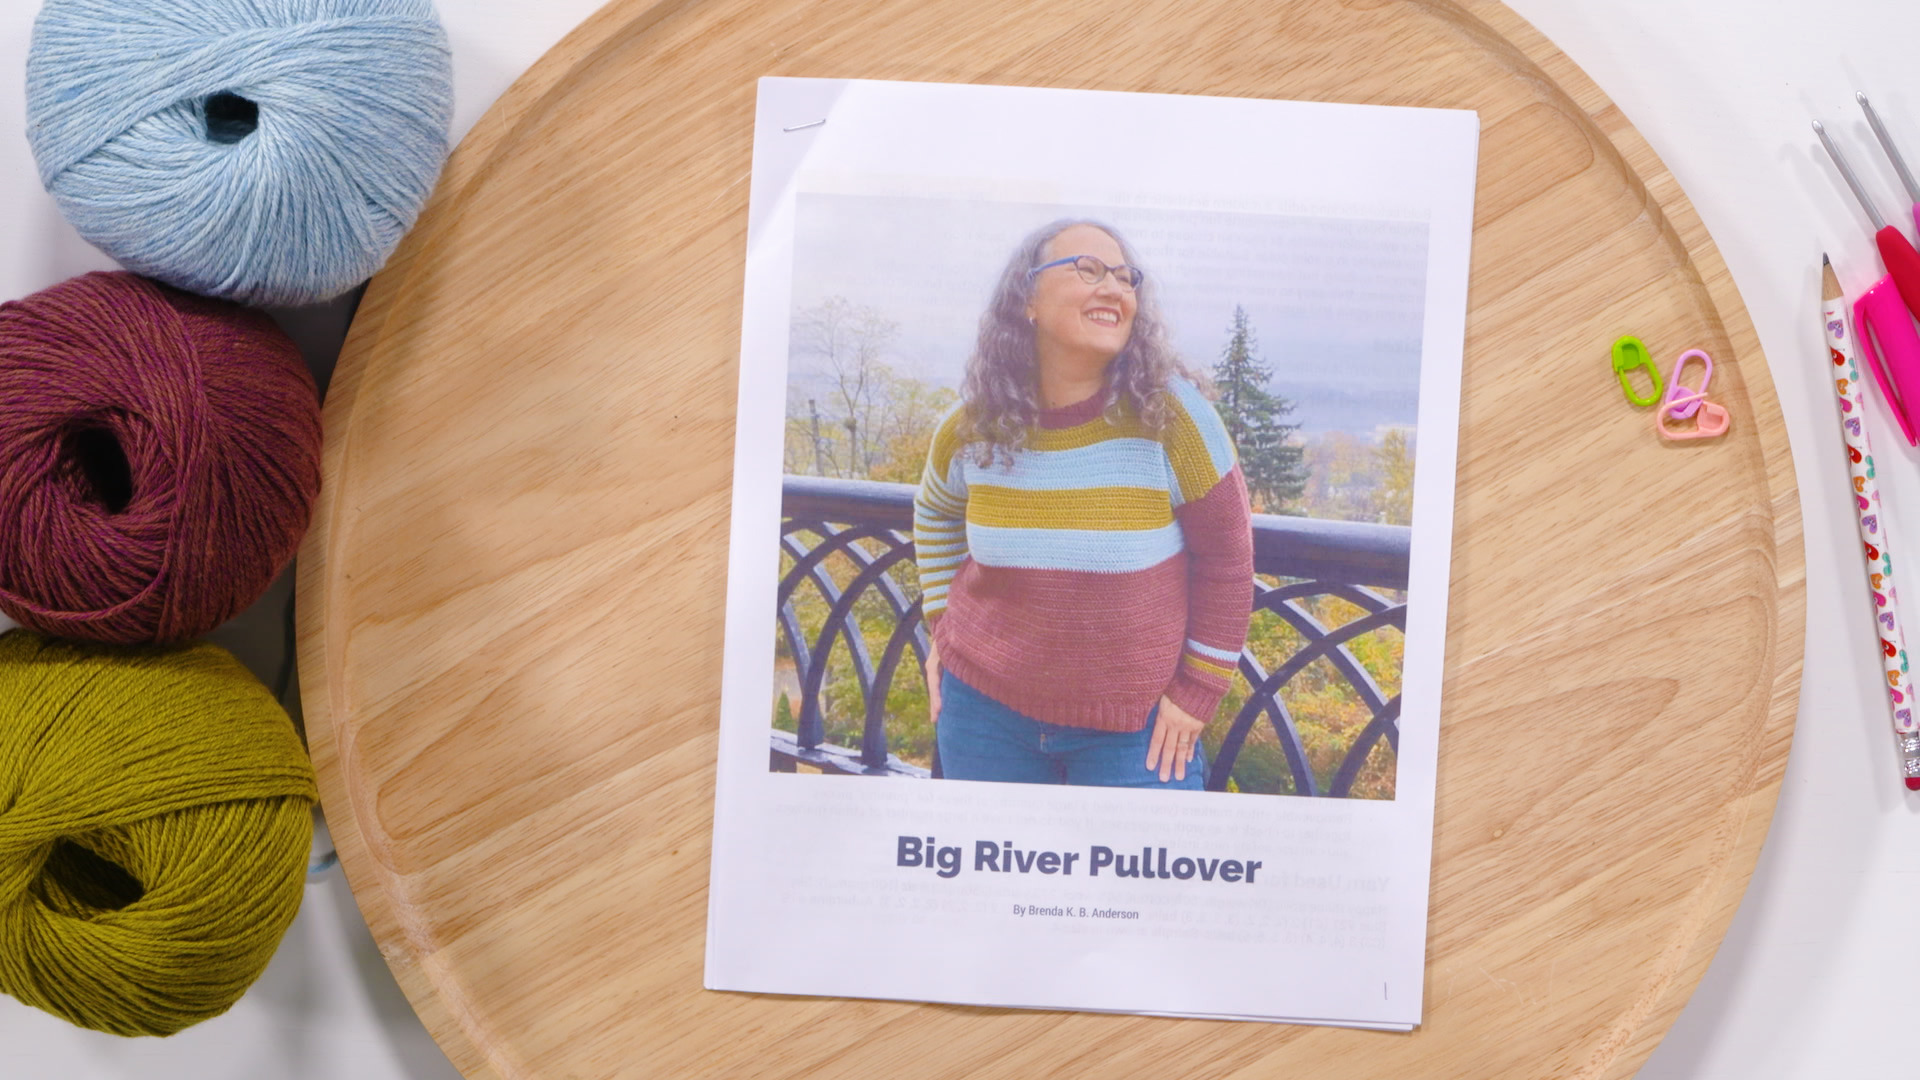
Crochet the Big River Pullover: A Beginner's Guide to Making Your First Sweater
Brenda K.B. Anderson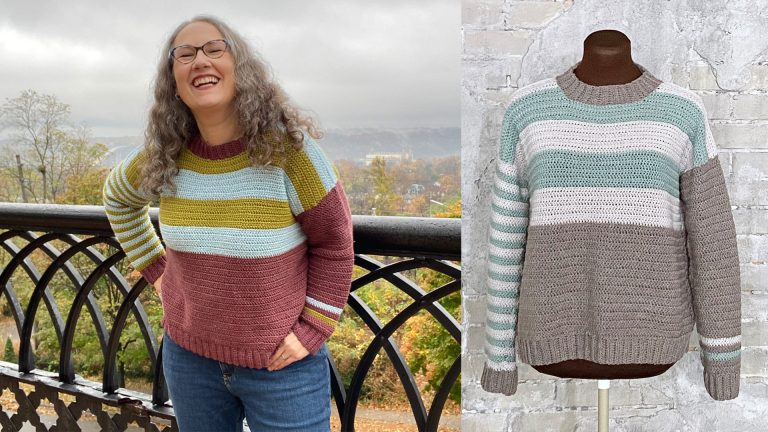
Class Preview
0:52
- In-depth Instruction; over 262 mins
- On-demand video access anytime
- Bonus downloadable PDF resources
- Access to class Q&A
Session 1: Introduction
2:15
In this session Brenda introduces us to her design, the Big River Pullover. This sweater was designed to teach the basic construction method of a top down sweater that is made in separate pieces and then seamed. It is made using a special stitch that has lots of drape but also good coverage.
Session 2: Materials
7:28
Brenda walks us through the materials and tools that you will need for this project. She discusses the properties of the yarn that was used to make each of the two samples shown in this class. The specifics for each yarn can be found in your pattern download.
Session 3: Determining Your Size
13:01
Brenda explains how we can use our body measurements, the pattern sizing information, the schematics, and pre-existing articles of clothing that we already own, all in conjunction to help us choose the size that is right for us. She also touches on the possibility of combining instructions for different sizes together to create a good fit.
Session 4: Understanding the Pattern
10:24
In this session Brenda explains how to read a pattern. She explains the mysteries behind the numbers grouped within parenthesis and how to know which numbers to follow. Brenda continues walking us through the pattern, answering all of the “most-asked” questions that newer crocheters typically have.
Session 5: Gauge Swatch
12:47
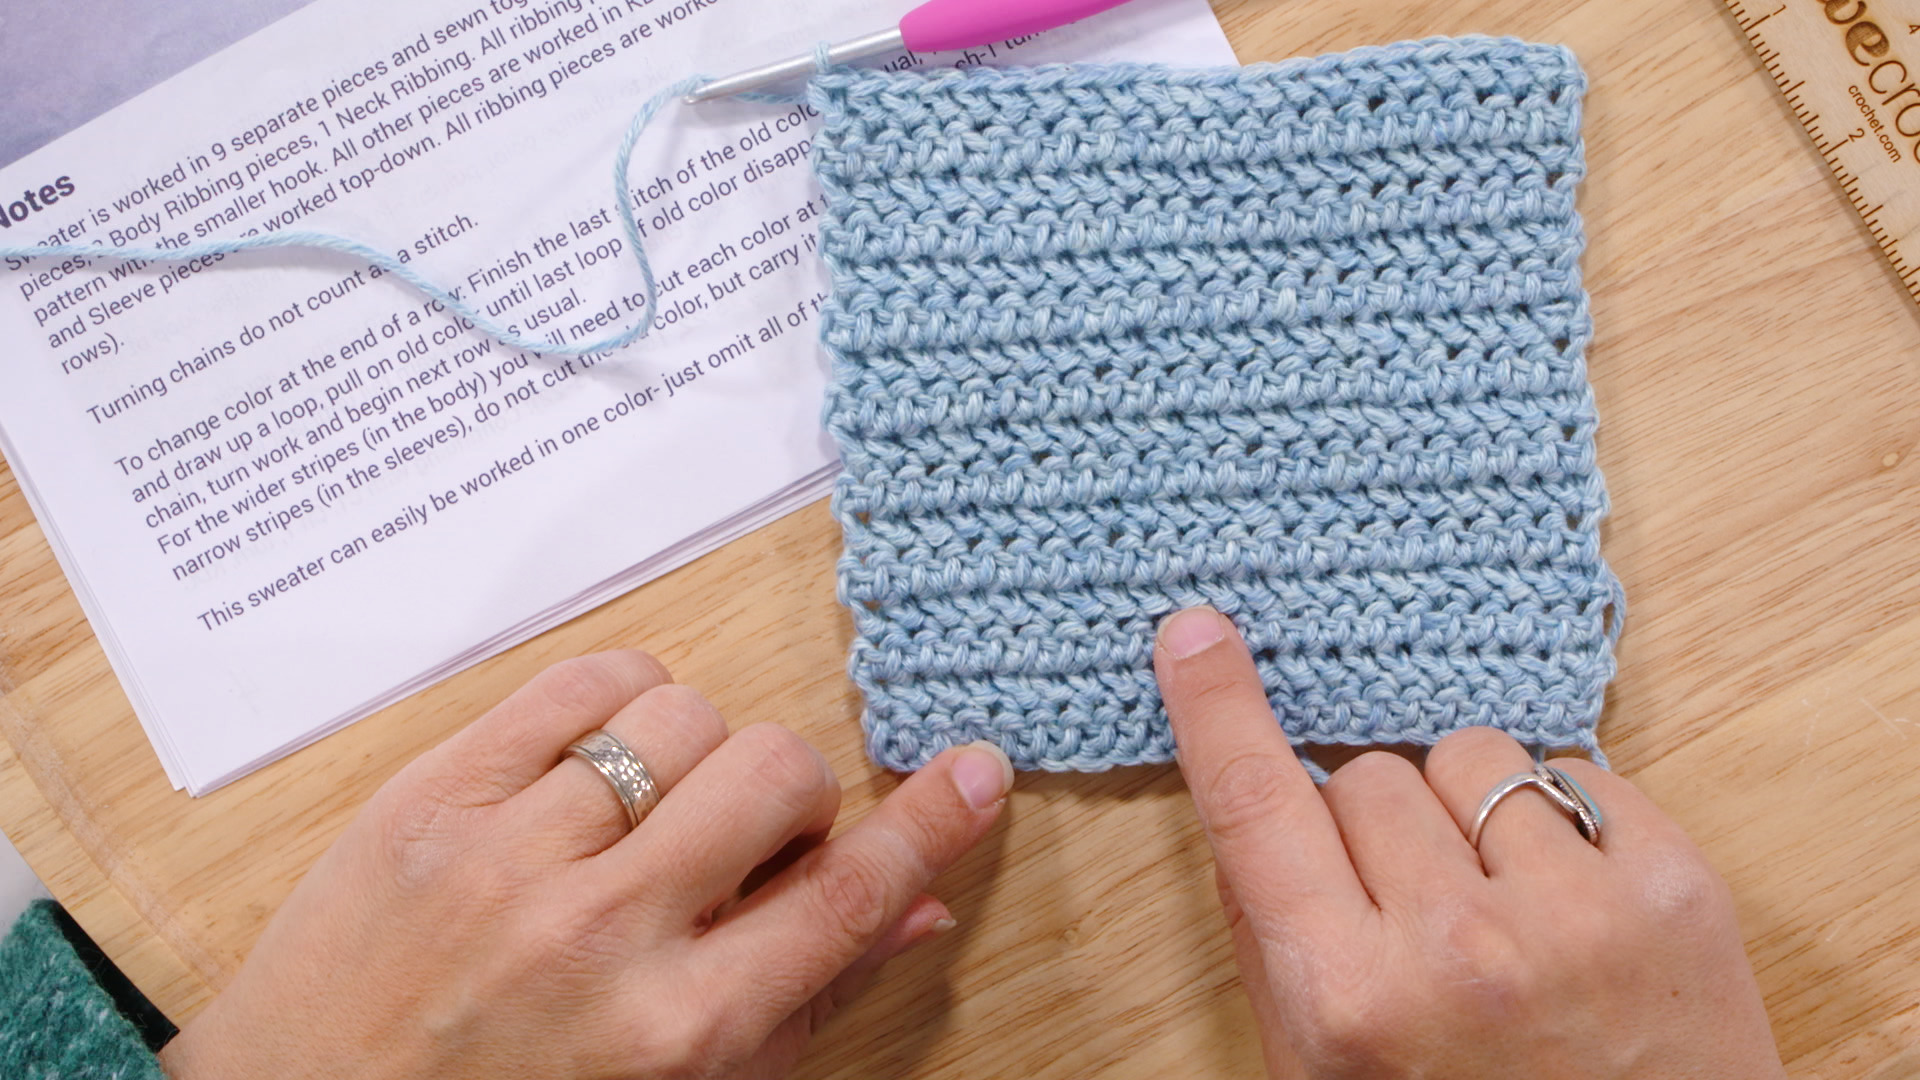
Brenda teaches us how to make a gauge swatch in the KDC stitch pattern. She gives us plenty of advice along the way so that we know how many stitches to work across, how to count our rows, and what to do if our swatch turns out too big or too small.
Session 6: Back Sizes 1,2,3
14:49
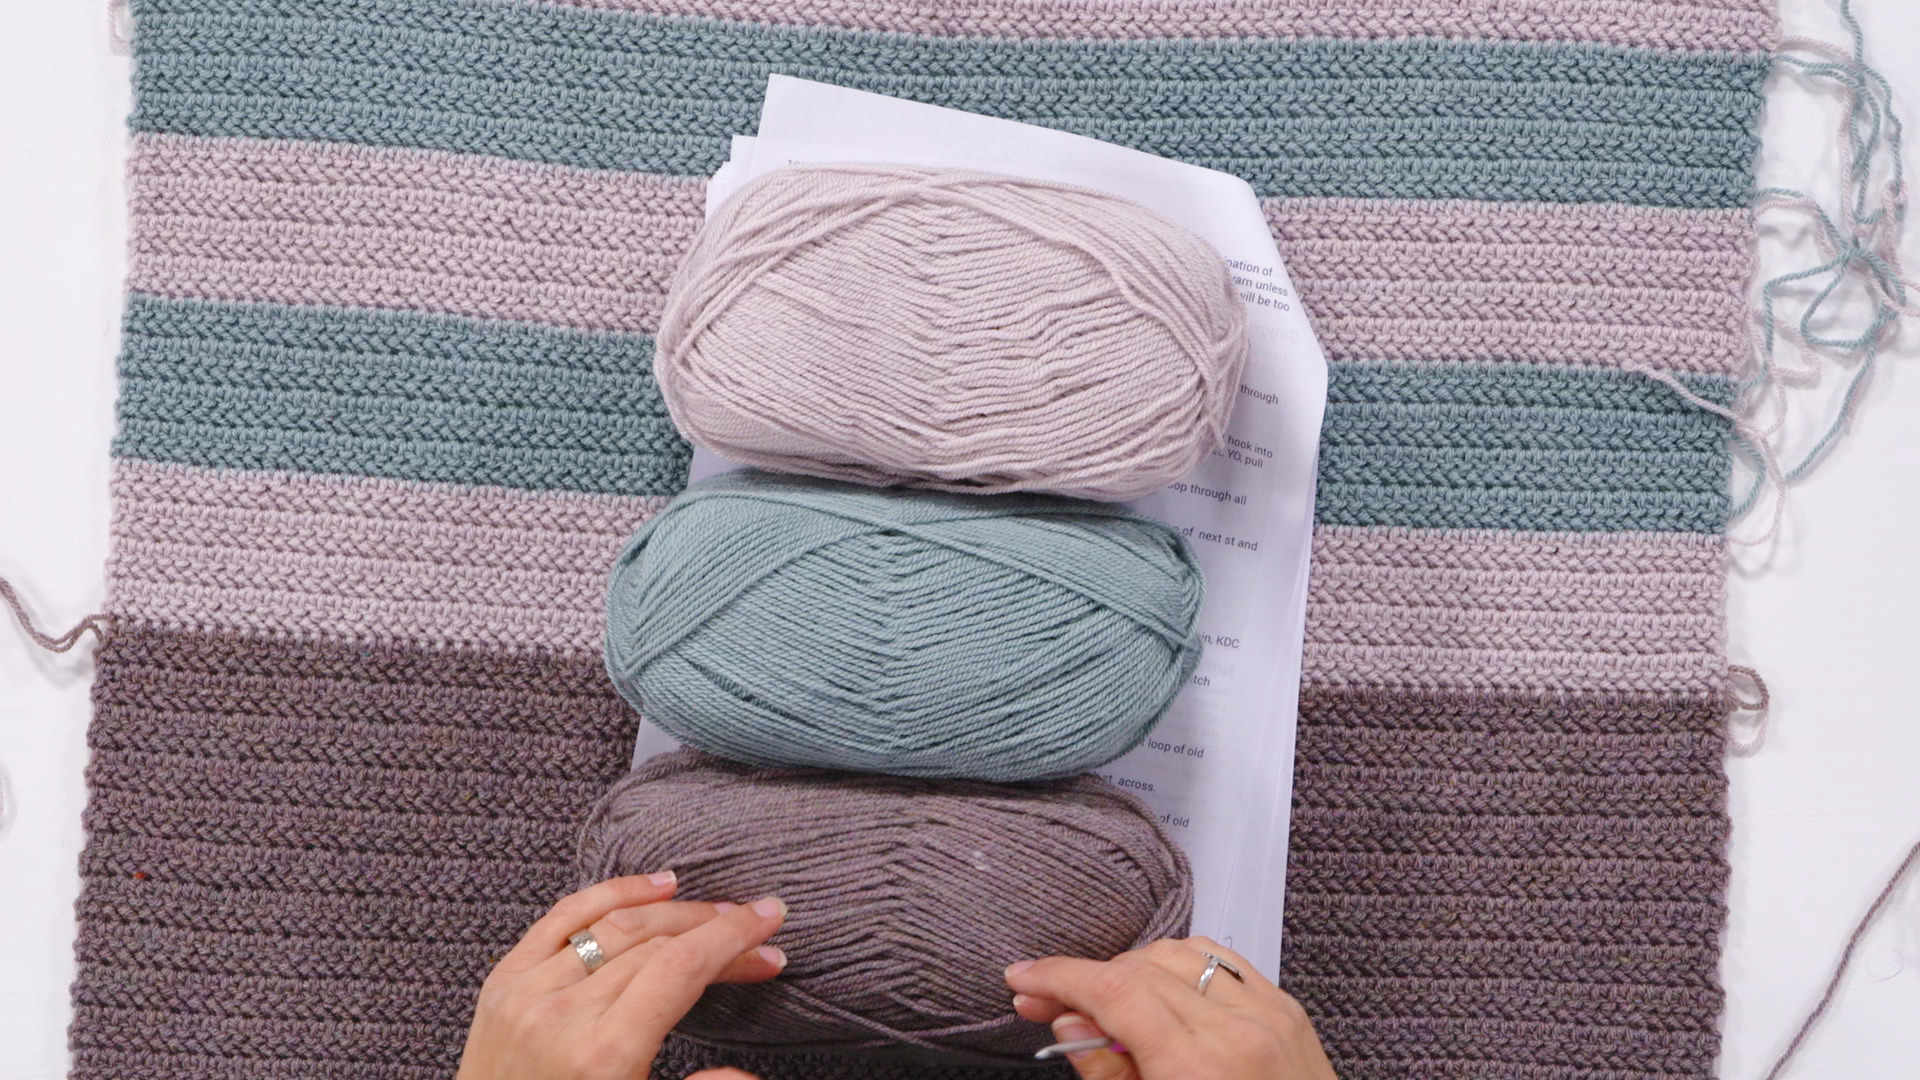
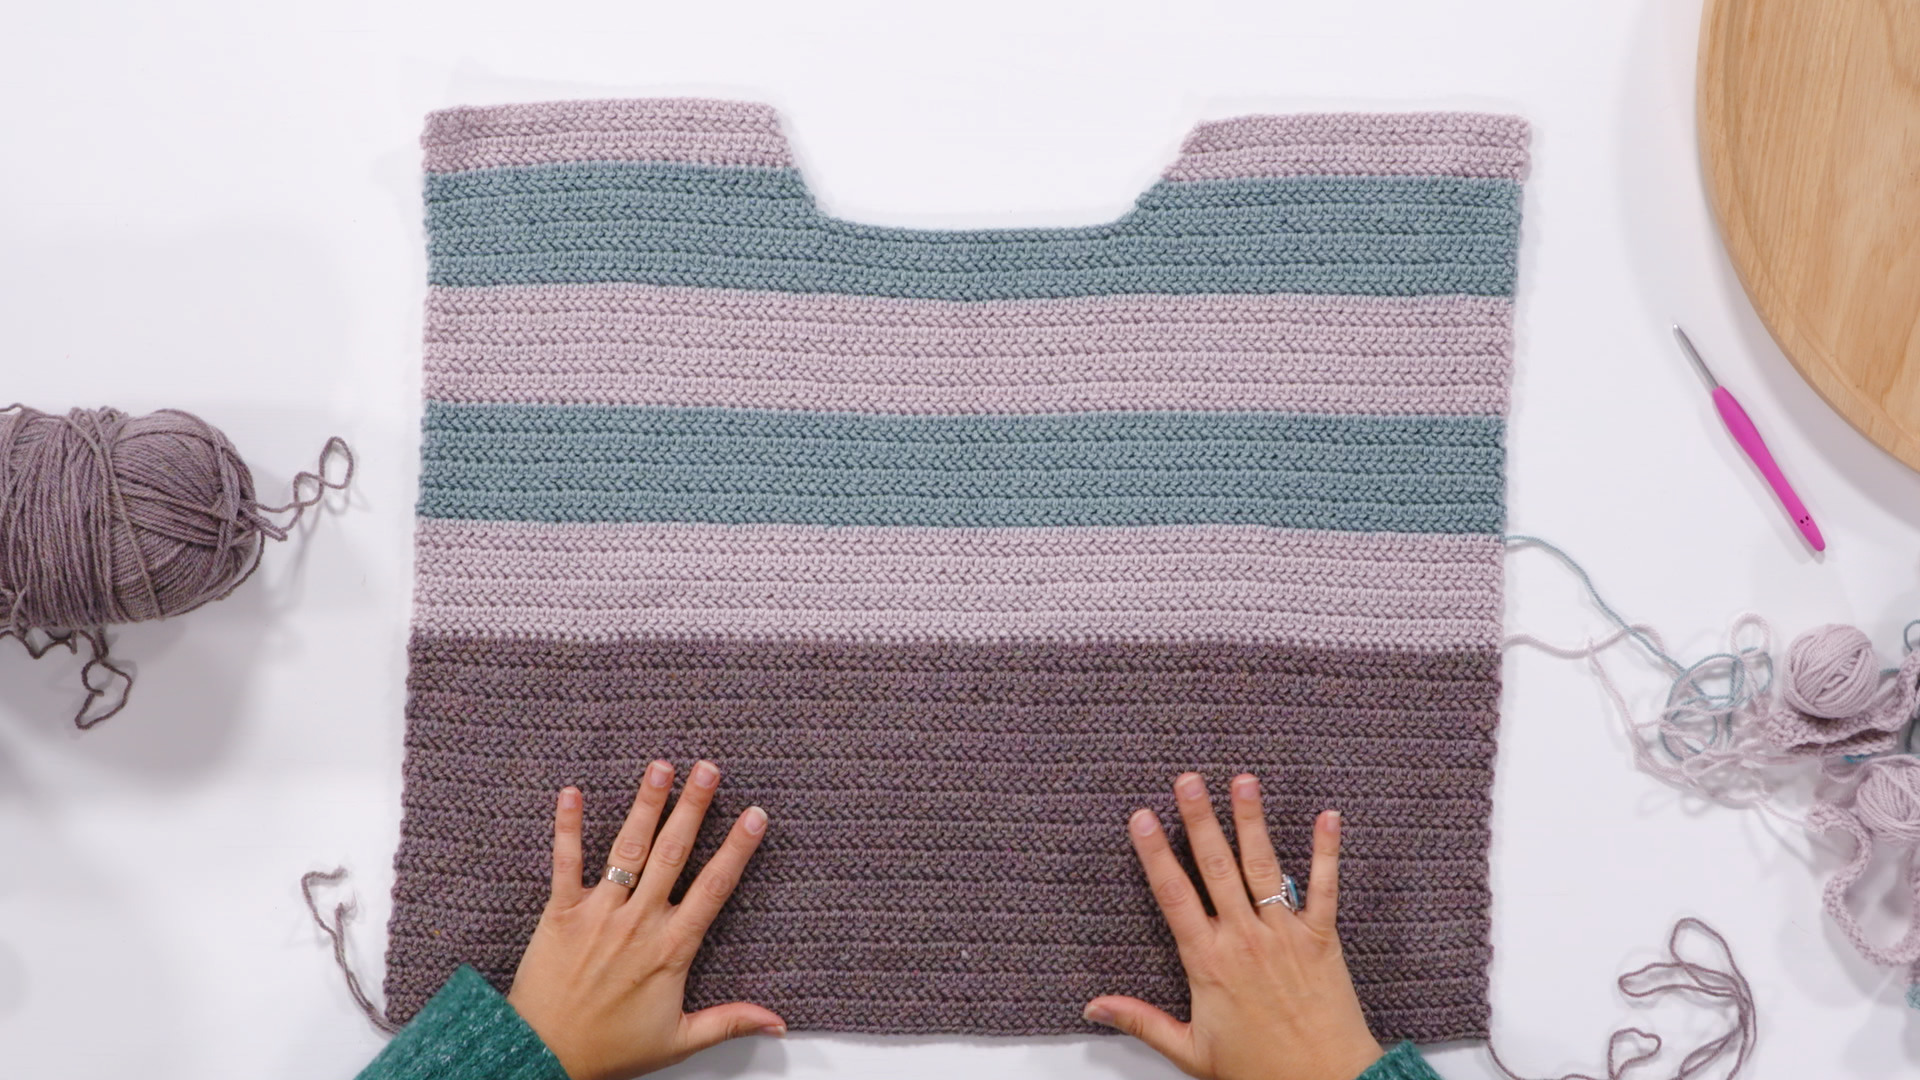
Brenda demonstrates how to create the Back panel for sizes 1, 2, and 3. She shows her favorite technique to seamlessly switch colors at the ends of our striped sections, and discusses how many rows and how many stripes to work before changing to the third color and finishing up our Back panel.
Session 7: Back Sizes 4,5,6,7,8
37:35
Brenda demonstrates how to create the Back panel for sizes 4, 5, 6, 7 and 8. She shows her favorite technique to seamlessly switch colors at the ends of our striped sections, and discusses the number of rows and stripes to work before changing to the third color and finishing up our Back panel. Because these sizes include a modified drop shoulder construction, we learn how to create more width across the sweater below the armhole. We will see two different ways to do this because of the striping pattern. (Different sizes have different methods). At the end of this session, Brenda gives us more information for those of us who are using one size for the body and another size for the sleeve.
Session 8: Front Sizes 1,2,3,4
21:25
In this session we learn how to crochet the Front panel for sizes 1, 2, 3, and 4. We begin by working each of the shoulders separately, and then joining them together to bridge across the front neck. Brenda walks us through this process, showing us step by step, how to do the neckline shaping, and how to join our pieces together and where our color changes should be. After the neck shaping, the remainder of the Front is exactly the same as the directions for the Back.

Session 9: Front Sizes 5,6,7,8
21:05
In this session we learn how to crochet the Front panel for sizes 5, 6, 7, and 8. We begin by working each of the shoulders separately, and then joining them together to bridge across the front neck. Brenda walks us through this process, showing us step by step, how to do the neckline shaping, and how to join our pieces together, and where our color changes should be. After the neck shaping, the remainder of the Front is exactly the same as the directions for the Back.
Session 10: Striped Sleeve
28:03
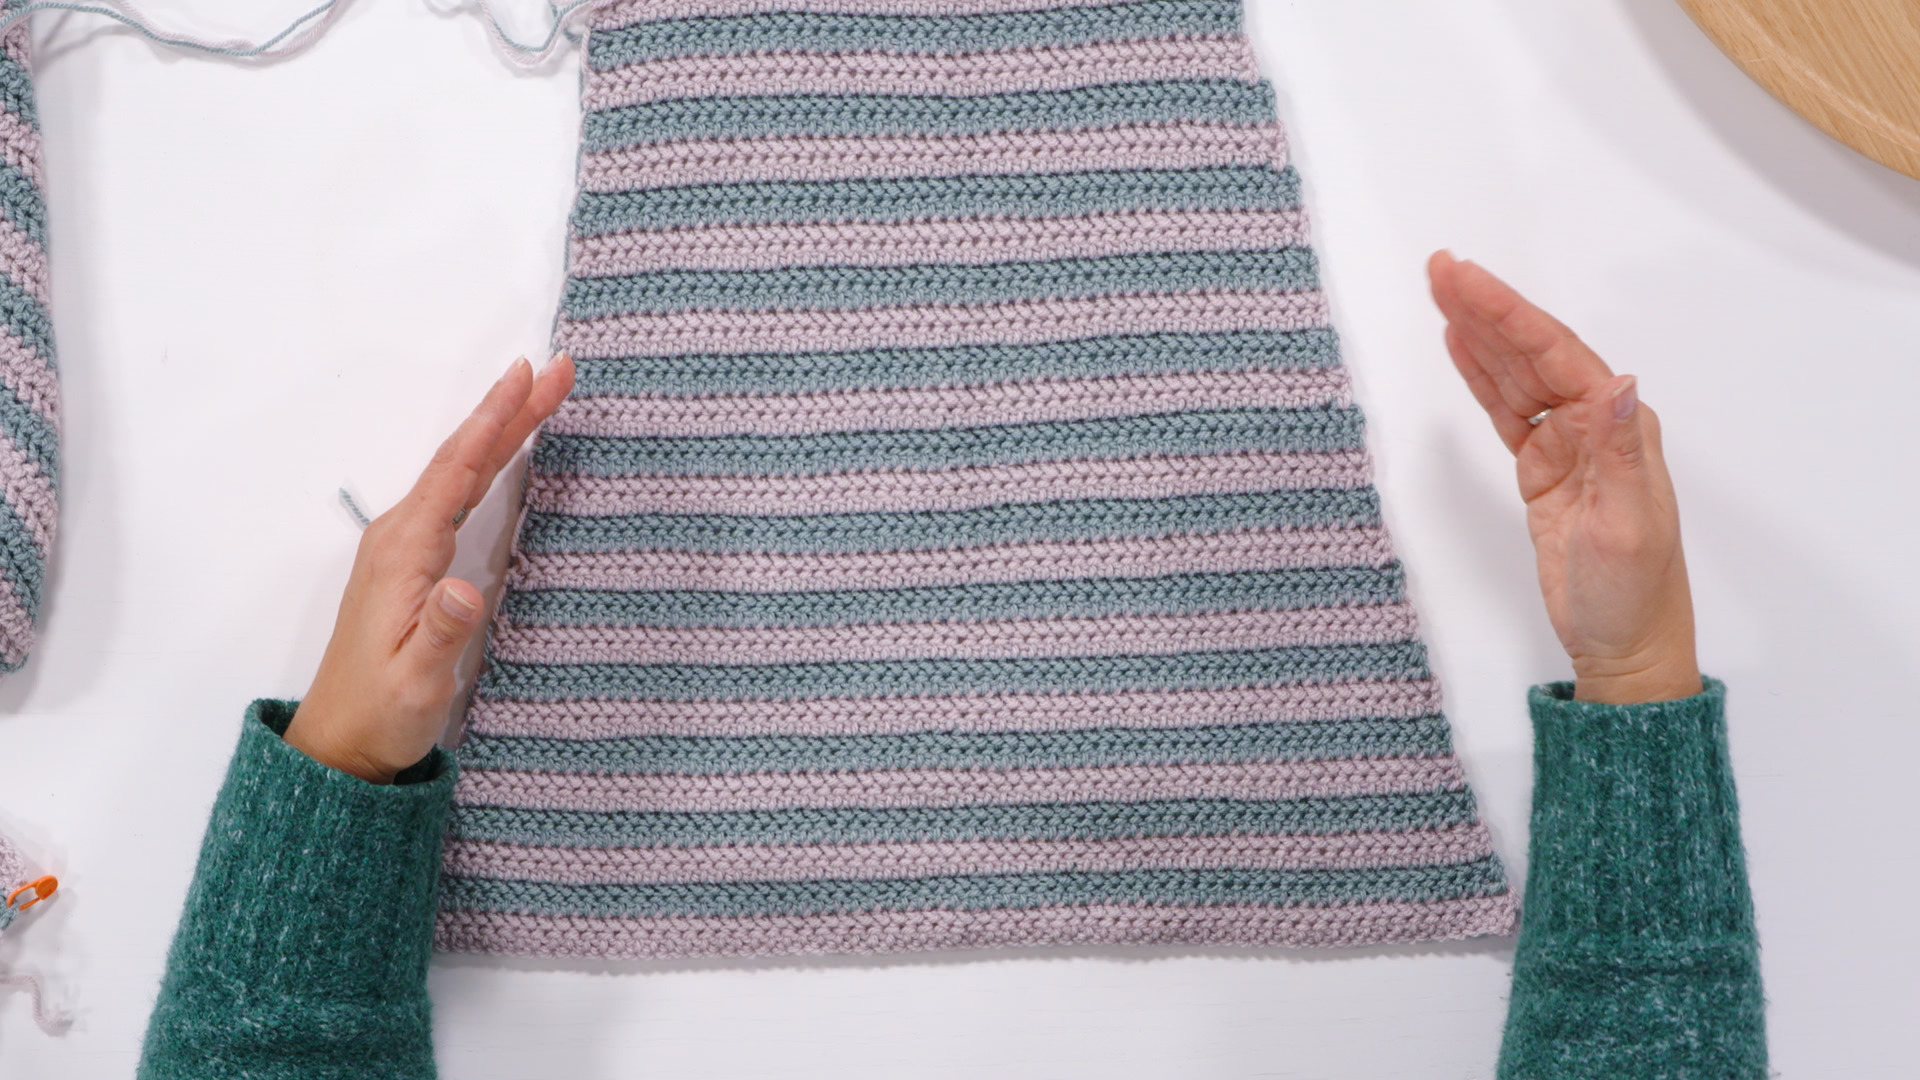
Brenda shows us how to work in the striped pattern and at the same time how to know when to make decreases to shape the sleeve. She explains that the different sizes will have different rates of decreases but that otherwise, the process of creating the sleeves will be the same for all sizes. Brenda shows us how to carry our non-working yarn up the length of the sleeve as we work so that we don’t have a bunch of ends to weave in.
Session 11: Solid Sleeve
8:06
Brenda walks us through the construction of the mostly solid colored sleeve. She explains where to add the two stripes at the wrist edge and goes over what to do if we had made modifications to the length of the sleeve.
Session 12: Ribbing
20:12
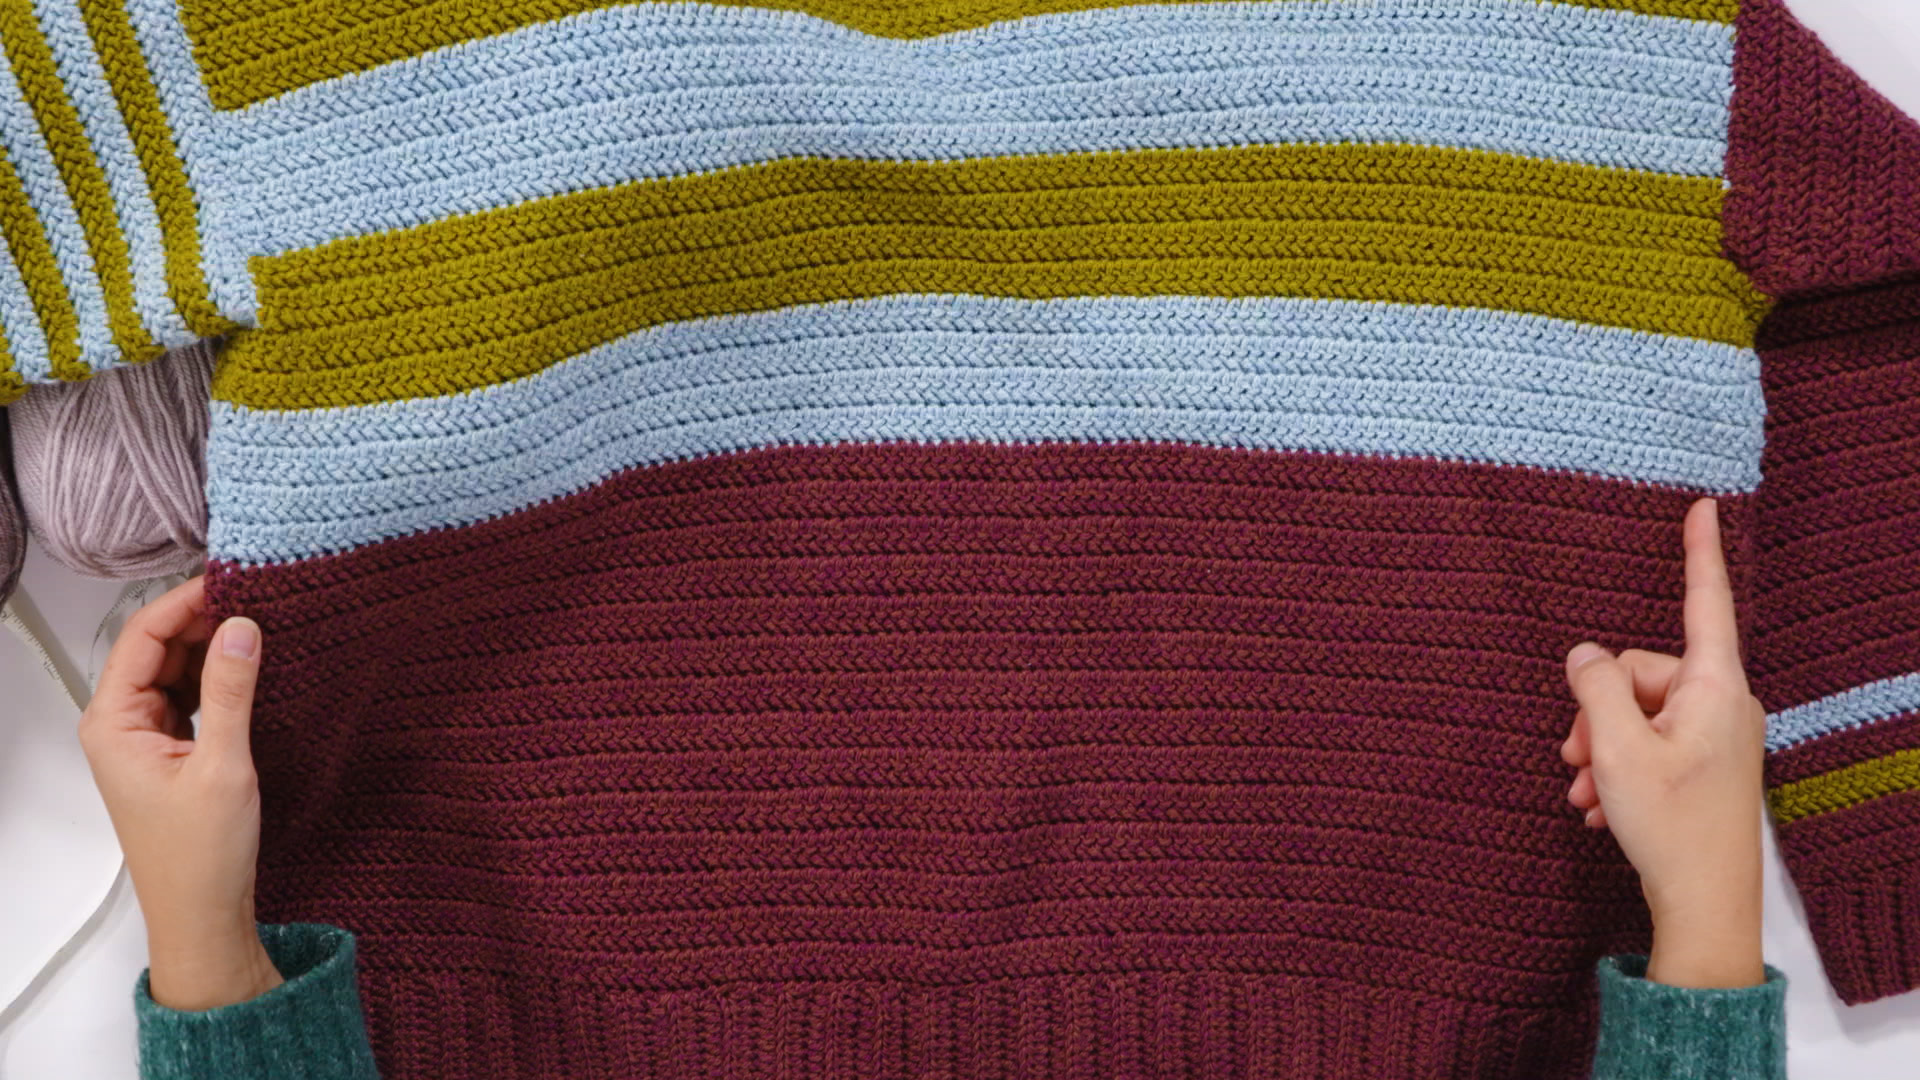
In this session we learn about making ribbing for the wrist edges, hem and neckline. Brenda talks about the need for a small amount of negative ease (stretch), shows us how to work under the back loop of a stitch and demonstrates how to work in the ribbed stitch pattern.
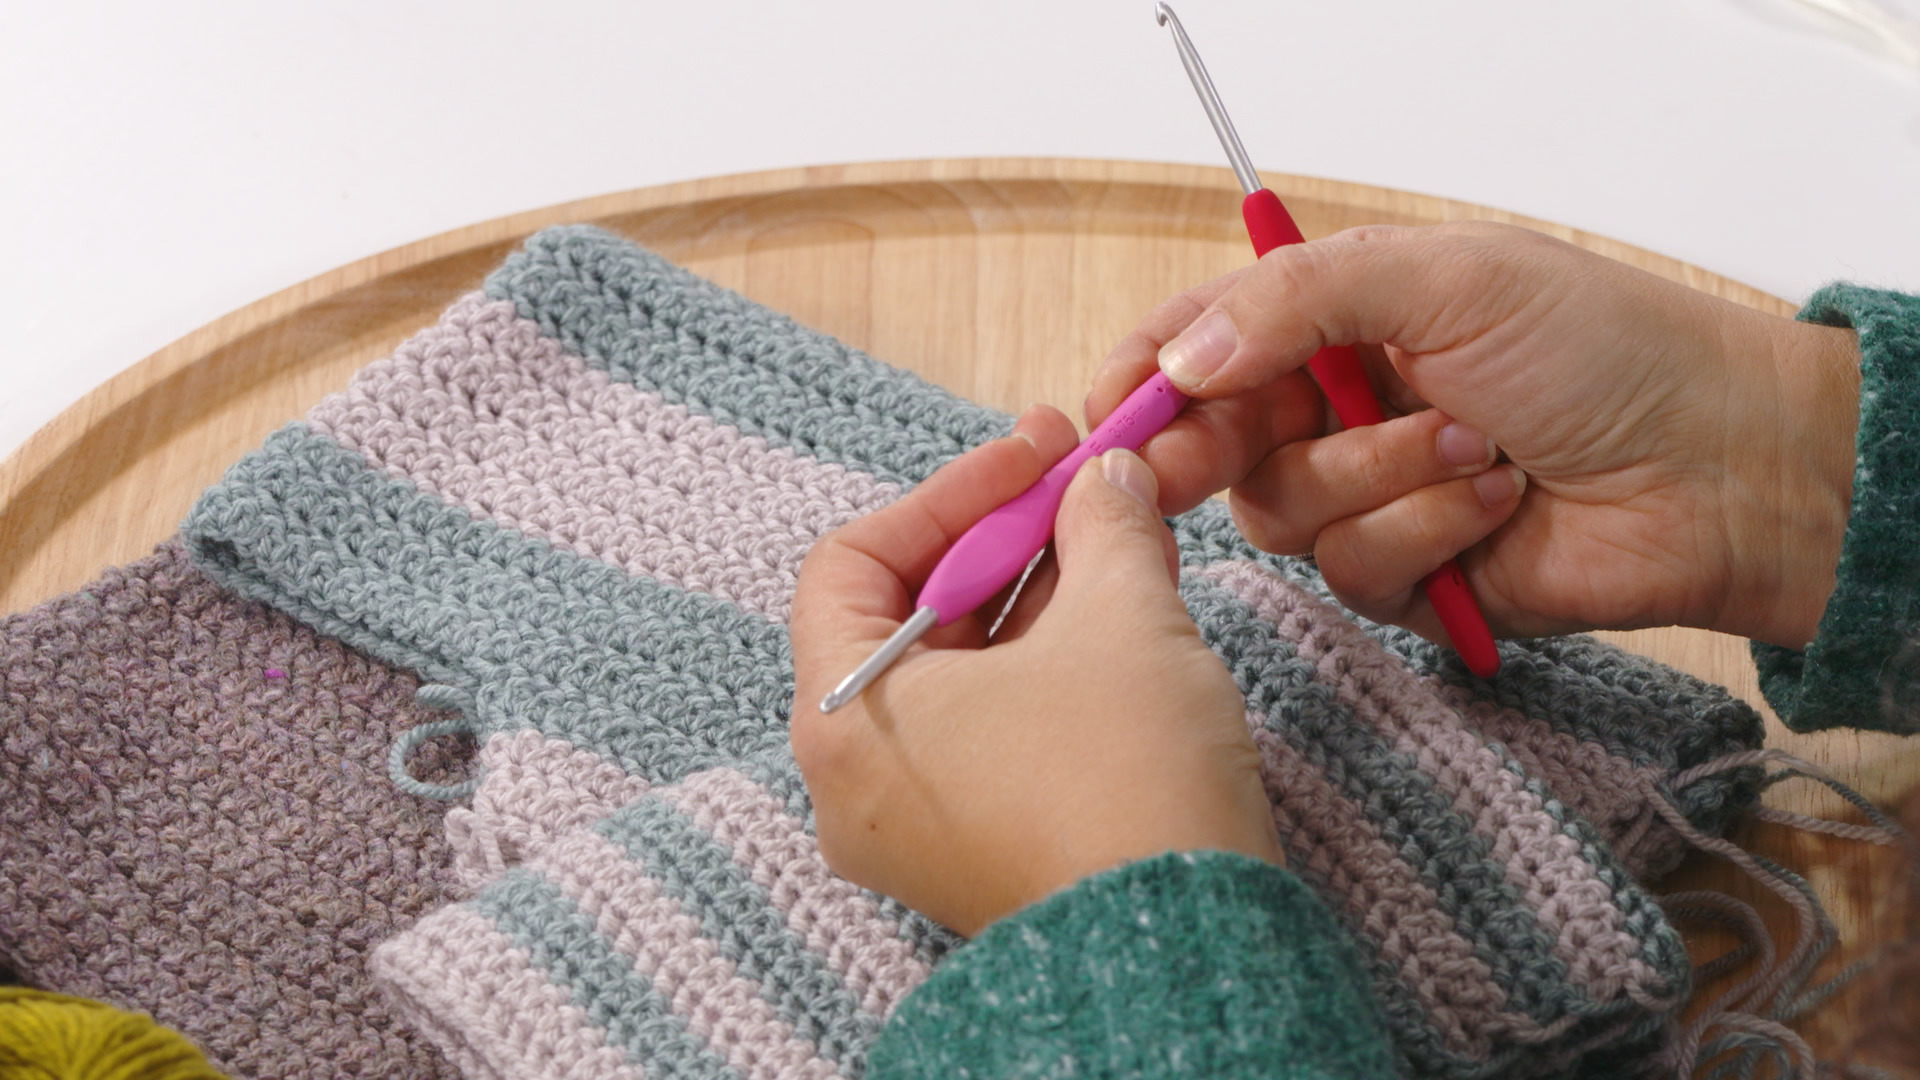
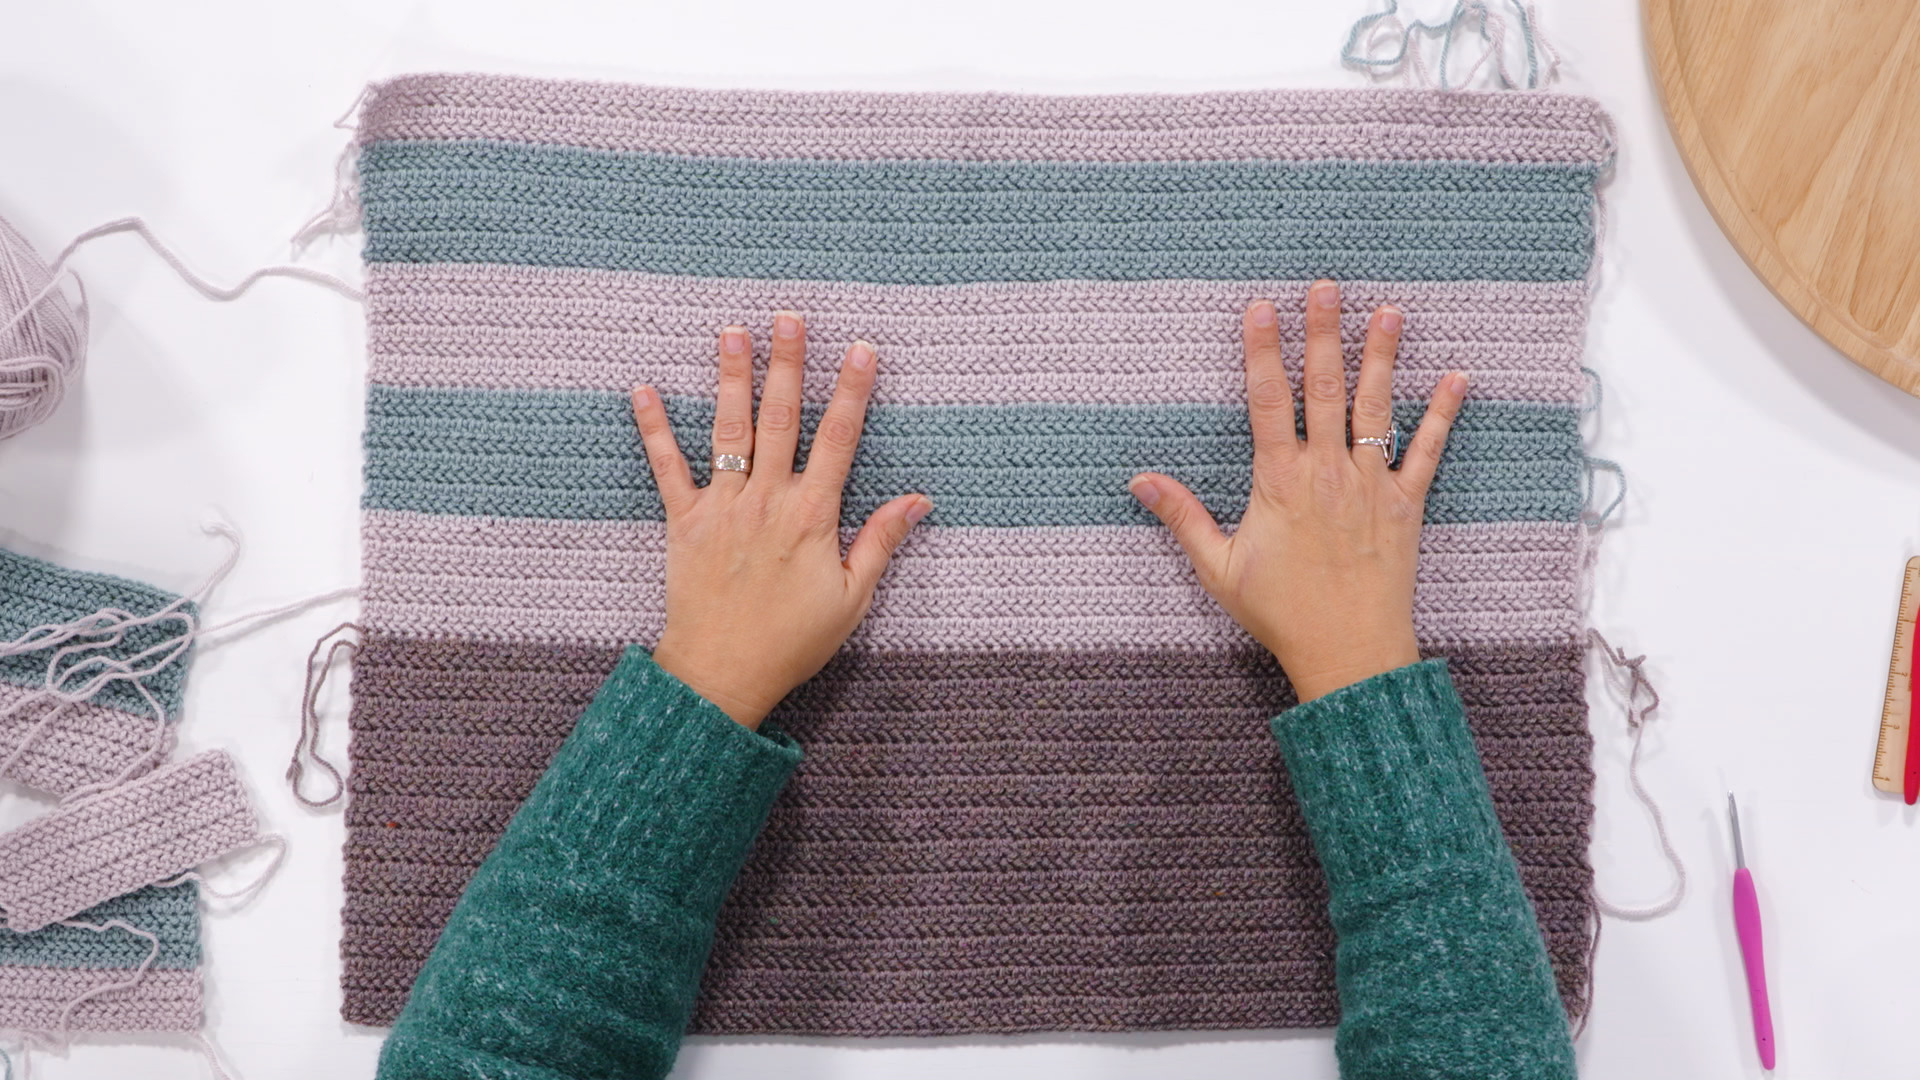
Session 13: Blocking And Seaming
1:04:19
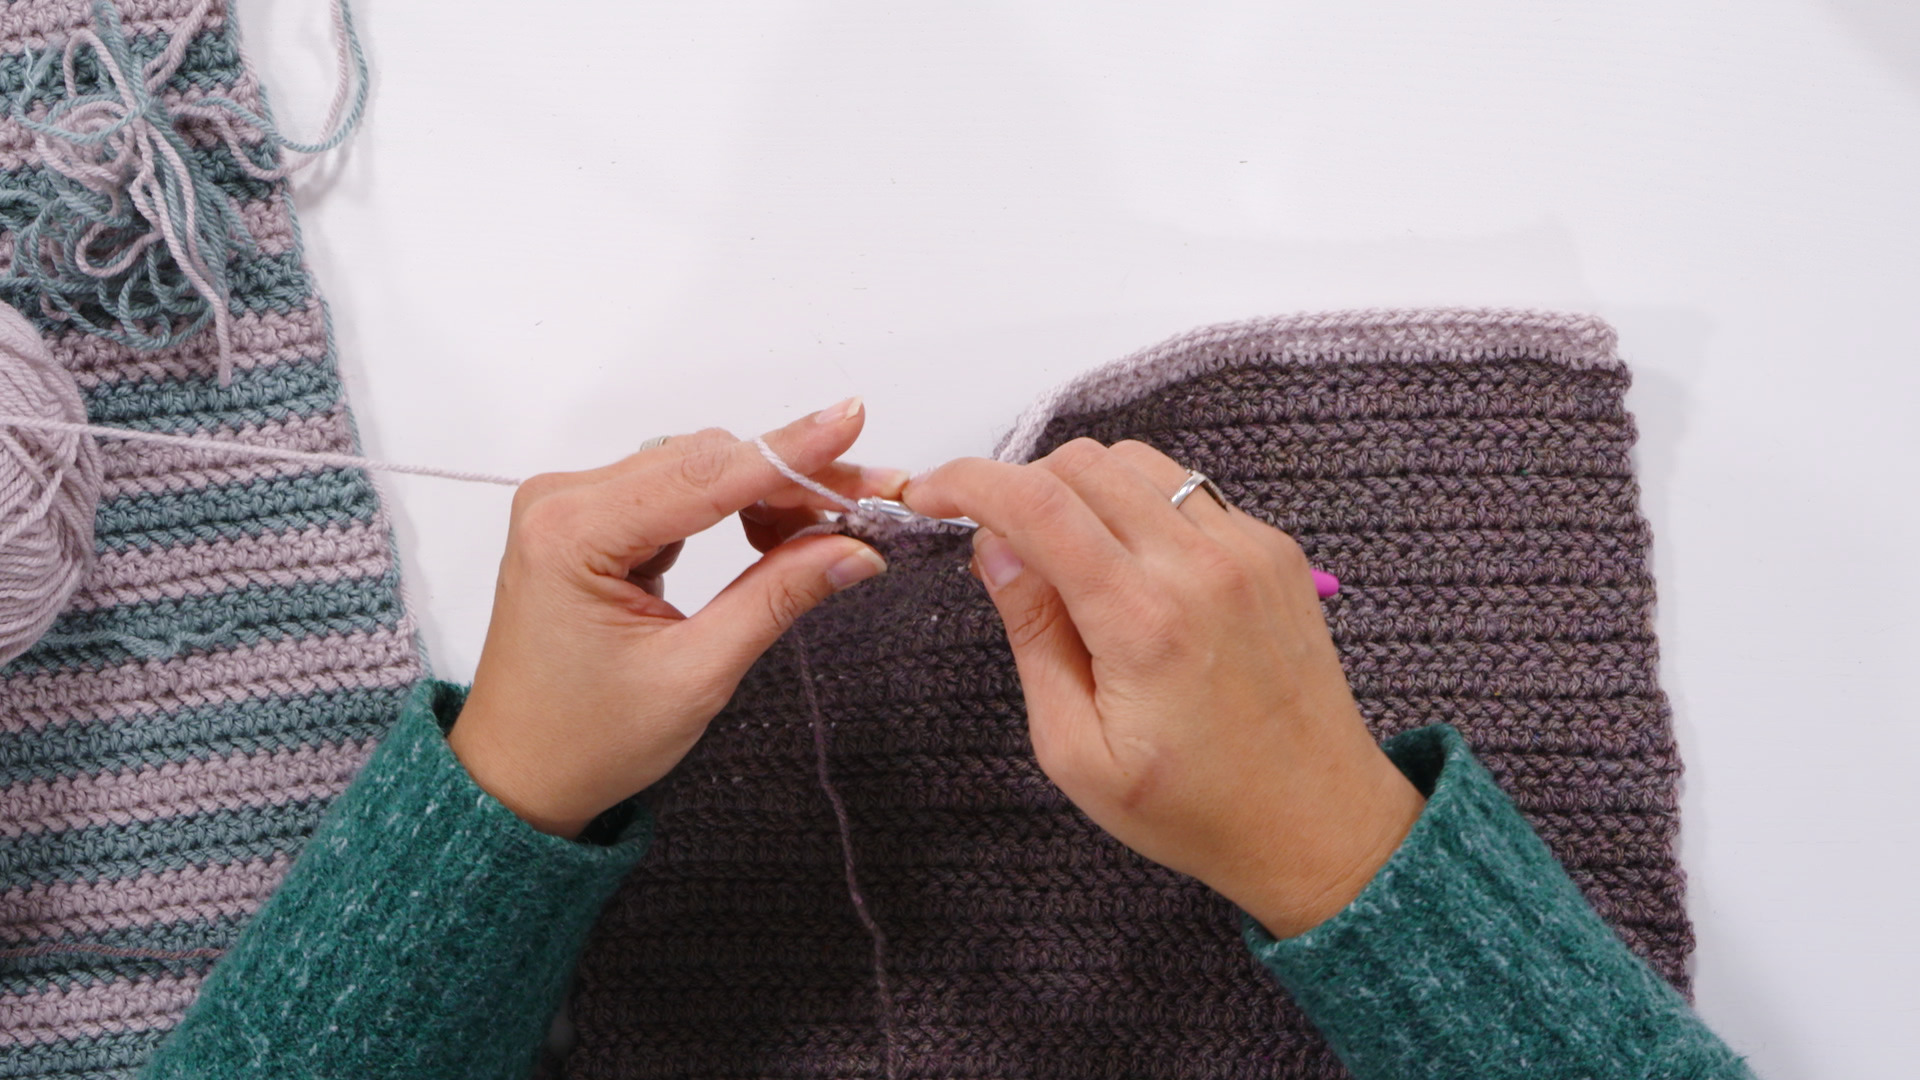
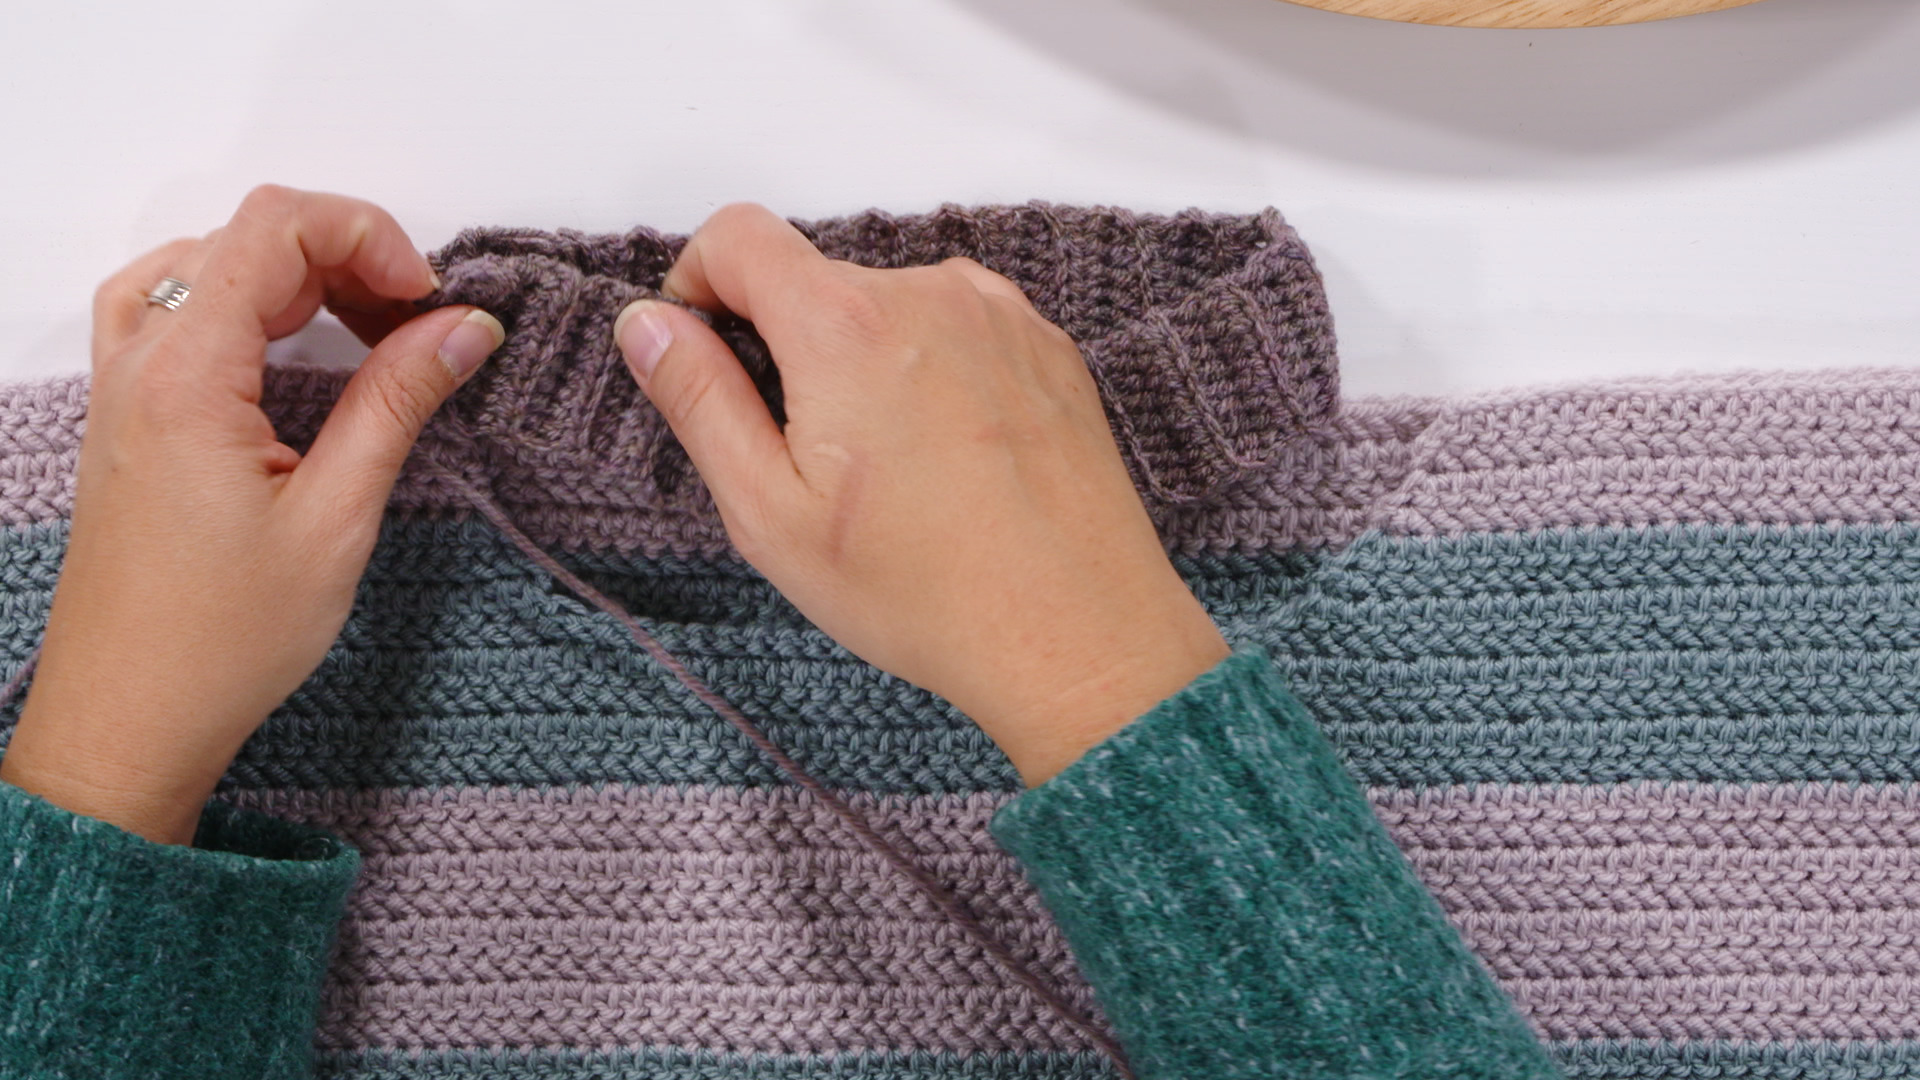
Brenda demonstrates 2 different methods to use for blocking. She explains the benefits of blocking, when to use it, and the pros and cons of each method. Brenda shows us how to install the ribbing pieces, how to place them and also how to seam them together with a whip stitch.
Making garments can be a stressful experience for some, but it doesn’t have to be! If you’ve never crocheted a garment before you might have a lot of anxiety about whether it will fit or look flattering. As with any larger-scale project that we spend a lot of time making, we want to be proud of the end-results! It not only needs to look great, but it also needs to fit the way we want it to. In this class, crochet designer Brenda K. B. Anderson walks us through the process of making a simple, seamed sweater, answering the most frequently asked questions along the way, and giving us options for changing the fit as we go.
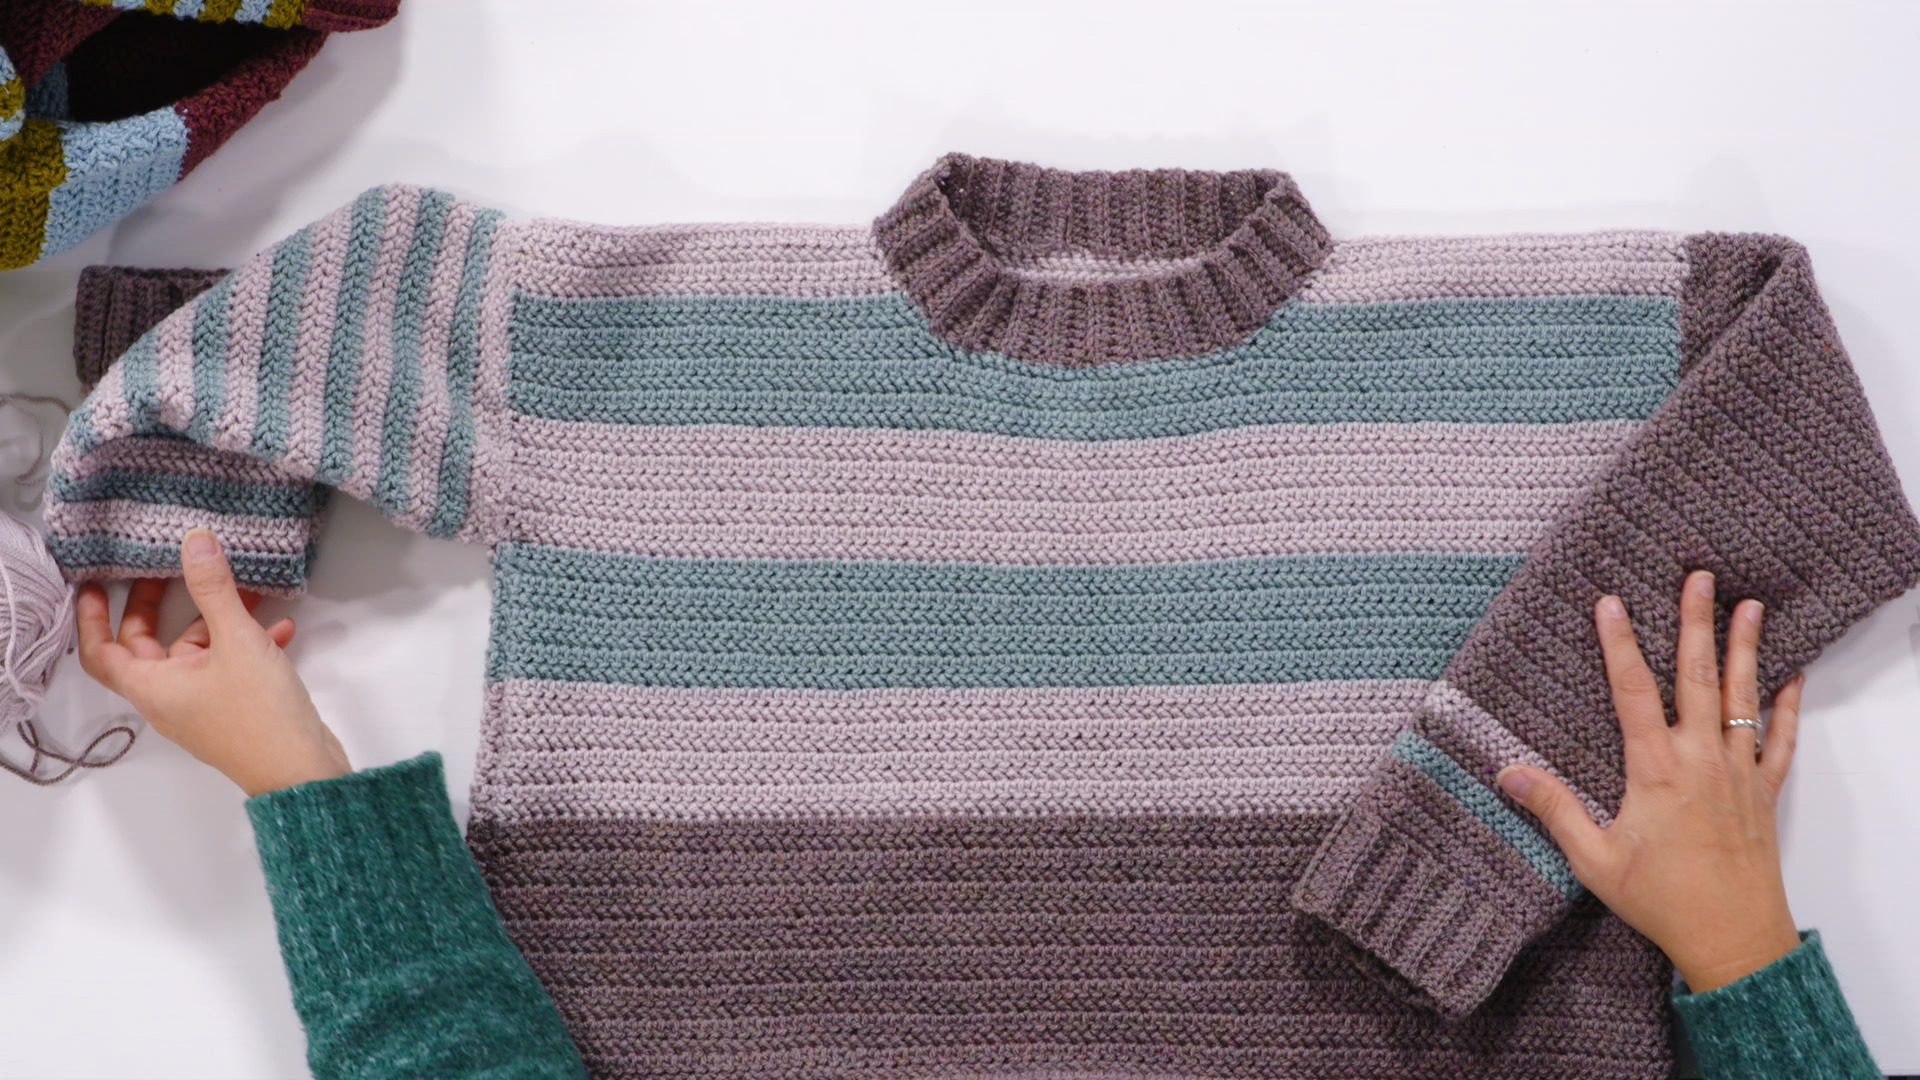
Brenda K. B. Anderson designed the Big River Pullover with those who are new to garment making in mind. This fashion forward, boxy sweater is sized from a 38” to 66” chest measurement and was intended to be worn with 4-8” of ease. This sweater features easy stripes to keep things fresh and fun, and simple front neck shaping for comfort, but otherwise little to no shaping through the body (dependent on size). The larger sizes feature a simple modified drop-shoulder construction to keep the design lines looking uniform and proportional for each size. The sleeves are tapered for a flattering fit for every body type.
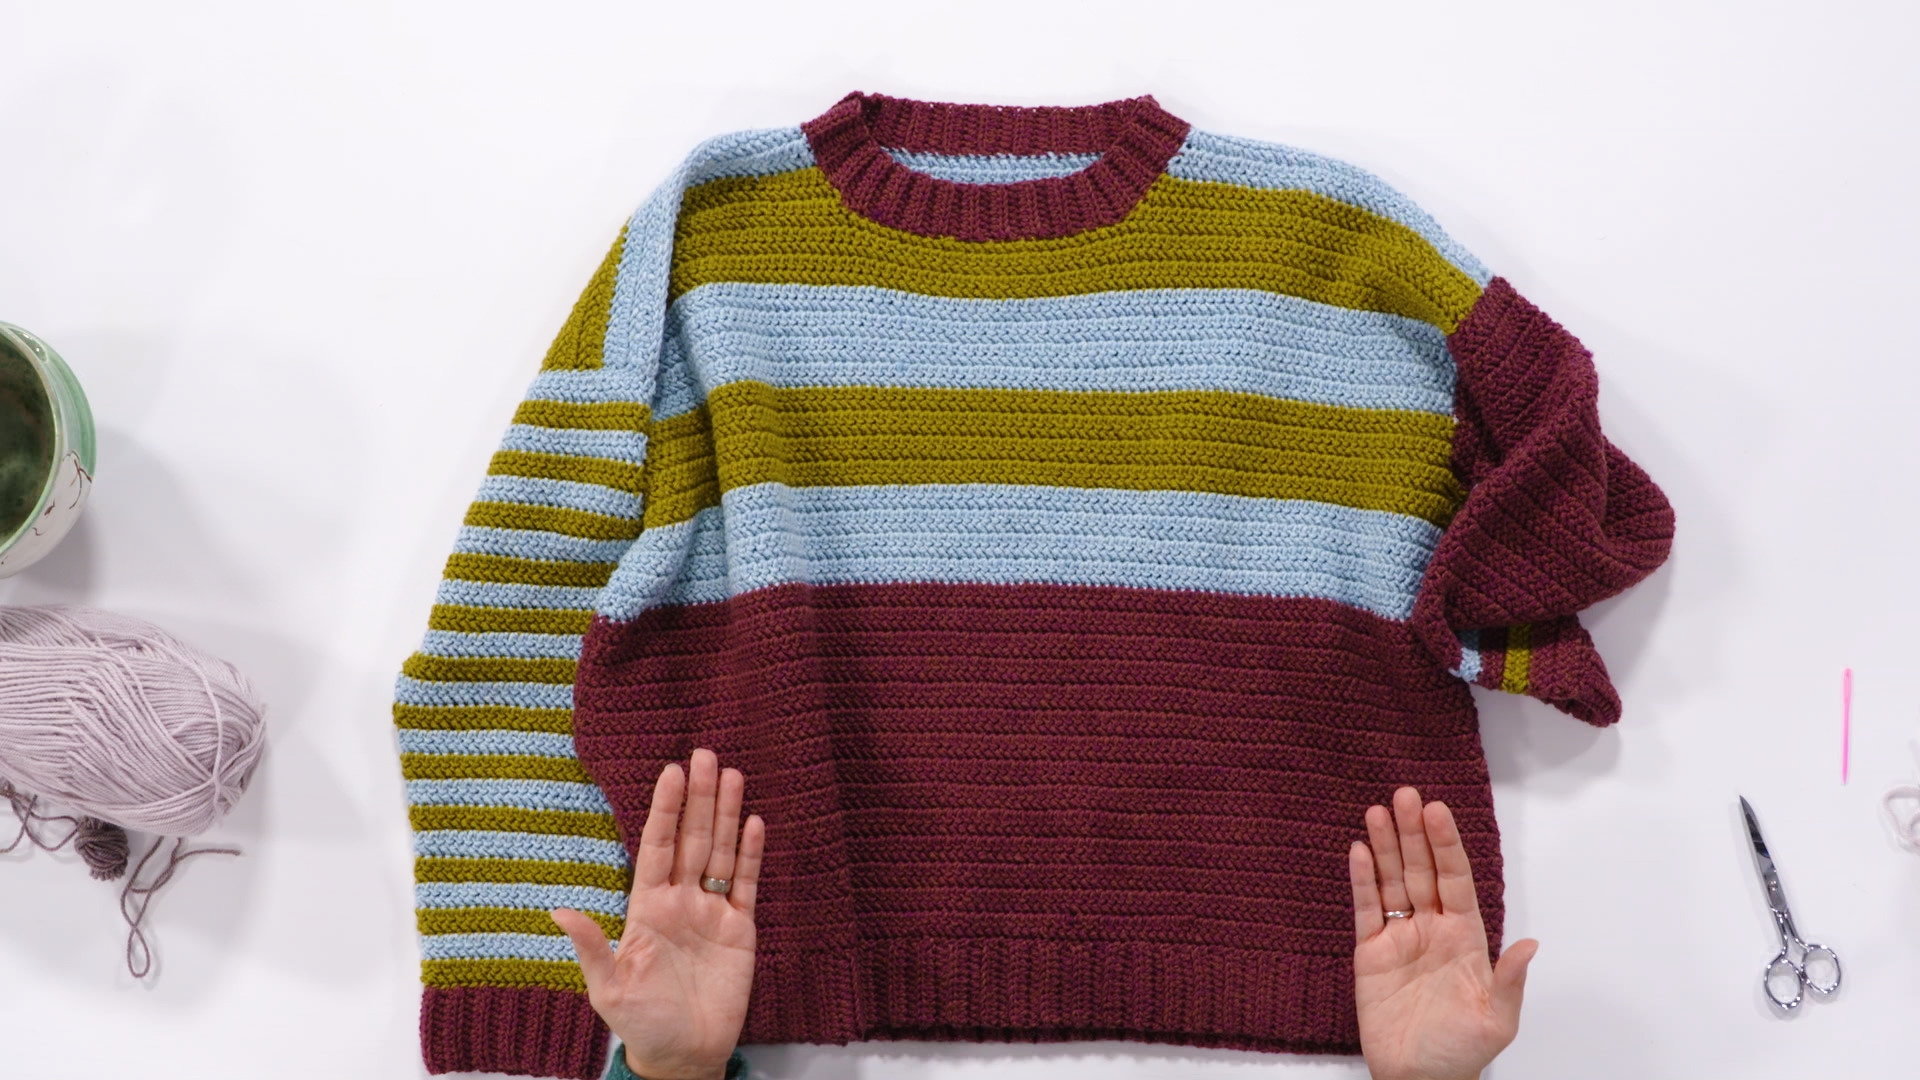
This sweater is worked from the top, down in separate pieces and then stitched together with a simple whip stitch. Many sweater designs are seamed like this because it gives extra structure to the garment, so this is a very good skill to learn! When you make a sweater from the top down, you can easily change the length of it before finishing, so that you can have your sweater hit at just the perfect place on your body!
In this class you will learn how to work in the knotted double crochet stitch pattern (also known as the herringbone half-double crochet), and how to make a stretchy ribbing with stitches worked in the back loop. You will learn Brenda’s favorite method of changing colors at the end of a row (this is different than the standard way, which she also demonstrates). You will learn how to carry yarn while making narrow stripes for fewer ends to weave in, as well as how to switch back and for the between colors when seaming them for a beautiful seam. You will also learn 2 different methods of blocking to create a professional finish to your project.
This class is chock full of extra tips and advice so that you can make sure that your sweater fits you beautifully when you are finished. The skills that you learn in this class are very valuable and are transferable to so many other future projects! Whether this is your first venture into garment making, or you are a more experienced crocheter looking for a fun color-blocked sweater to make, this class is for you!
Brenda K.B. Anderson
Brenda K.B. Anderson is a professional crochet designer who loves to spend her time in the world of crochet accessories. Her patterns have appeared in publications such as Interweave Crochet and Crochet Today, and shes contributed to several books, authoring two of her own, Beastly Crochet and Crochet Ever After.
Bonus materials available after purchase