Build a Little Library
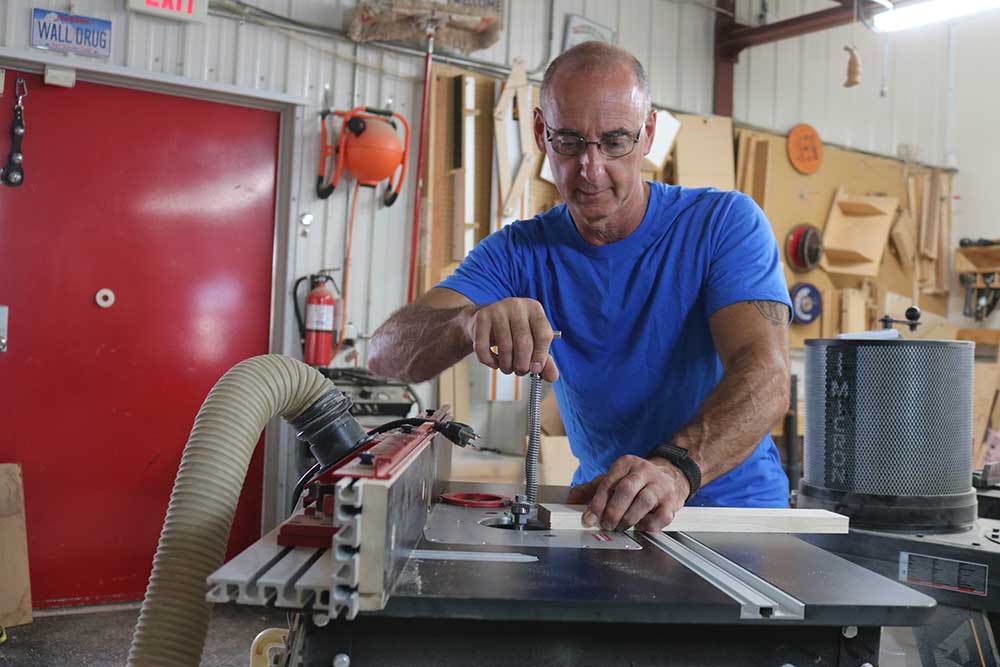
George Vondriska
- In-depth Instruction; over 99 mins
- On-demand video access anytime
- Bonus downloadable PDF resources
- Access to class Q&A
General
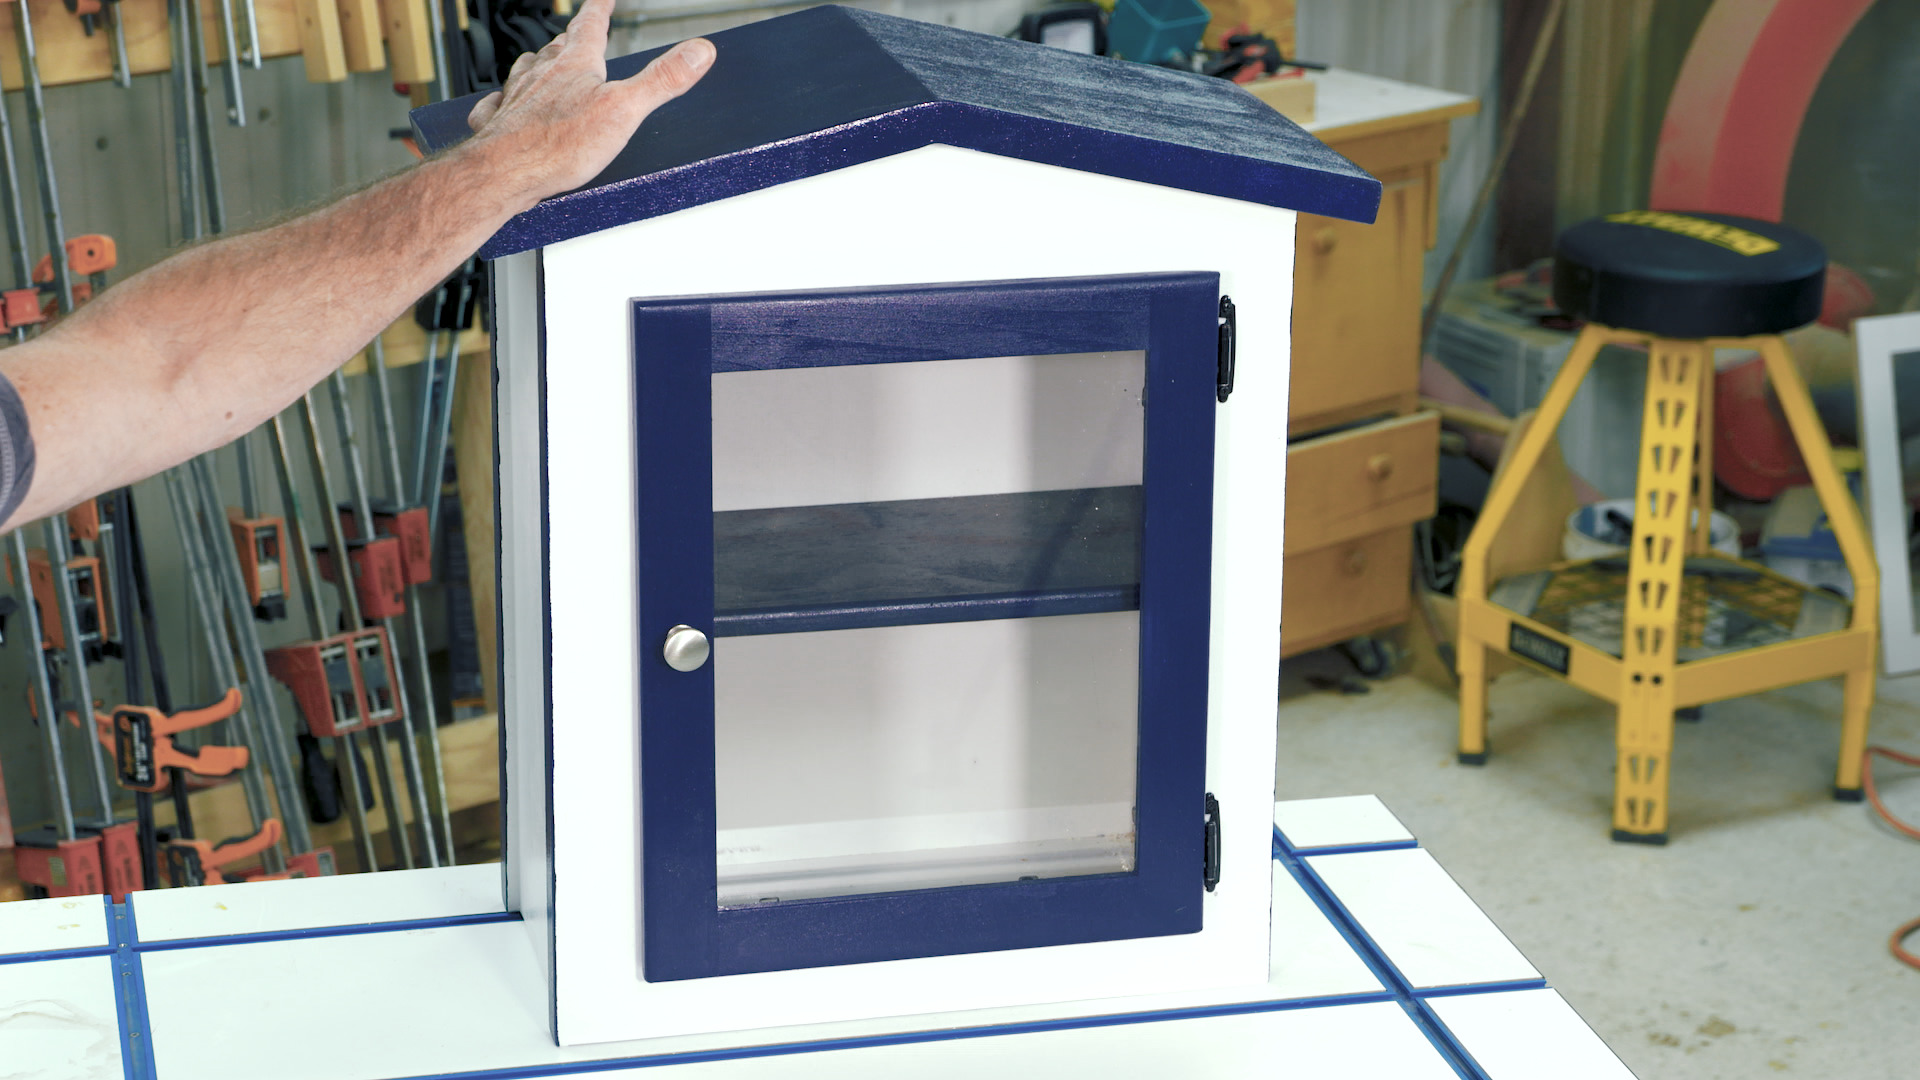
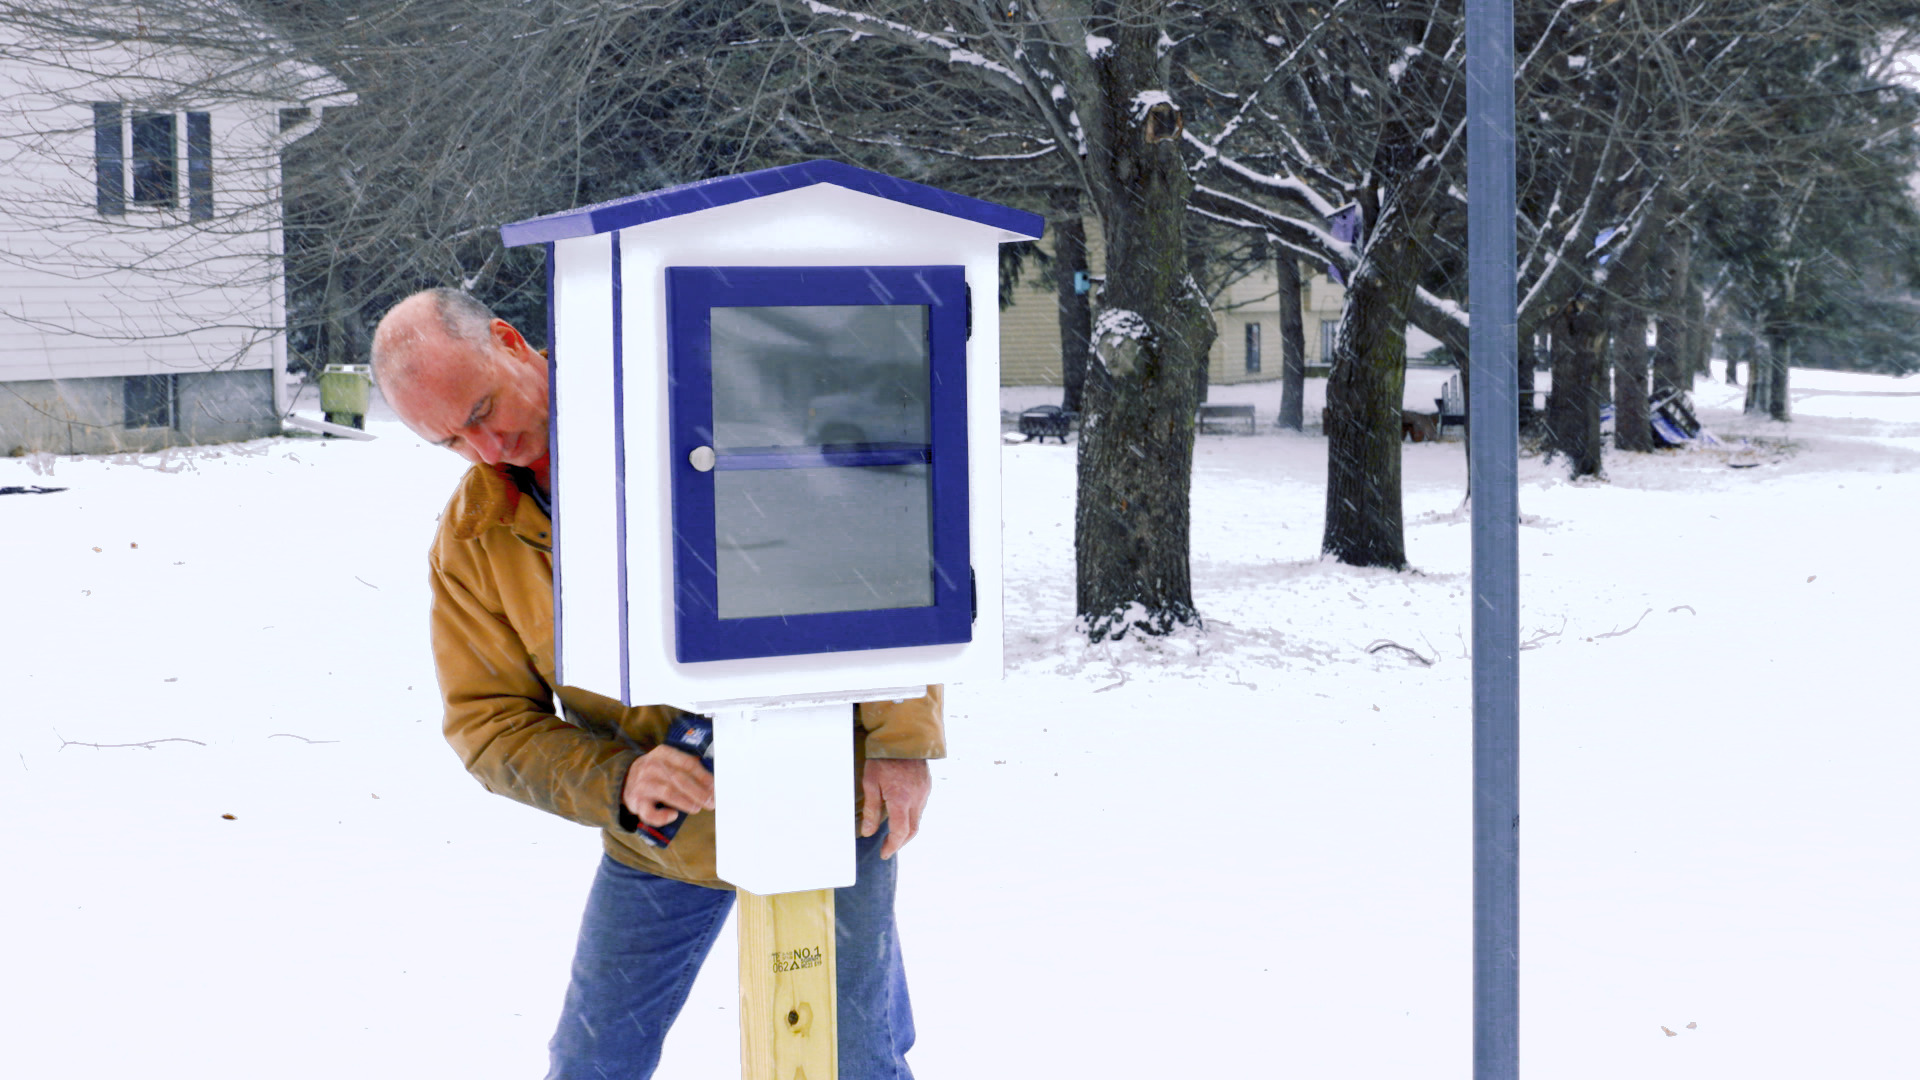
Little Free Library is a nonprofit organization that was started in 2009 that’s all about book sharing. Sharing is typically done via public bookcases called Little Free Libraries or Little Libraries that are located throughout many cities and neighborhoods. Add a Little Library to your community by building one yourself with the help of this class!
Materials
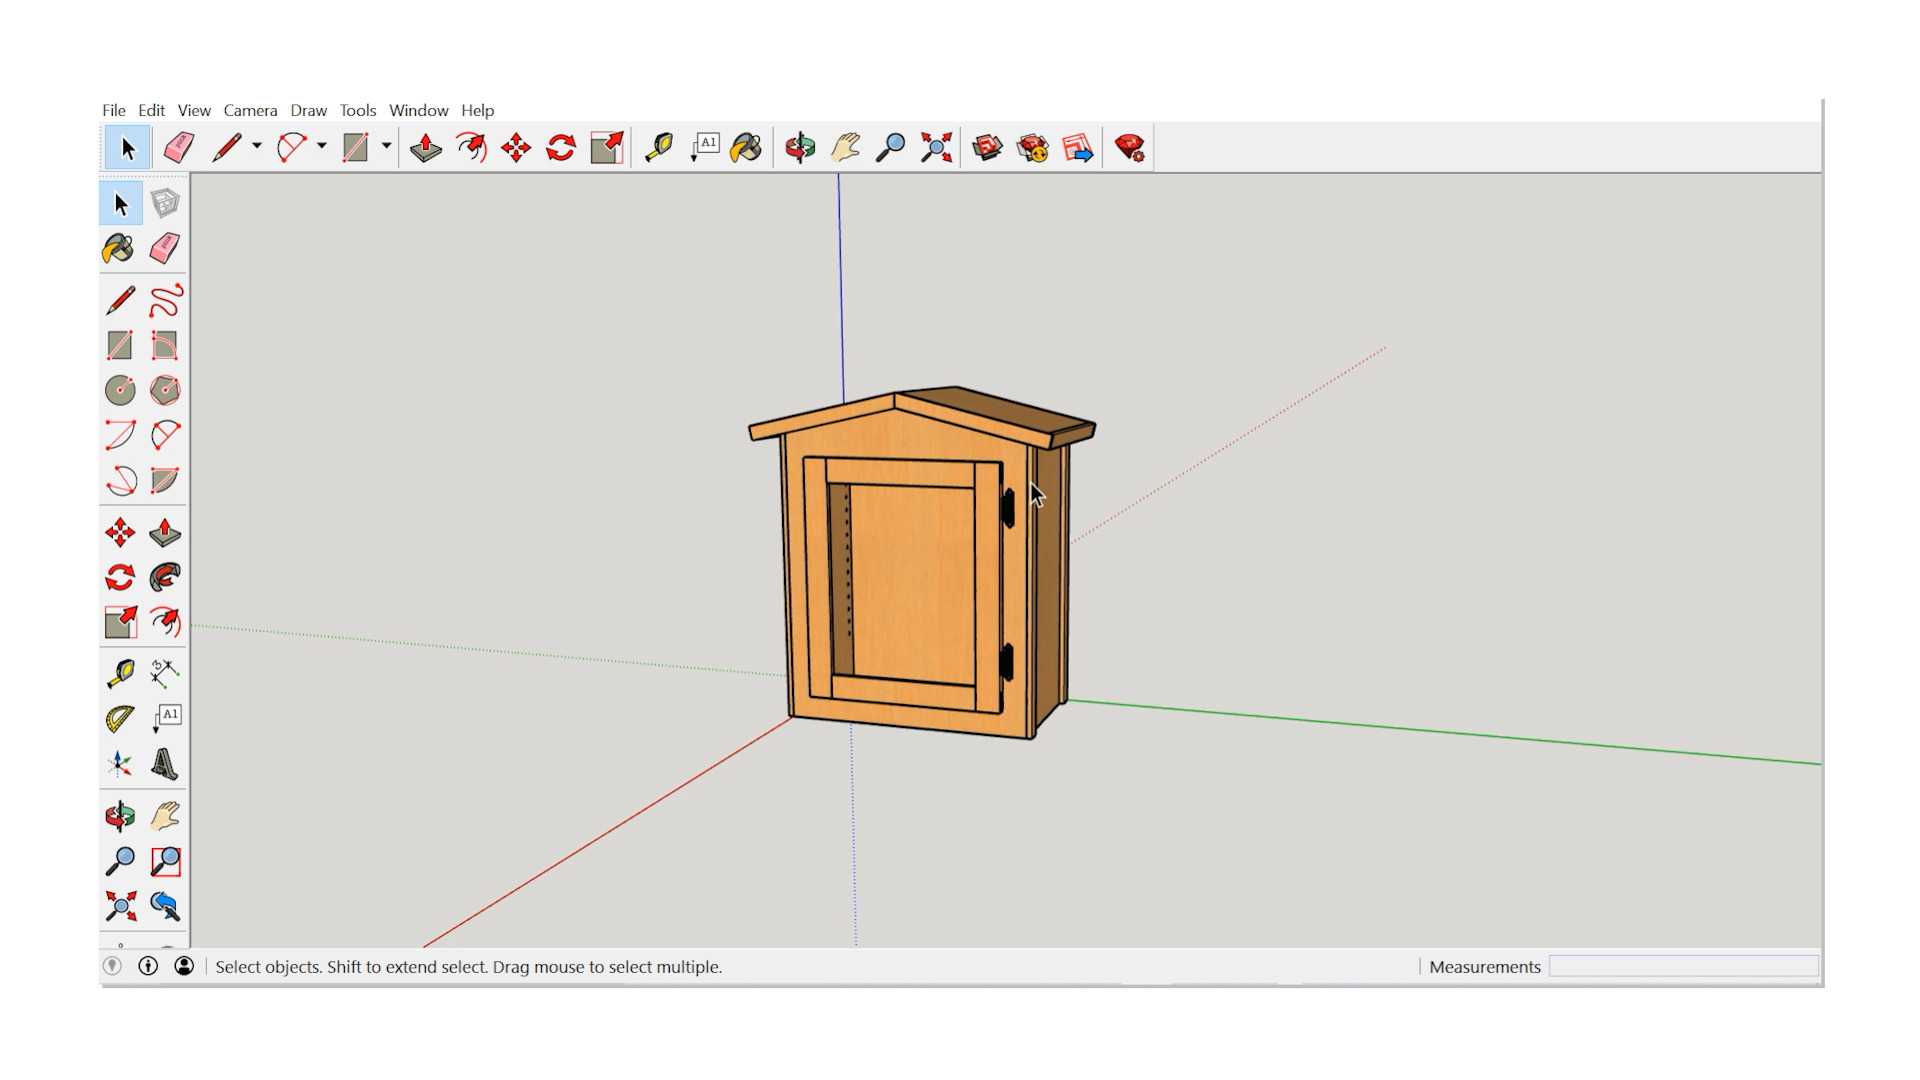
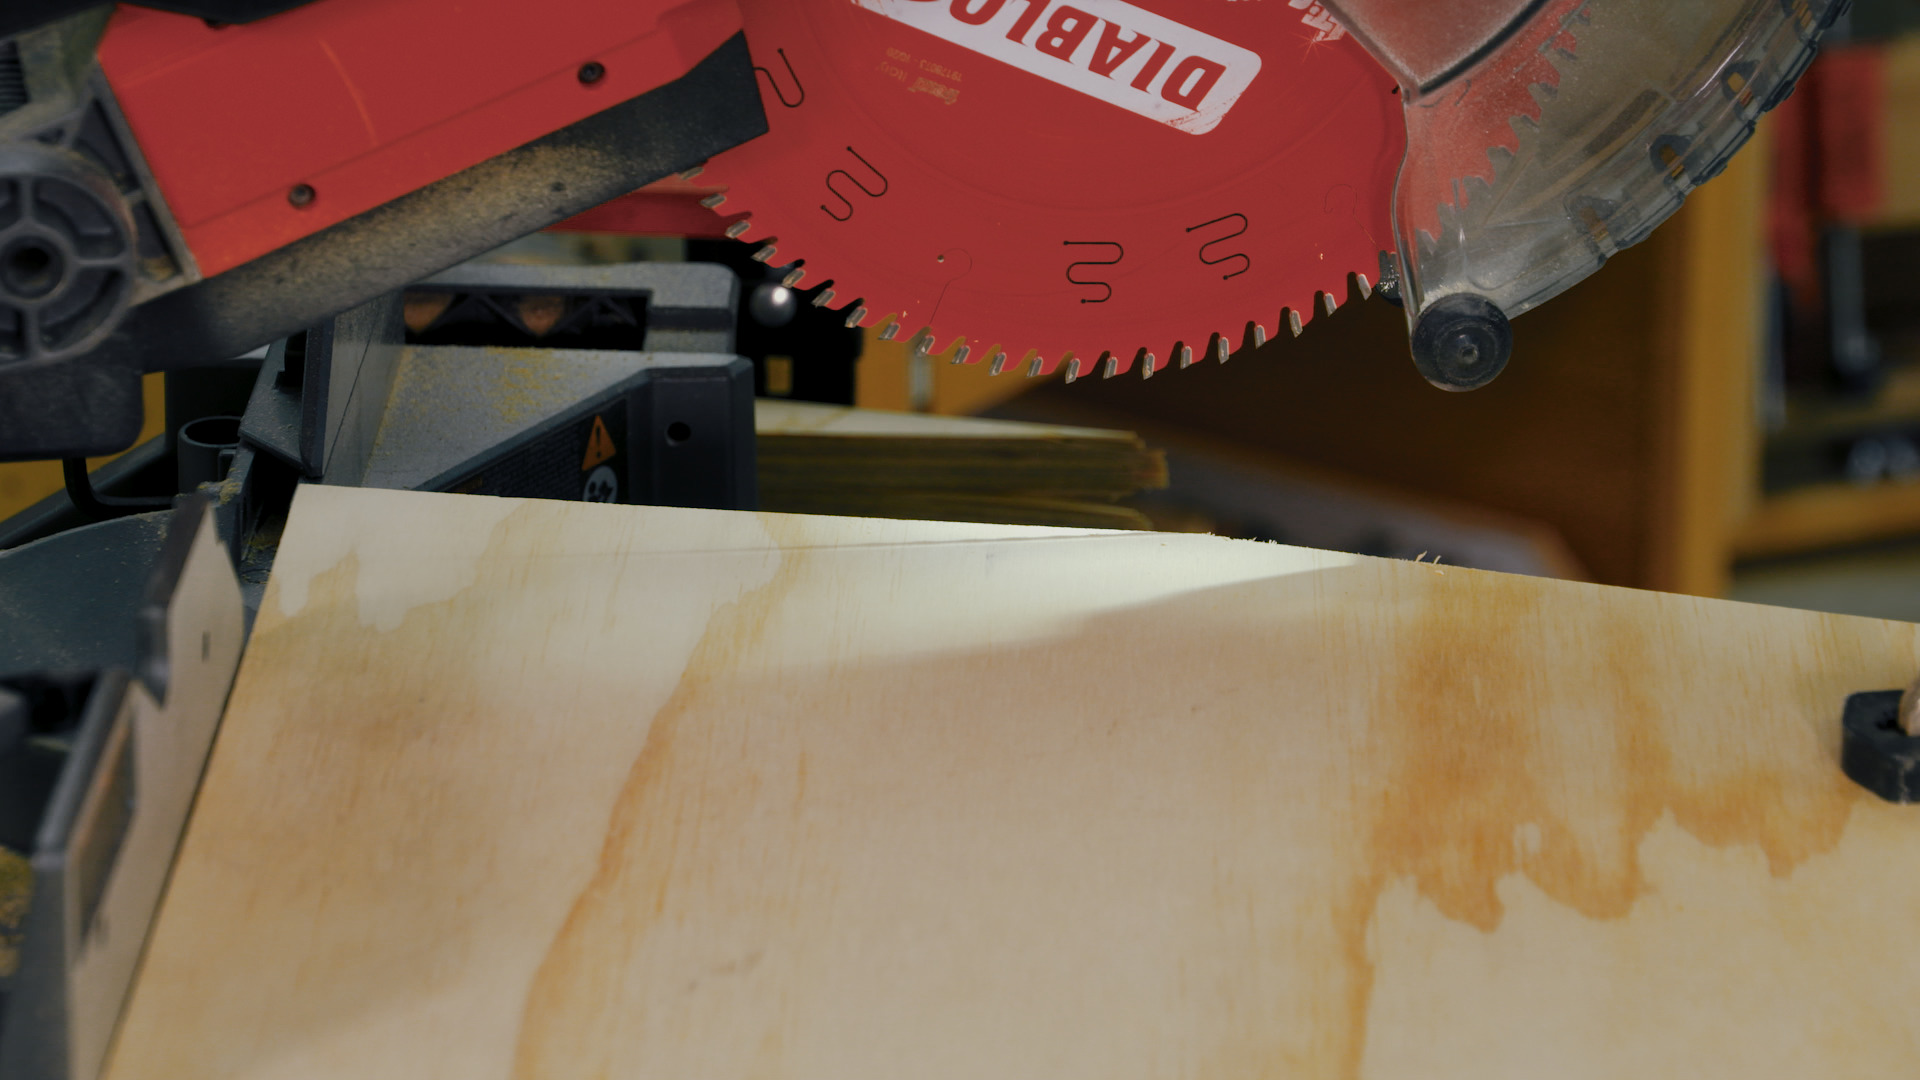
The library is made primarily from plywood, and the entire library will come from one 3/4" x 4’ x 8’ sheet. You’ll use a small amount of solid wood to make the door and trim. It isn’t imperative that you use exterior plywood, as long as you do a good job of painting your library.
How It’s built
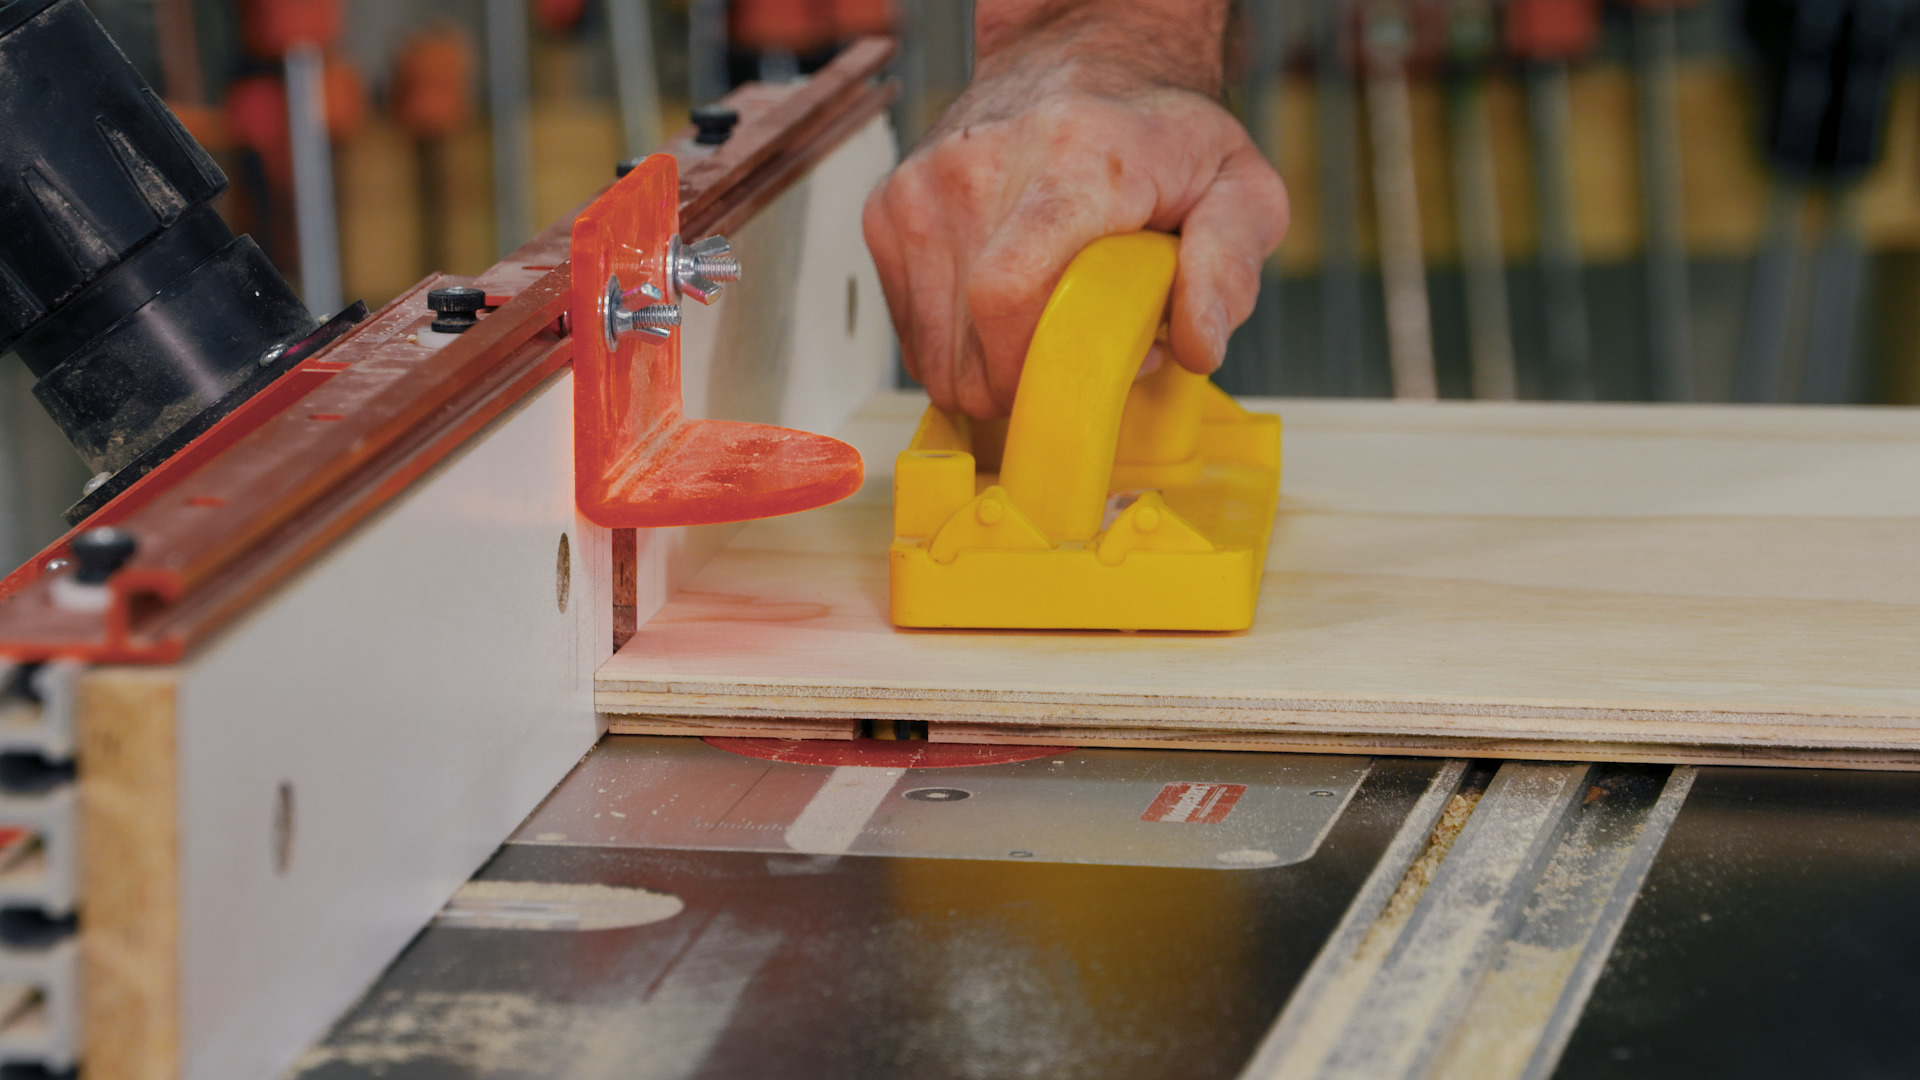
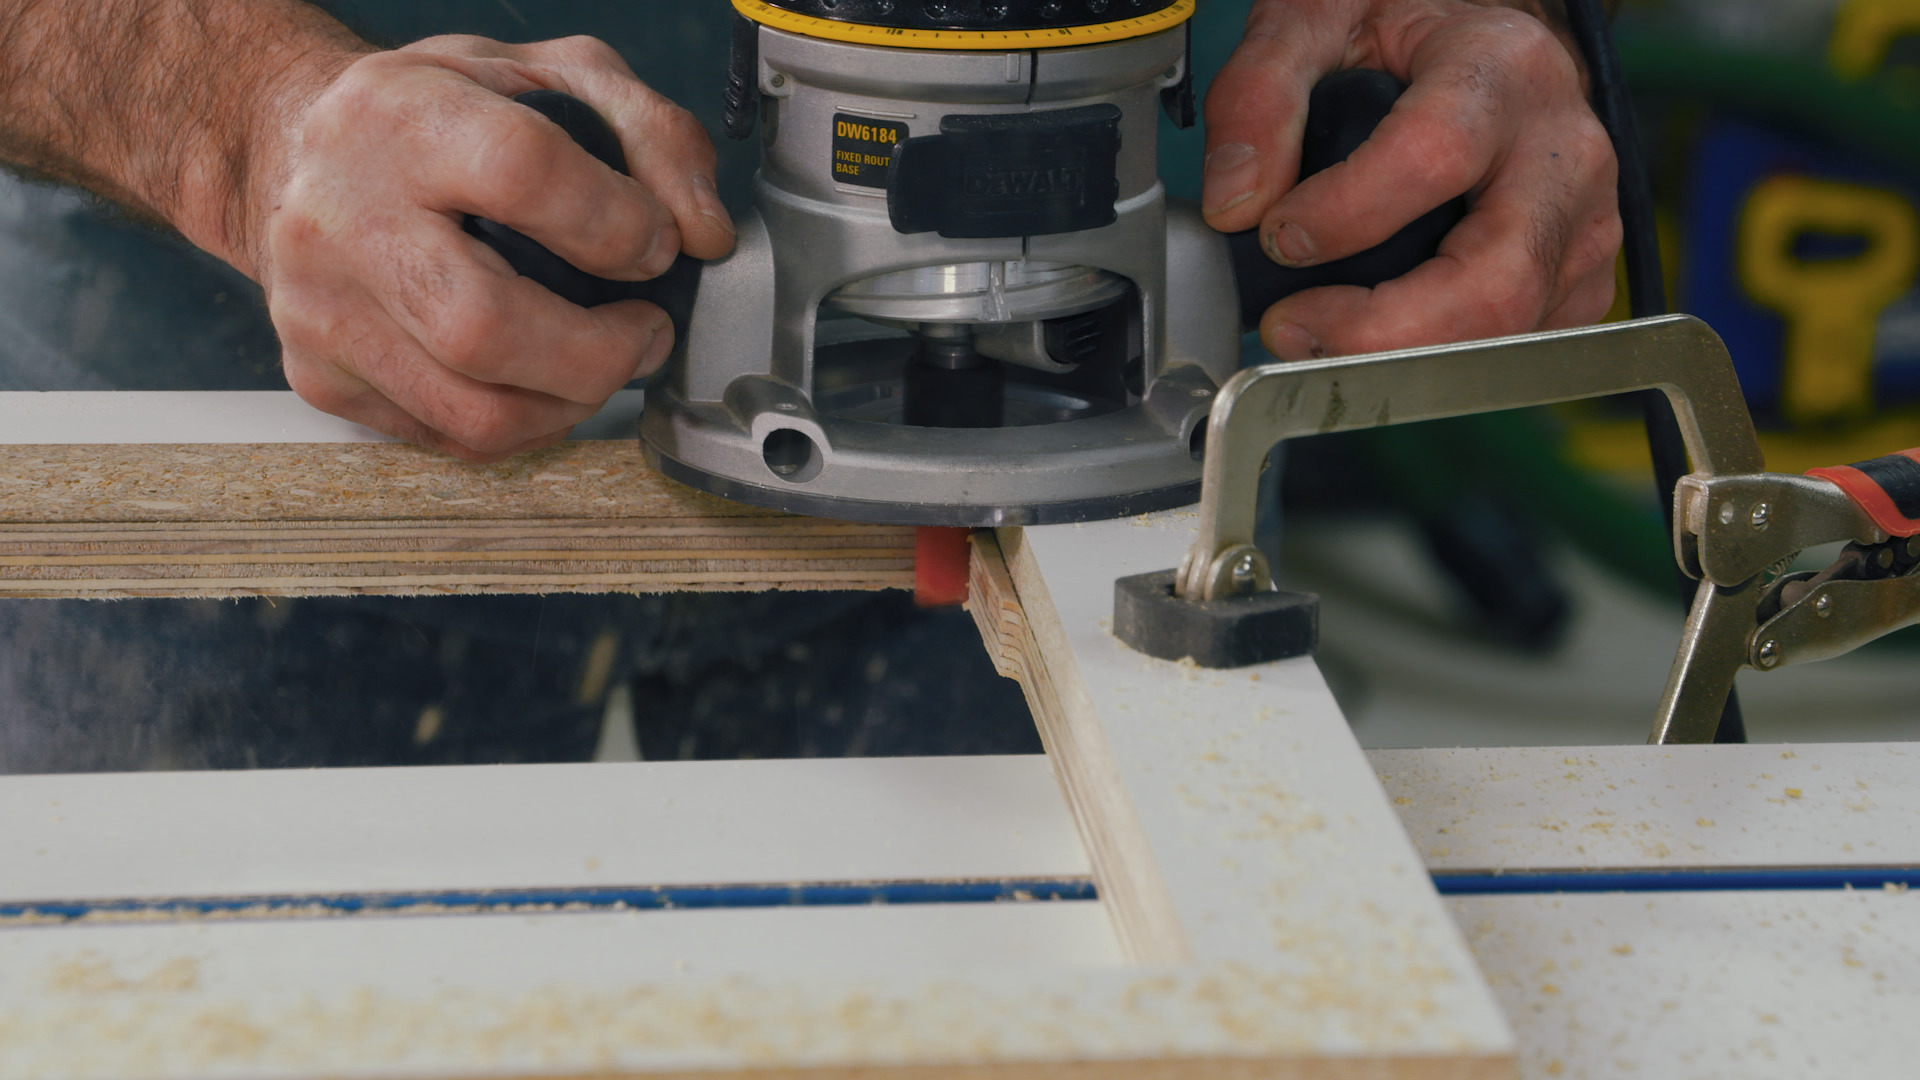
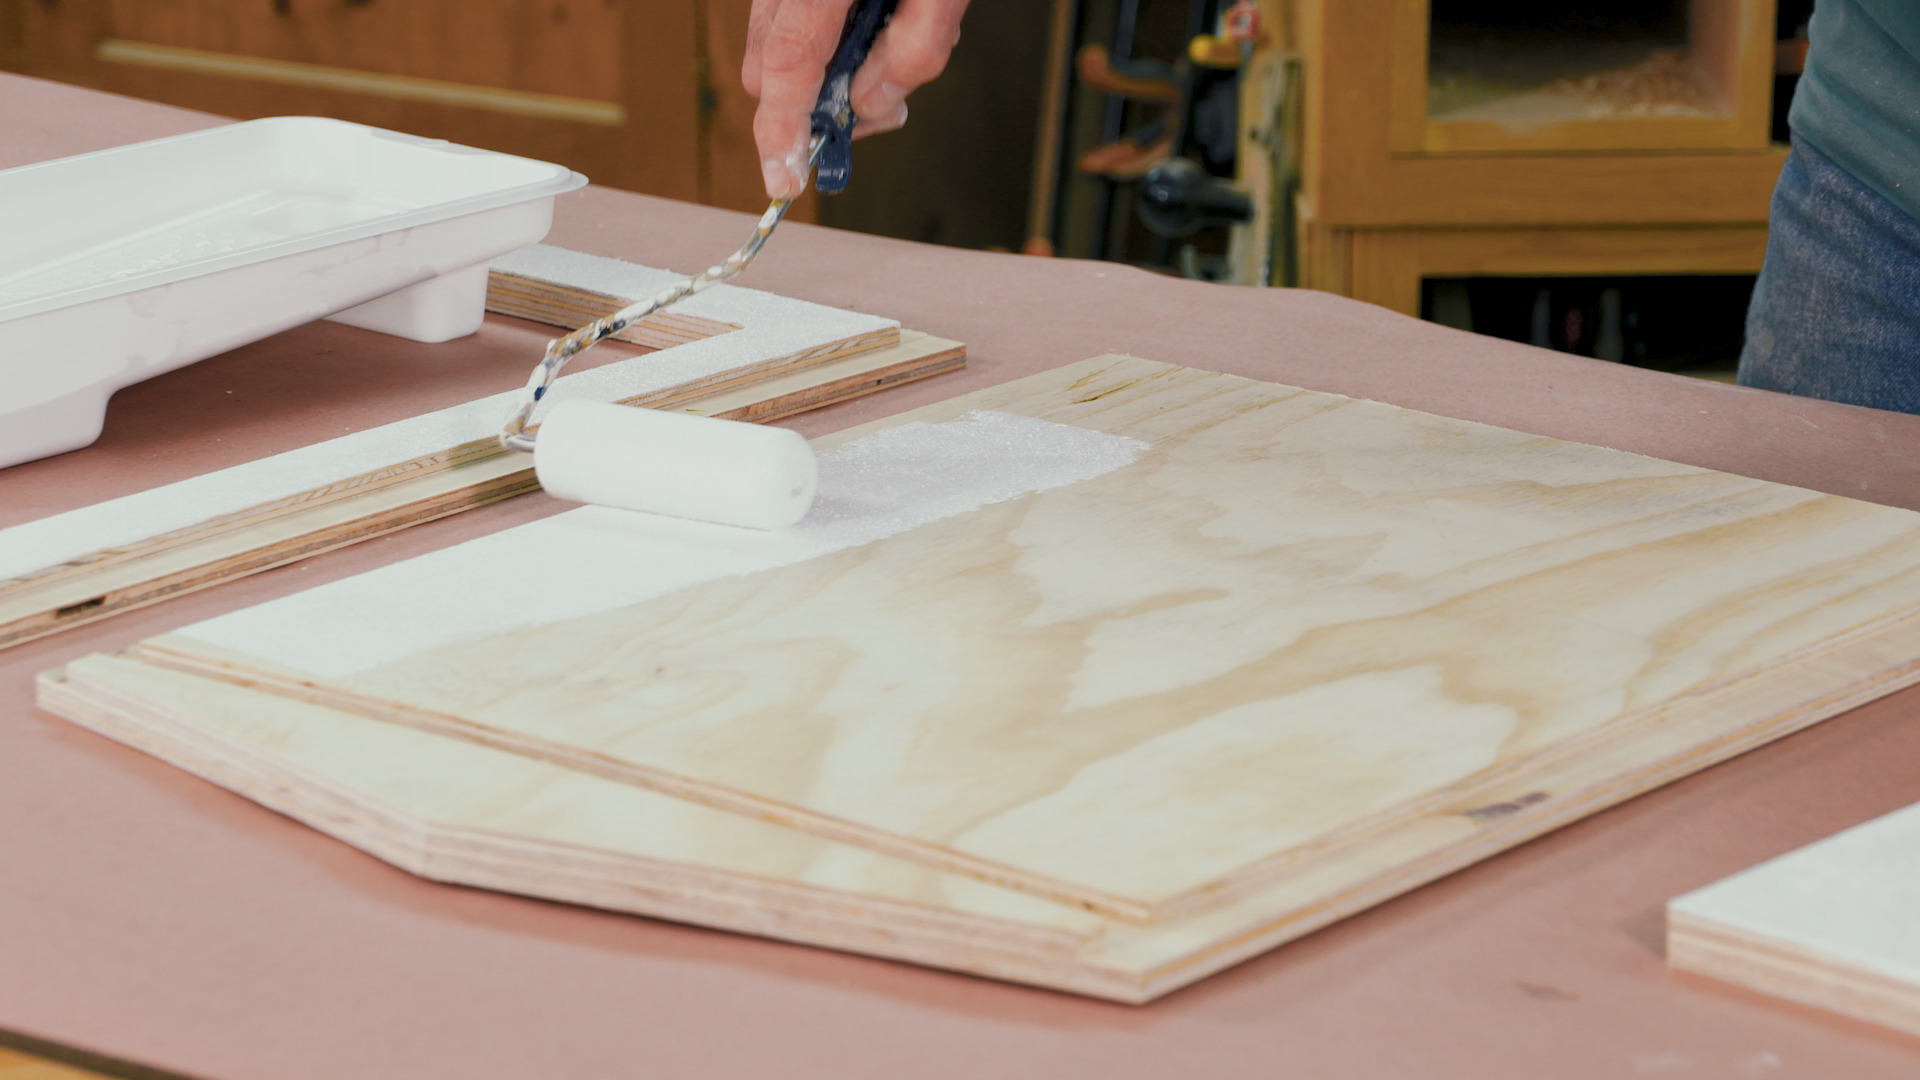
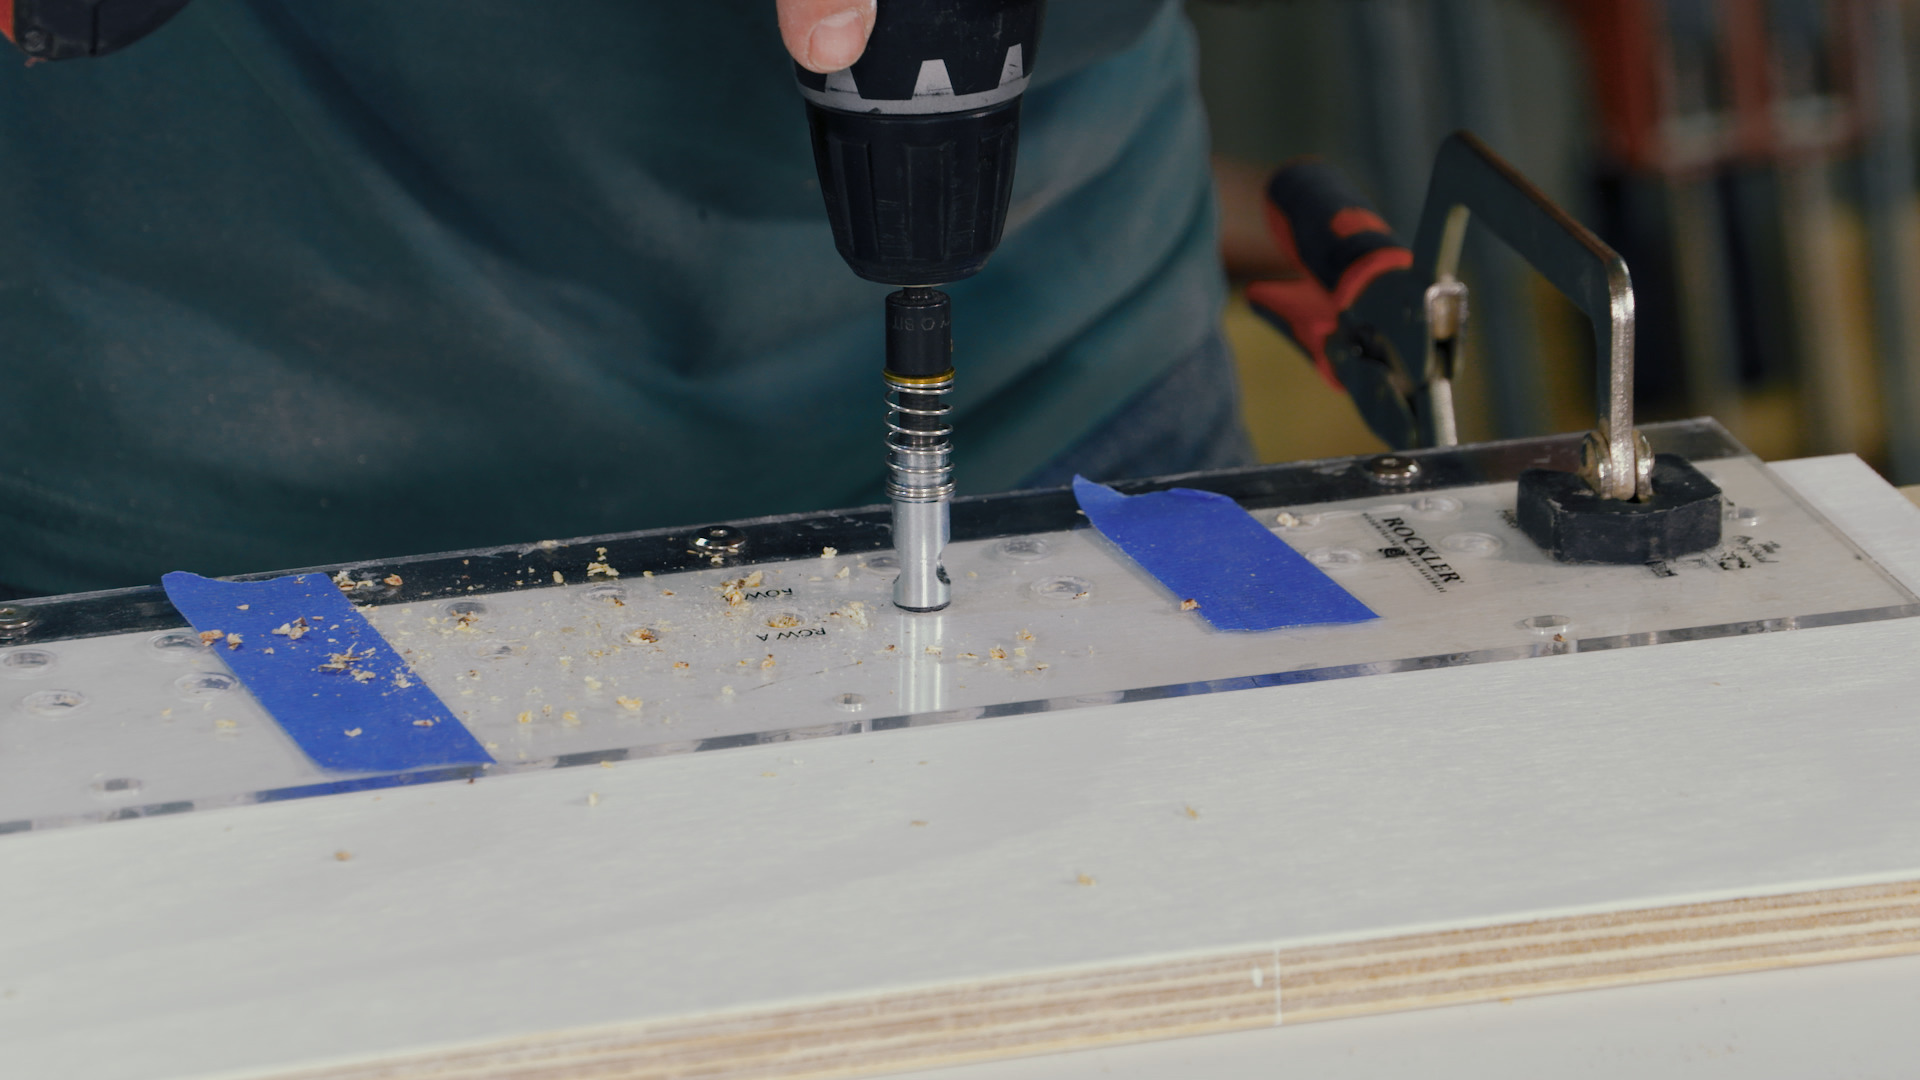
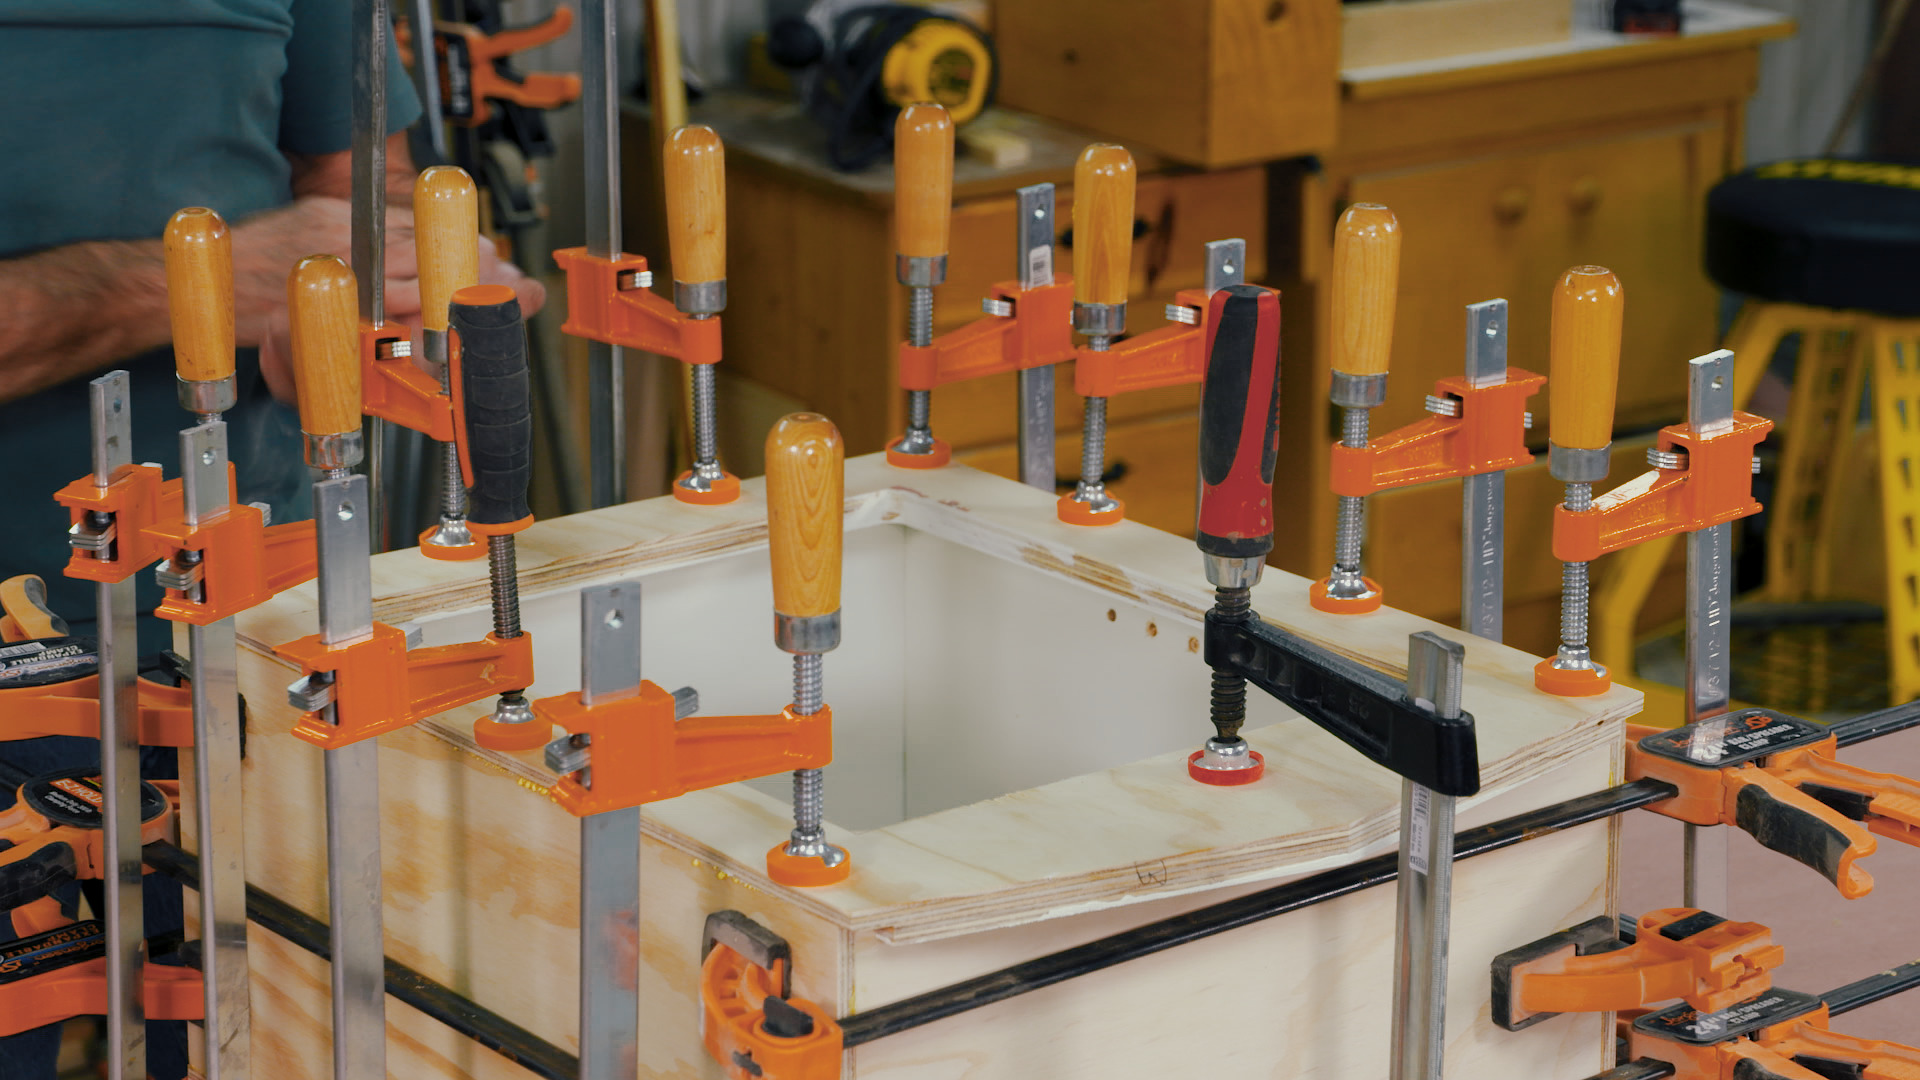
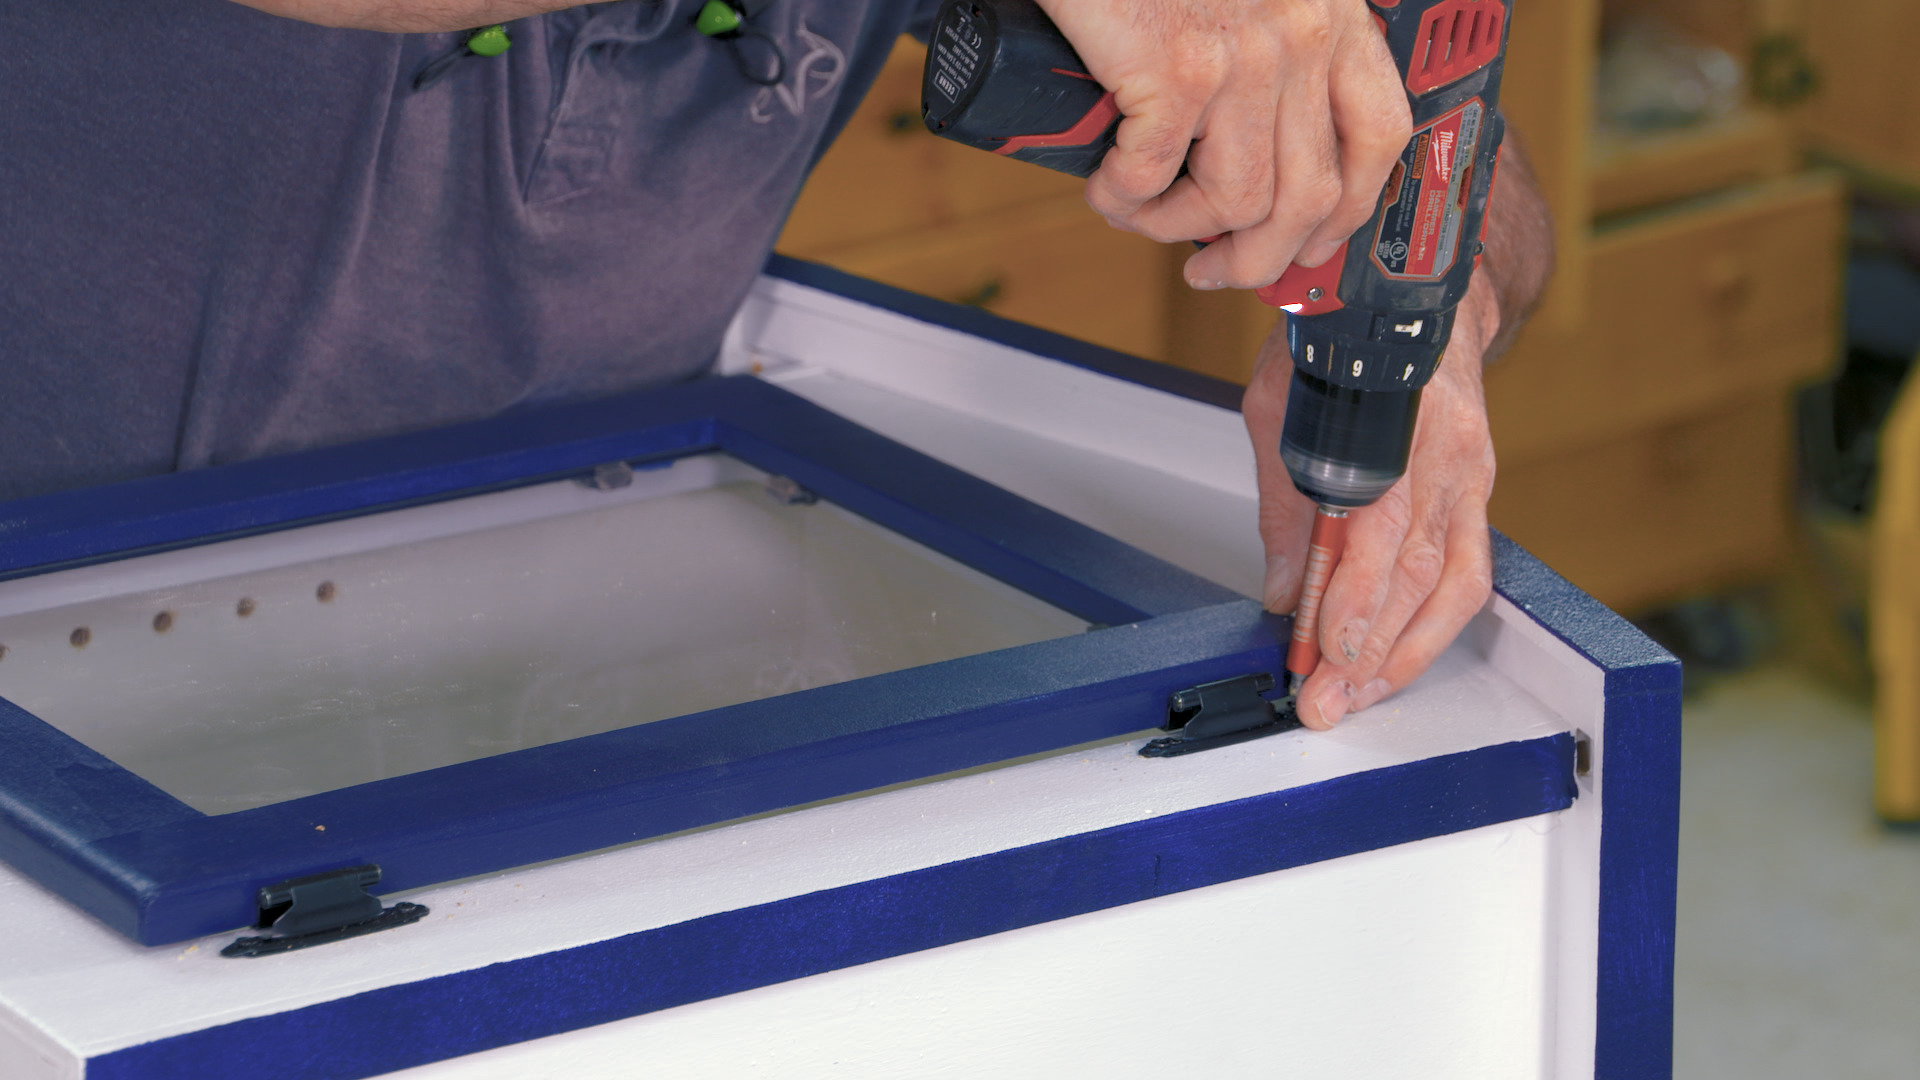
Your library comes together with dado and rabbet joinery. A router table is used in the instructional video, but the joinery can also be done on table saw. This project lends itself to applying finish before assembly, so you’ll do a little painting on the interior faces. Once you make adjustable shelf holes it’s ready to come together with exterior glue.
More Joinery
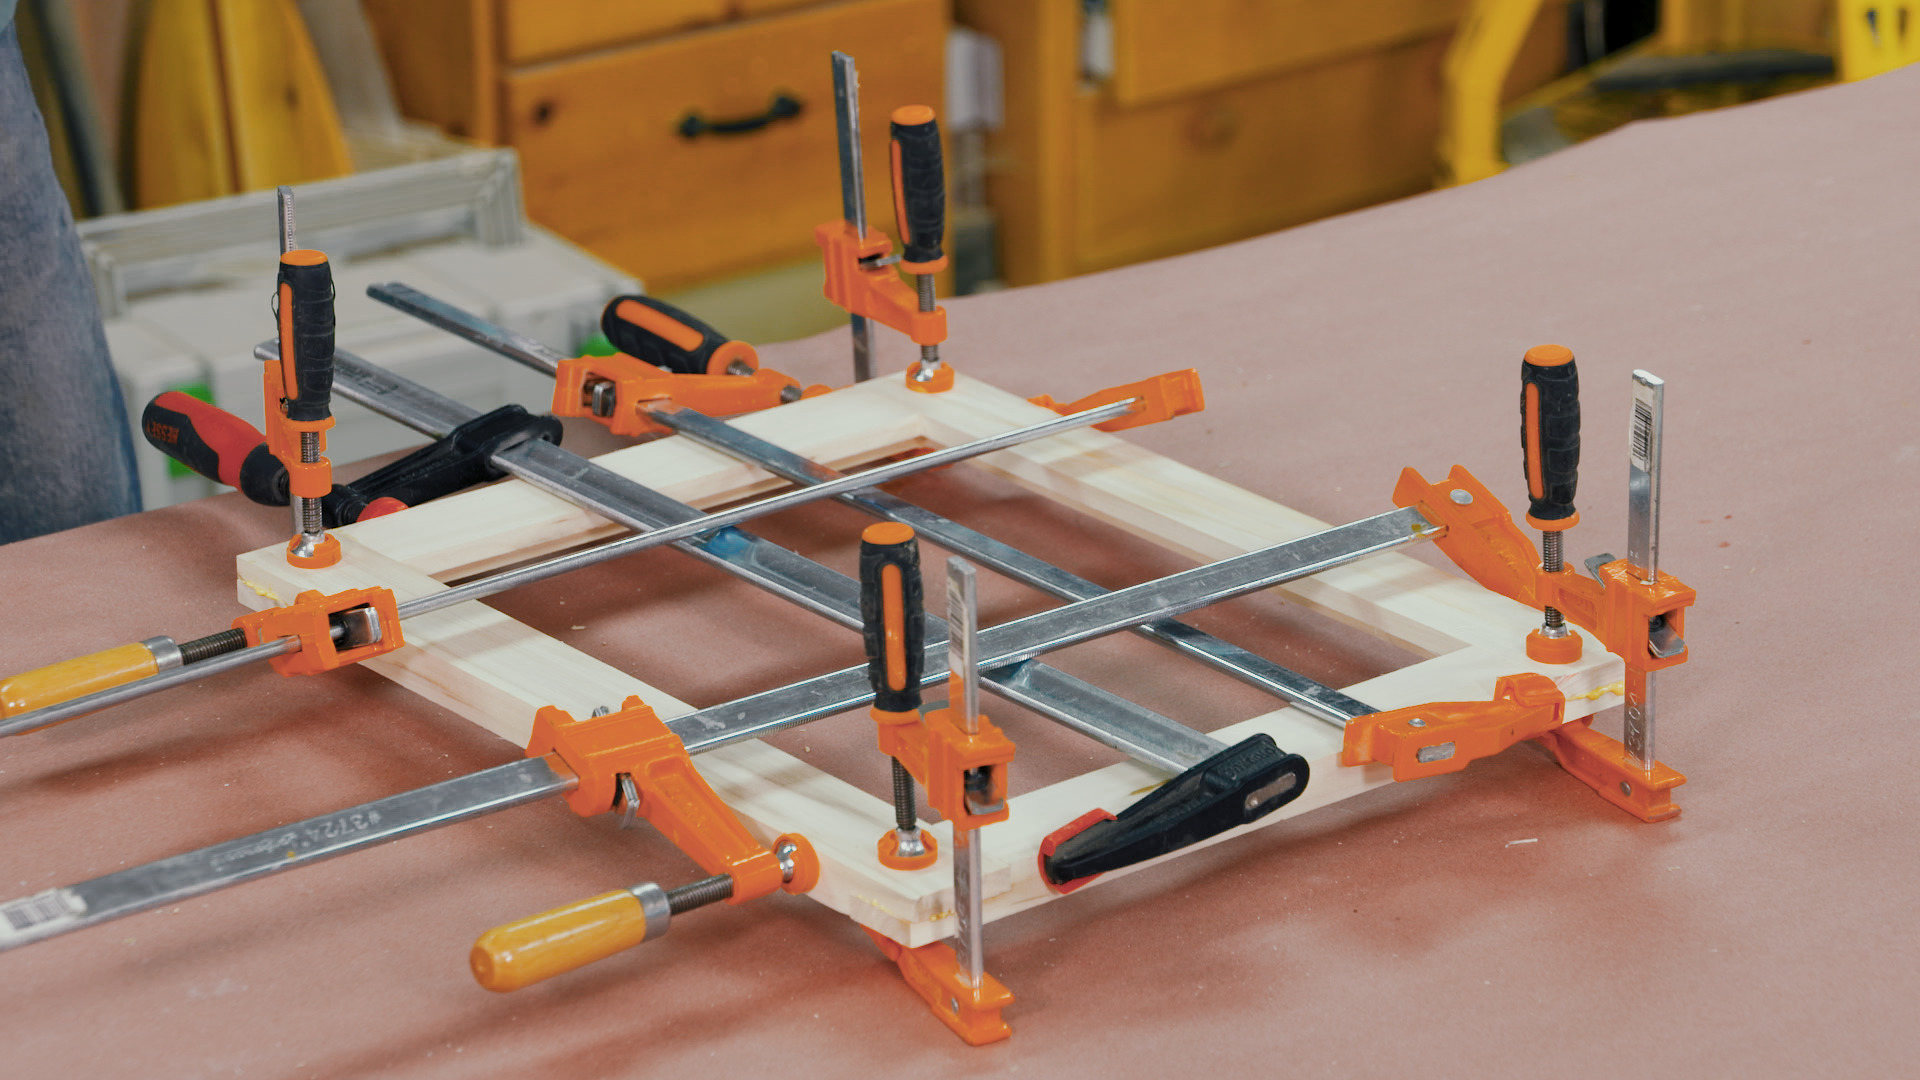
In addition to learning about dadoes and rabbets, this project will teach you how to make half lap joints or, more specifically, rabbeted half lap joints. This is the joinery used on the door. It’s very robust, which makes it great for this application, and you automatically end up with a rabbet for the plexiglass.
Getting It in Your Yard
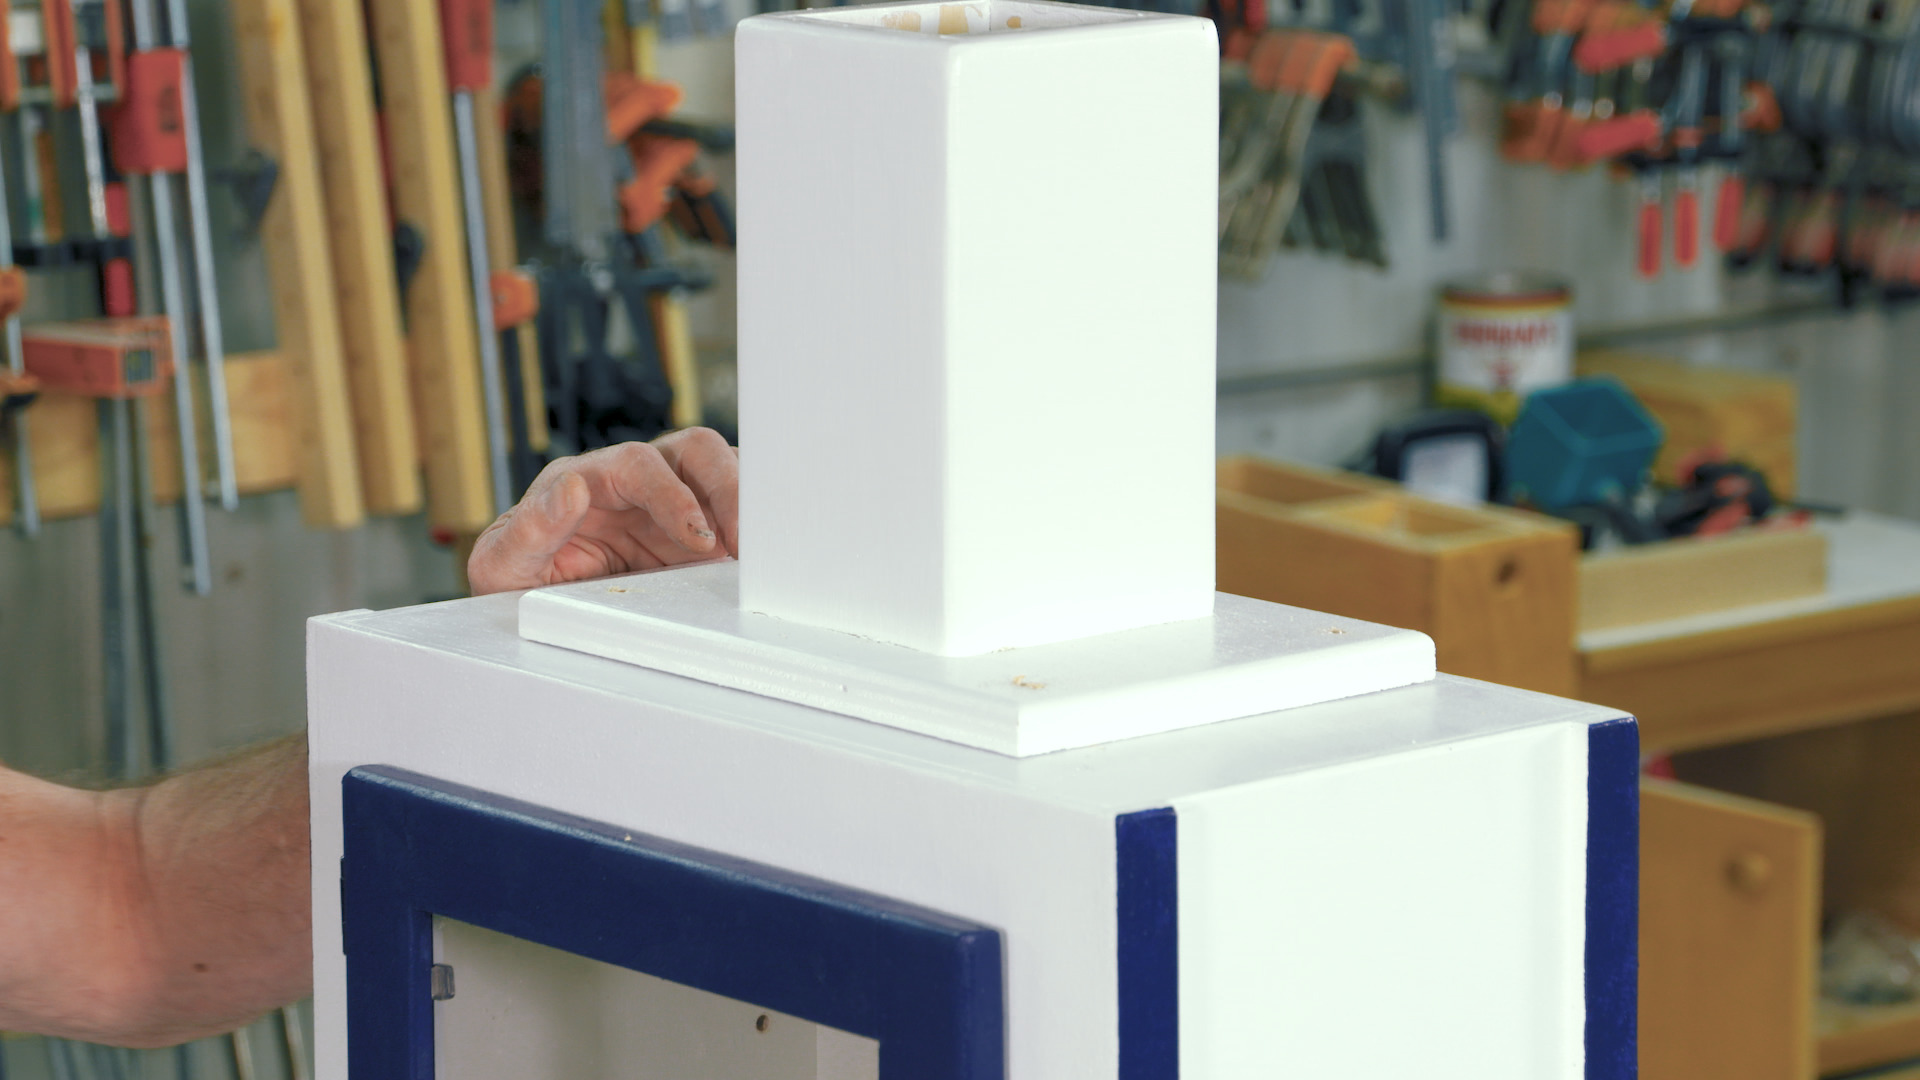
Our approach to installing the library is to simply put a post in the ground and fasten the library to the post. The video shows you how to make the post mounting column for the library. Of course, you can also develop whatever mounting method works for your particular scenario.
FAQs
Q: Could I substitute other materials for the build?
A: Sure. Just make sure that if you use something that isn’t ¾” thick, you change dimensions where needed.
Q: I don’t have a 23/32” bit but I do have a 3/4" bit. Can I use that?
A: Maybe. You can certainly use it for the rabbets, but do a test cut and double check the dado fit with your plywood. If the fit is sloppy, you shouldn’t use the 3/4" bit.
Q: I miscut the roof angle on the front and rear pieces. Do I need to make those pieces over?
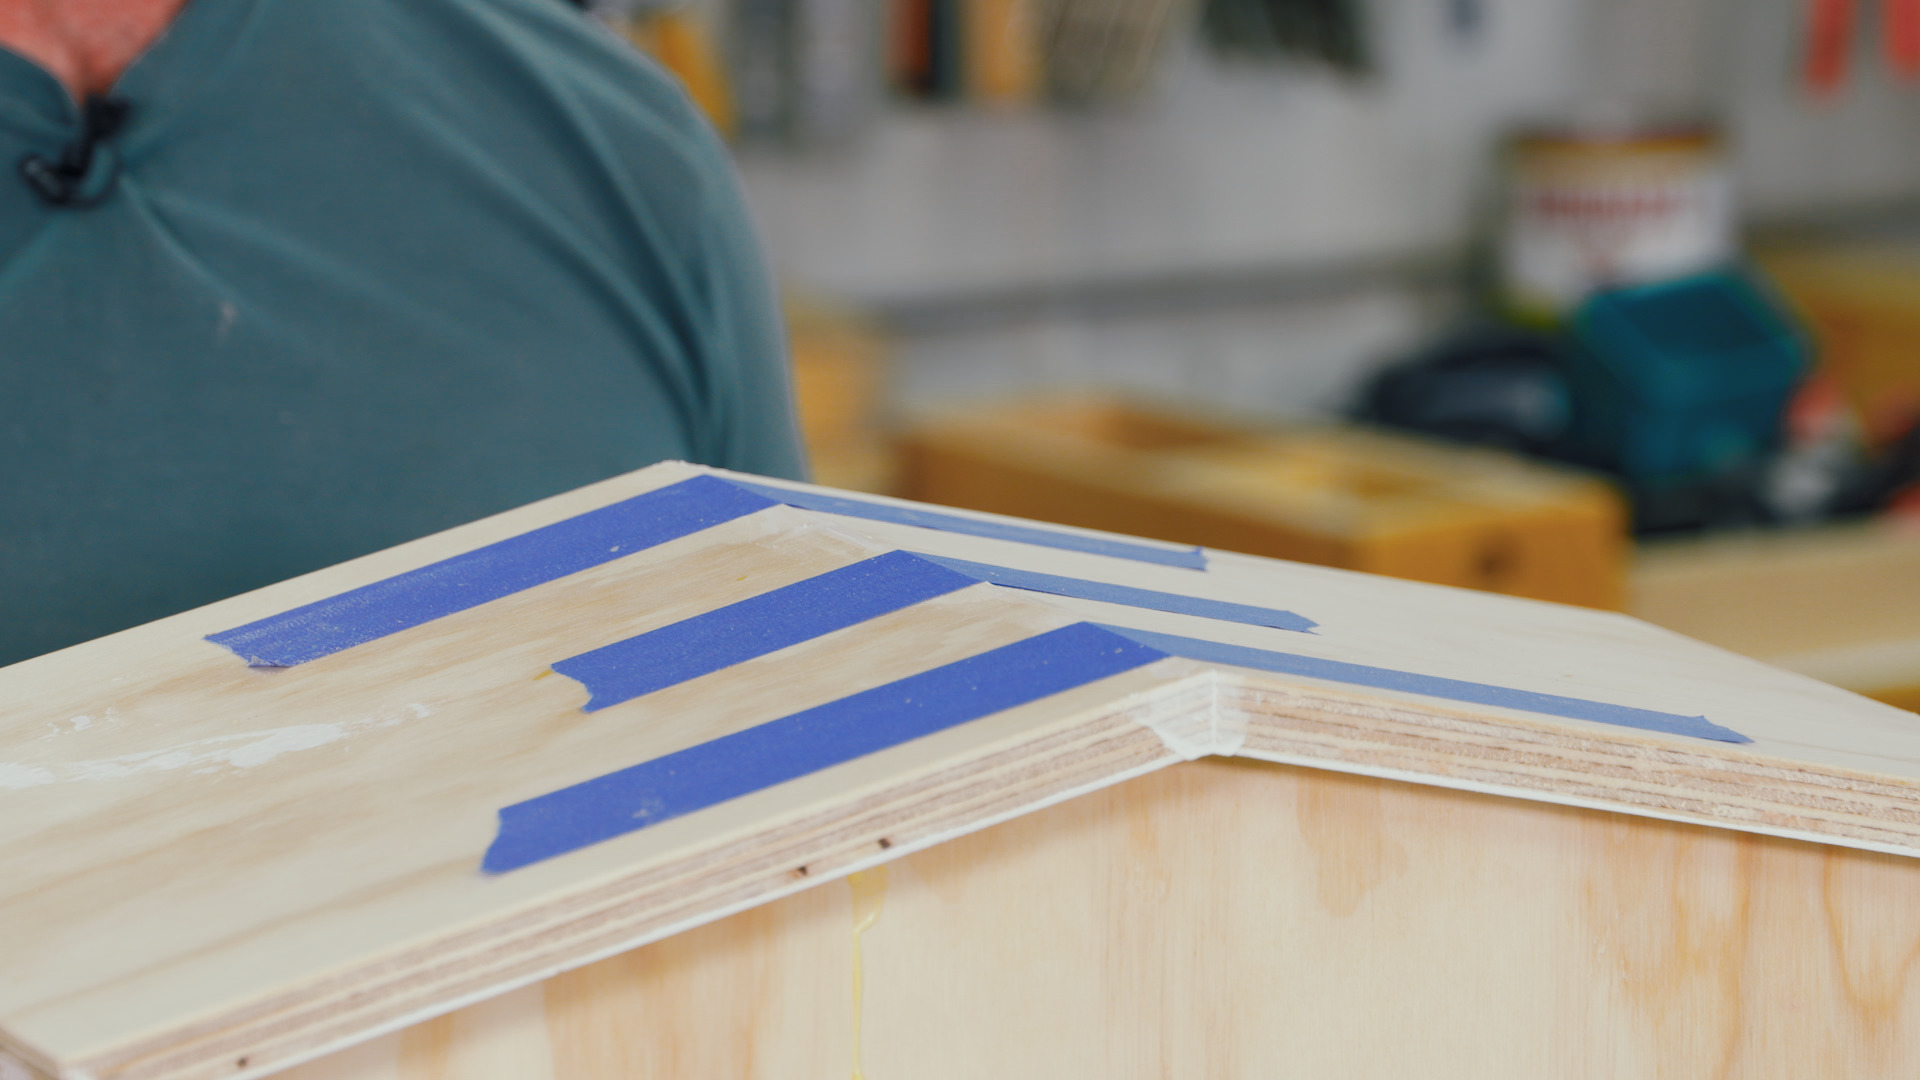
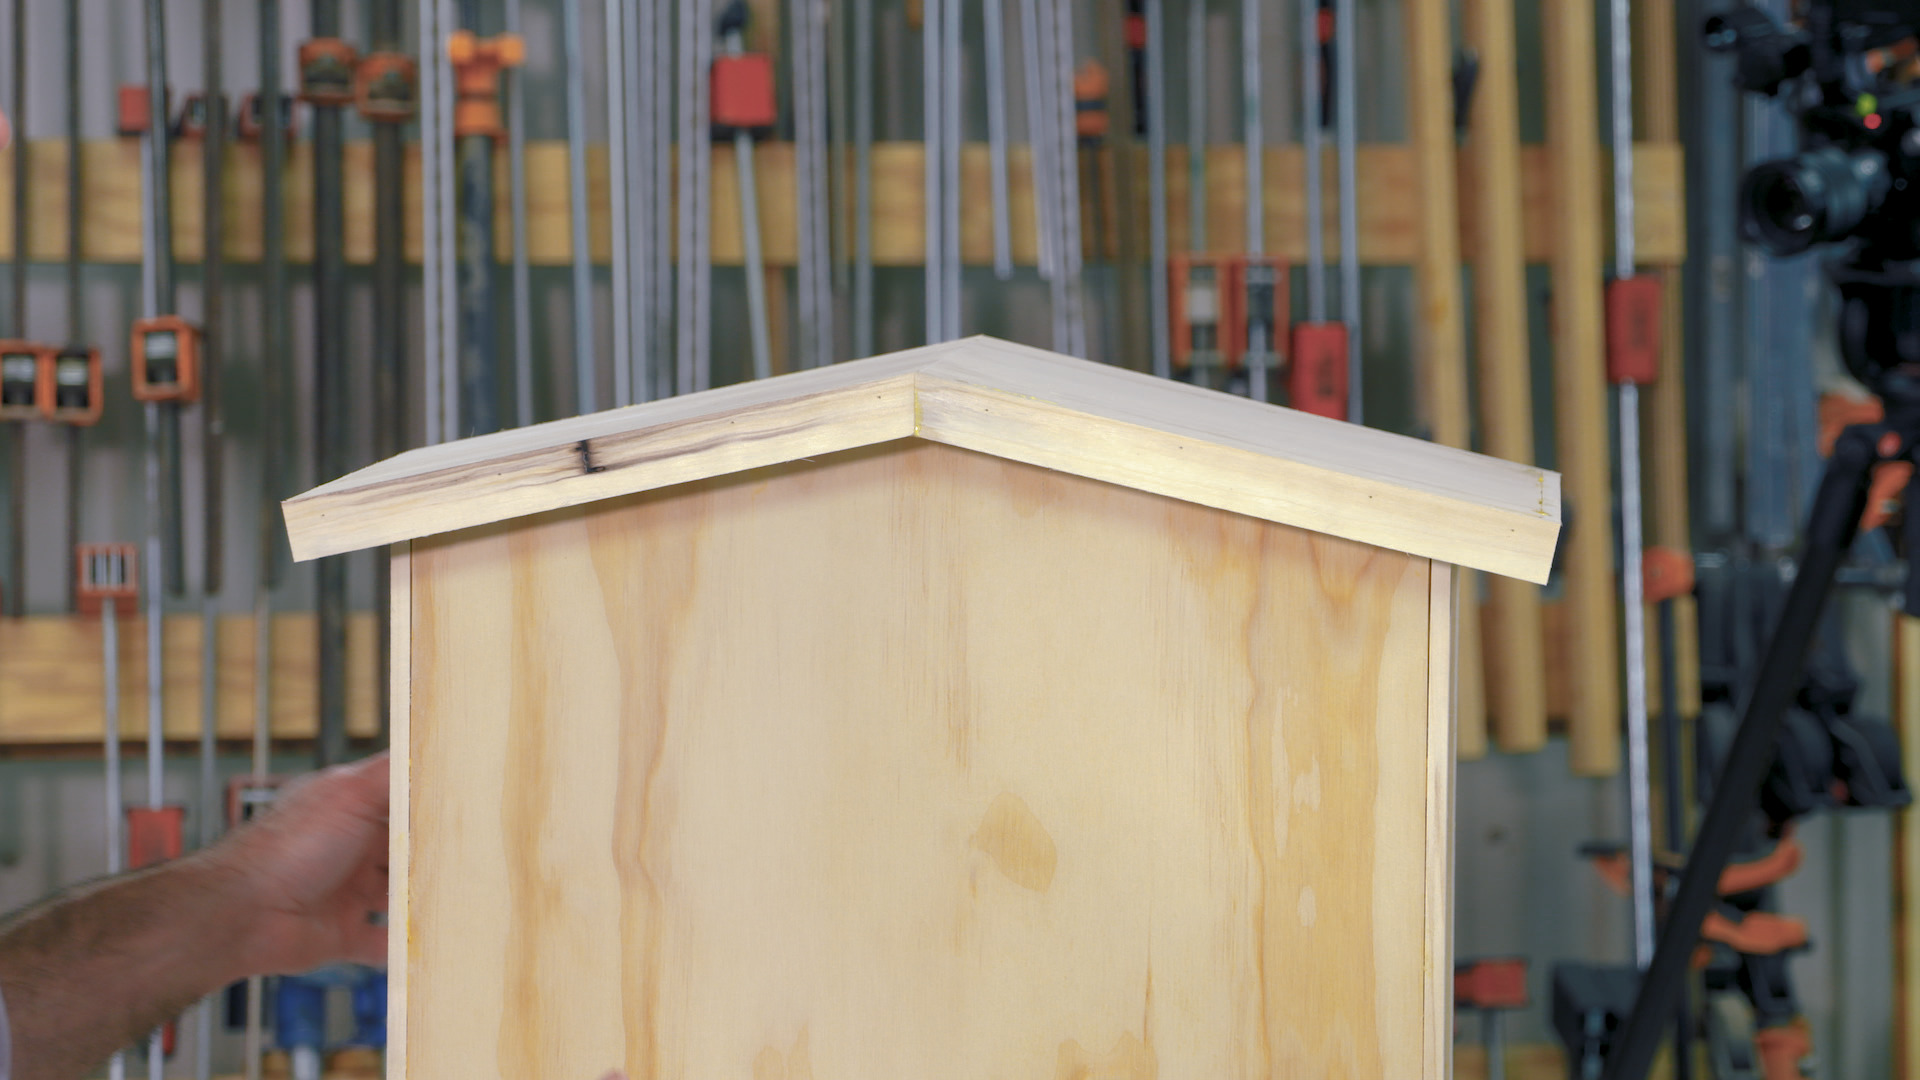
A: If you only missed it by a little bit you’ll be fine. Just make sure you use the exact same angle when you’re cutting the roof pieces.
Q: Could I use stain instead of paint on my library?
A: Yep, as long as it’s an exterior finish product.
Q: Could I use glass instead of plexiglass in the door?
A: Yes, but I’d have a couple concerns. Glass will weigh more than plexiglass, but the door is probably robust enough to tolerate that. More importantly, I’d be concerned about the glass breaking due to rough weather or rough handling. If you really want to use glass I suggest safety glass so no one gets hurt.
George Vondriska
Formally trained in technology education, George Vondriska has been teaching woodworking since 1986. He has been the managing editor of Woodworkers Guild of America since 2007. In addition to classes at his own Vondriska Woodworks School, George teaches at woodworking shows across the country and has taught woodworking for the Peace Corps, Andersen Window, Northwest Airlines and the Pentagon.

Bonus materials available after purchase