Paula Cazorla

Amigurumi for Beginners

Paula Cazorla
Video Player is loading.
Current Time 0:00
Duration 0:00
Loaded: 0%
Stream Type LIVE
Remaining Time 0:00
 
1x
  • Chapters
  • descriptions off, selected
  • captions off, selected
      • In-depth Instruction; over 239 mins
      • On-demand video access anytime
      • Bonus downloadable PDF resources
      • Access to class Q&A
      We’ll start this class by getting to know a little bit about the basics of crochet and making amigurumi. Then, we’ll go over the three adorable little creatures that we’ll be completing throughout this class: a bunny, a bear, and a unicorn.
      Let’s review the different materials we are going to need to work on these three projects. To get started, you’re going to need yarn and a crochet hook. We’ll also go over a few tips in regards to the size and type of hook to use for your amigurumi. You’ll also need a sewing needle, safety eyes, toy stuffing, pins, and scissors.
      Believe it or not, you won’t need any fancy stitches to create your own amigurumi critter. We’ll go over some of the basic stitches that you’ll need to know and demonstrate how to make a magic ring and chains, which will act as the starting point for every project. You’ll also learn how to make a single crochet and a half double crochet stitch, but we’ll be using single crochets for most of our projects.
      Let’s continue practicing some additional basic stitches. We’ll demonstrate how to make increases, which we’ll use to make our projects larger as the number of stitches increases. Then, we’ll demonstrate how to make decreases, which we will use to make our pieces smaller. Finally, you’ll learn how to make a slip stitch.
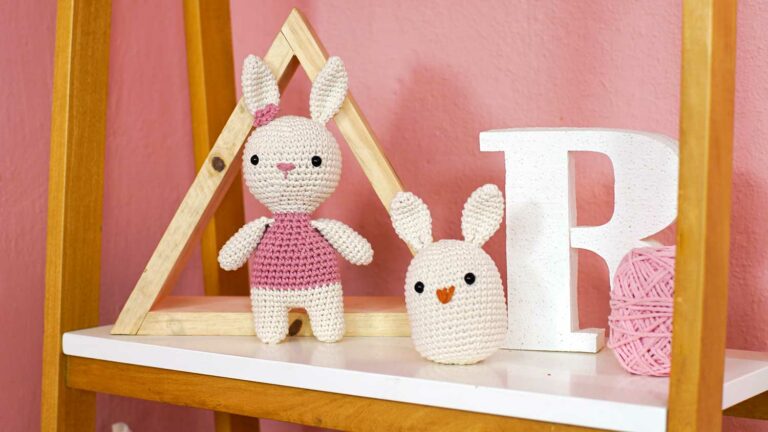
      It’s time to start working with our first project: a bunny. For this project, we will be putting into practice some of the stitches that we learned in the previous unit: magic ring, single crochet, increase, decrease, and slip stitch. You’ll learn how to make the body of the bunny, embroider the nose, and attach the safety eyes.
      In this lesson, we are going to work the ears of our bunny. The stitches that we’ll be using are a magic ring, single crochet, increase, decrease, and slip stitch. Finally, you’ll learn how to attach the ears to the body, and your first amigurumi critter will be done!
      To start our second project, we are going to make the head of the bear, embroider the nose, and attach the safety eyes. We’ll keep practicing the same stitches used to make our bunny—a magic ring, single crochet, increase, decrease, and slip stitch.
      Next, we’ll make the arms, ears, and scarf of our bear, continuing with the same basic stitches that we’ve been using—a magic ring, chains, single crochet, increase, decrease, and slip stitch. You’ll also see how to work the half double crochet stitch and learn how to change colors to create sleeves for the arms.
      Now that you have your bear’s head and other parts, we’re going to work with the body of our bear using a magic ring, chains, single crochet, increase, decrease, and slip stitch. We are going to make the legs first and then we are going to join them to make the body. Finally, you’ll join all the pieces together to finish your second amigurumi critter!
      In this lesson, we are going to start our final amigurumi project. To begin crocheting our unicorn, we’ll start by making the head and ears first. We’ll use the same stitches that we’ve been practicing—a magic ring, single crochet, increase, decrease, and slip stitch. You’ll also see how to attach your unicorn’s safety eyes.
      Next, we’ll crochet the details of your unicorn and make the arms, legs, horn, and flowers using the same basic stitches—a magic ring, chains, single crochet, increase, decrease, and slip stitch. For the arms and legs, you’ll also learn how to go about changing colors.
      It’s time to start crocheting the body of your unicorn! We’ll use a magic ring, single crochet, increase, decrease, and slip stitch. Finally, you’ll learn how to join all the pieces together to finish your final amigurumi critter. Well done!
       
       
      12 Lessons
      3  hrs 59  mins

      Description

      Paula Cazorla will share all her secrets for creating the cutest amigurumi critters. Starting from scratch, you’ll practice the basic crochet stitches that will be used to make each character. You’ll learn how to make a magic ring, single crochet, color changes, increases and decreases. Paula will also go over some simple tips to make your work easier and give you higher quality results. Over the course of this class, you’ll make three adorable amigurumi animals: a bunny, a bear, and a unicorn. Grab your favorite hook, some cuddly yarn, and let’s get to work!

      Paula Cazorla

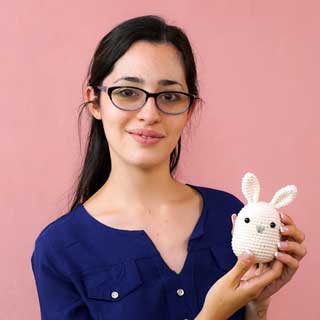
      Paula Cazorla is a young and talented crocheter. After her grandmother taught her how to crochet when she was 15 years old, she has been crocheting non-stop ever since. Some time ago, Paula discovered amigurumi and completely fell in love with them. For the past four years, she’s been working with amigurumi and has picked up many tricks and tips that have helped her improve her own projects.

      Paula Cazorla

      Bonus materials available after purchase