8 Jigs for Hand-Held Routers
George Vondriska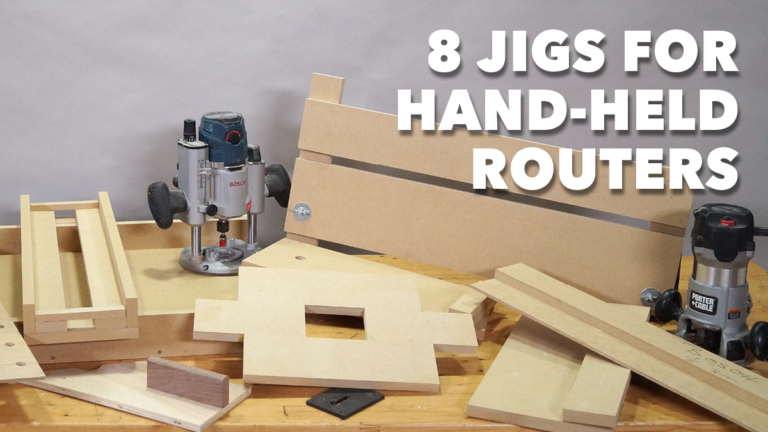
- In-depth Instruction; over 88 mins
- On-demand video access anytime
- Bonus downloadable PDF resources
- Access to class Q&A
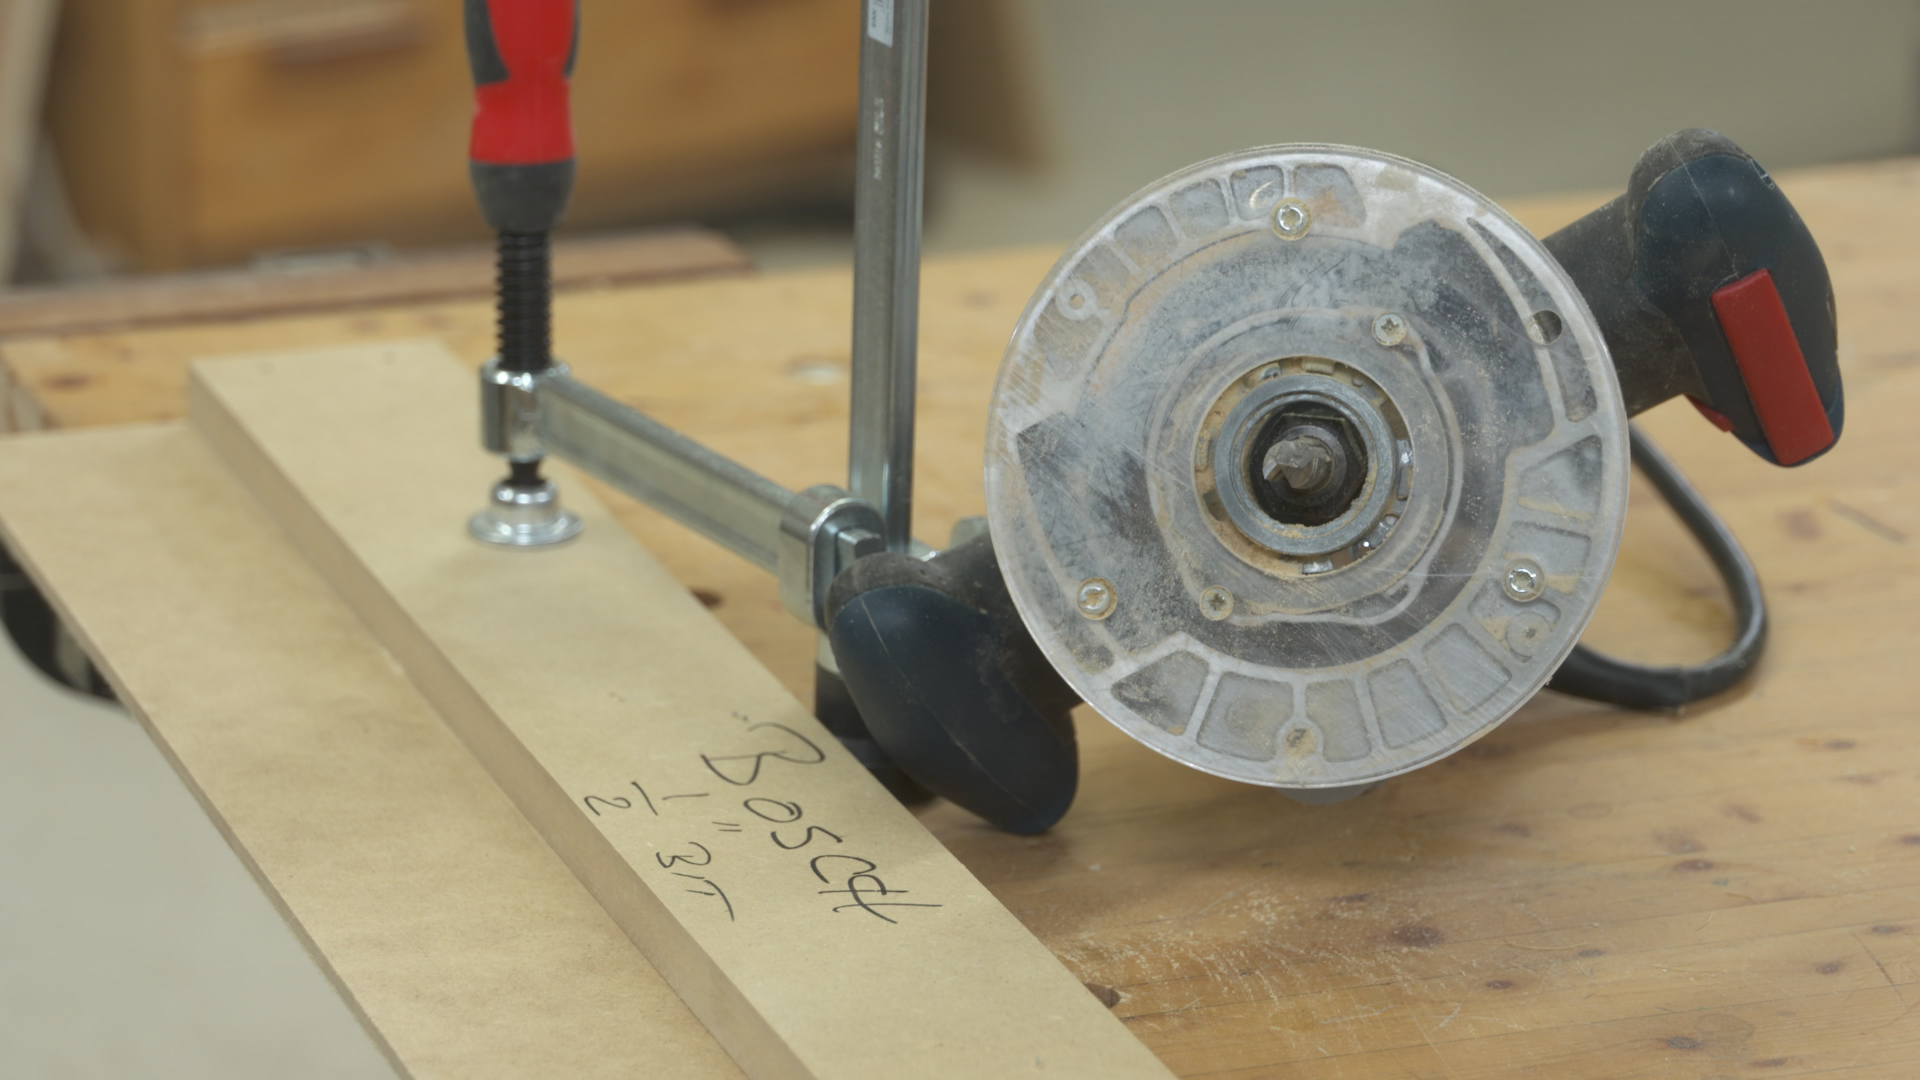
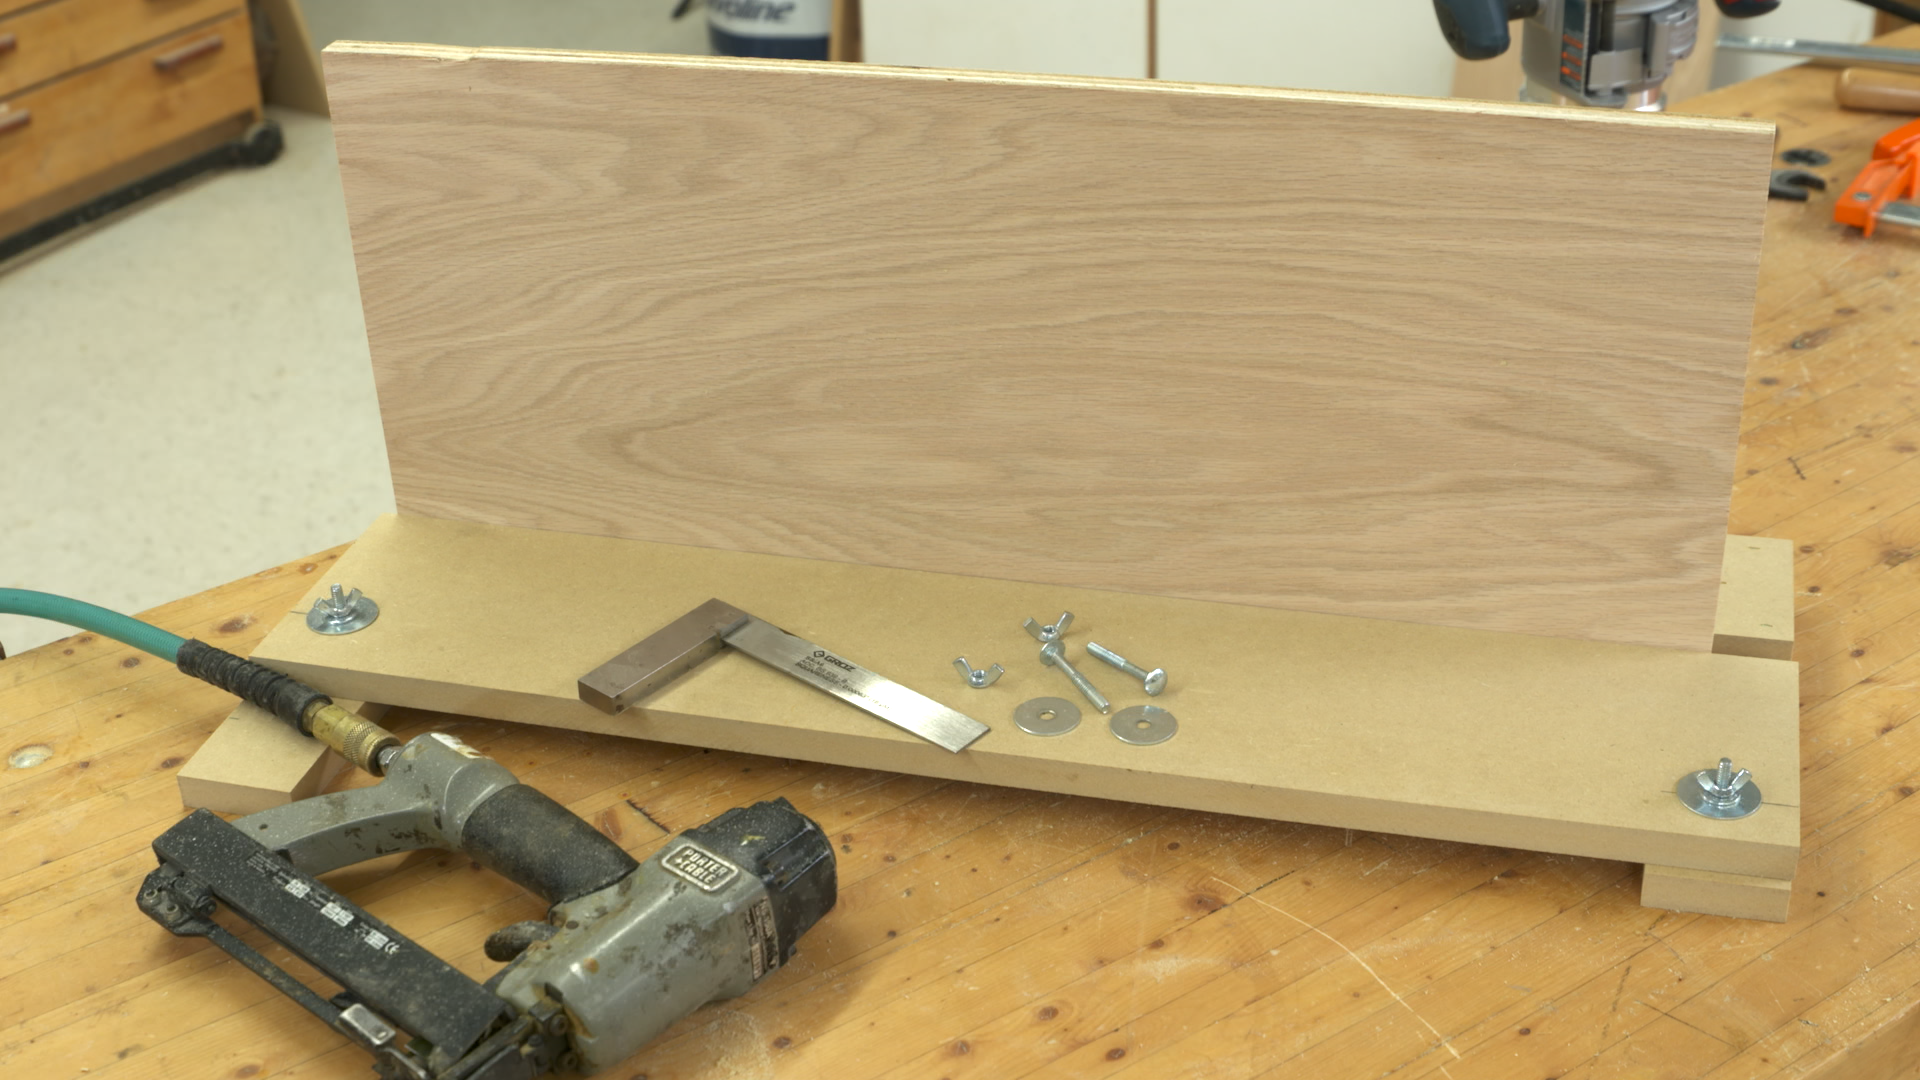
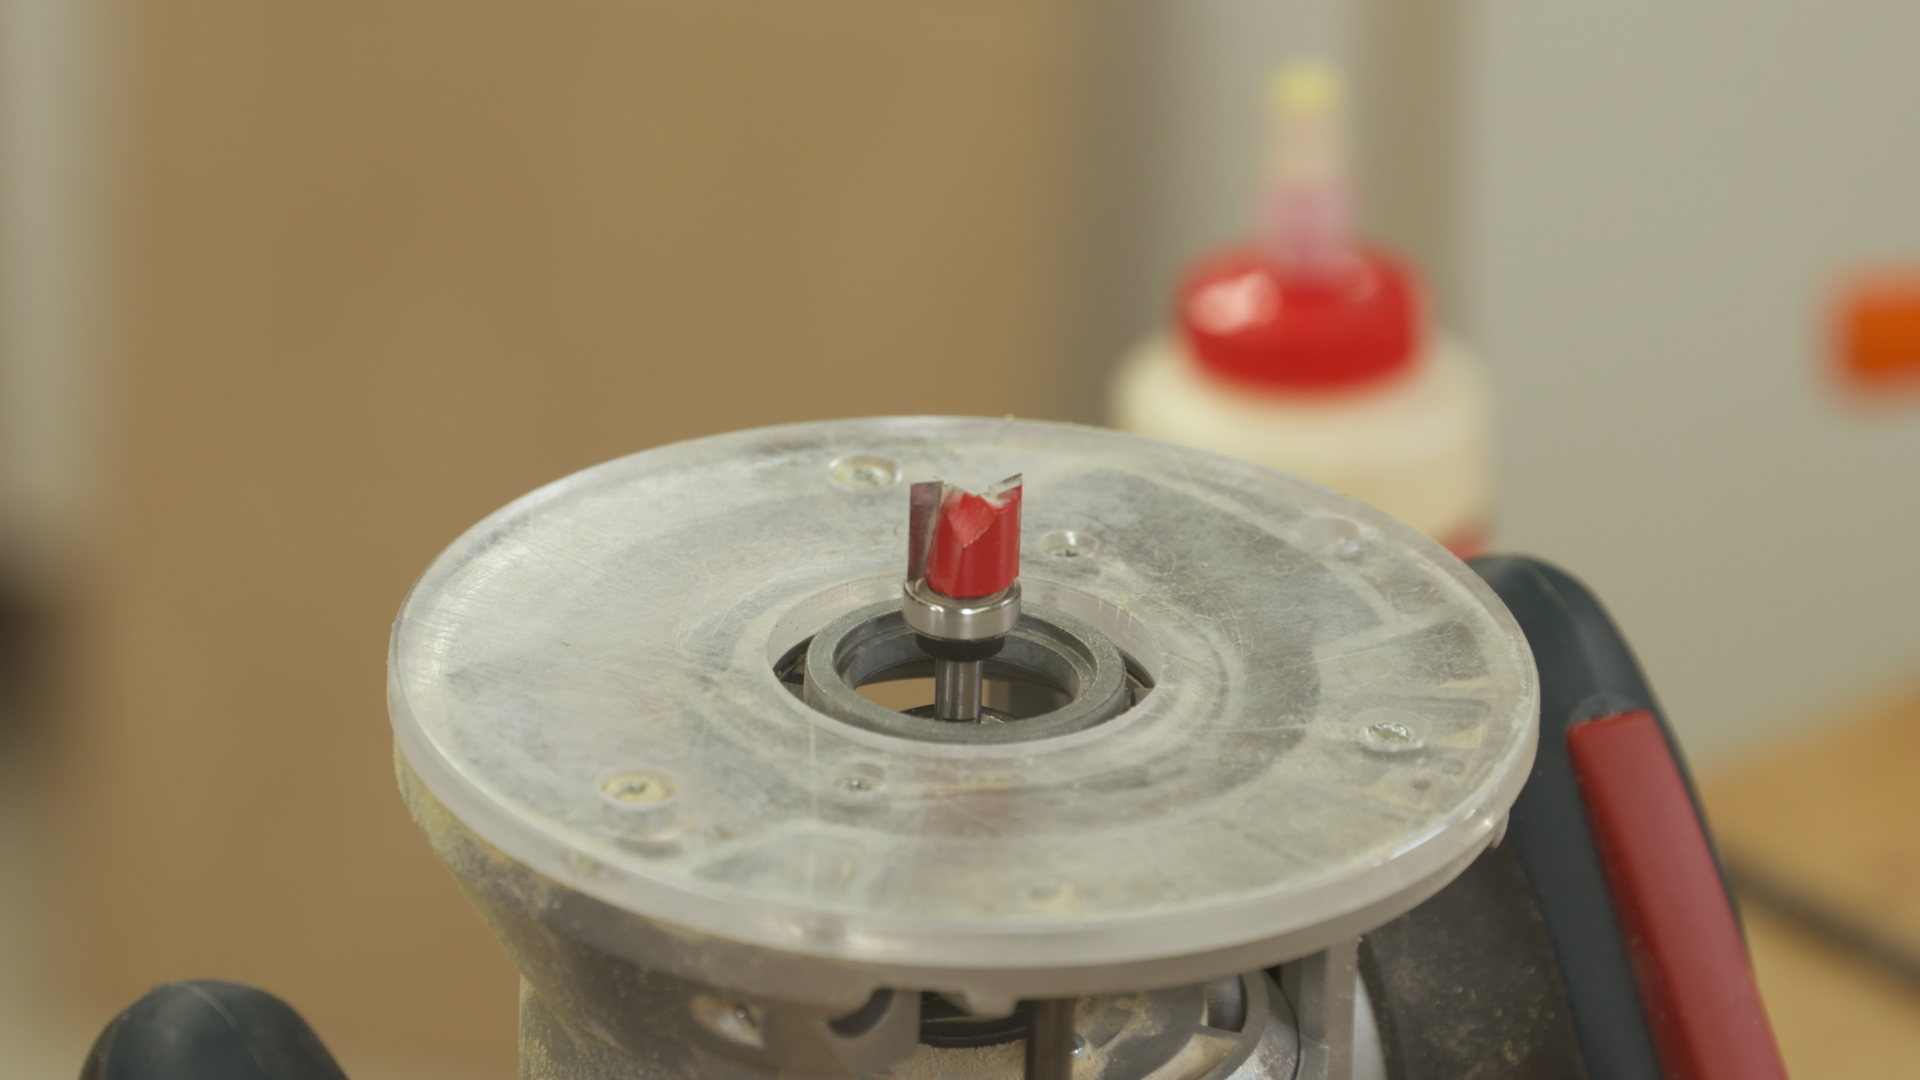
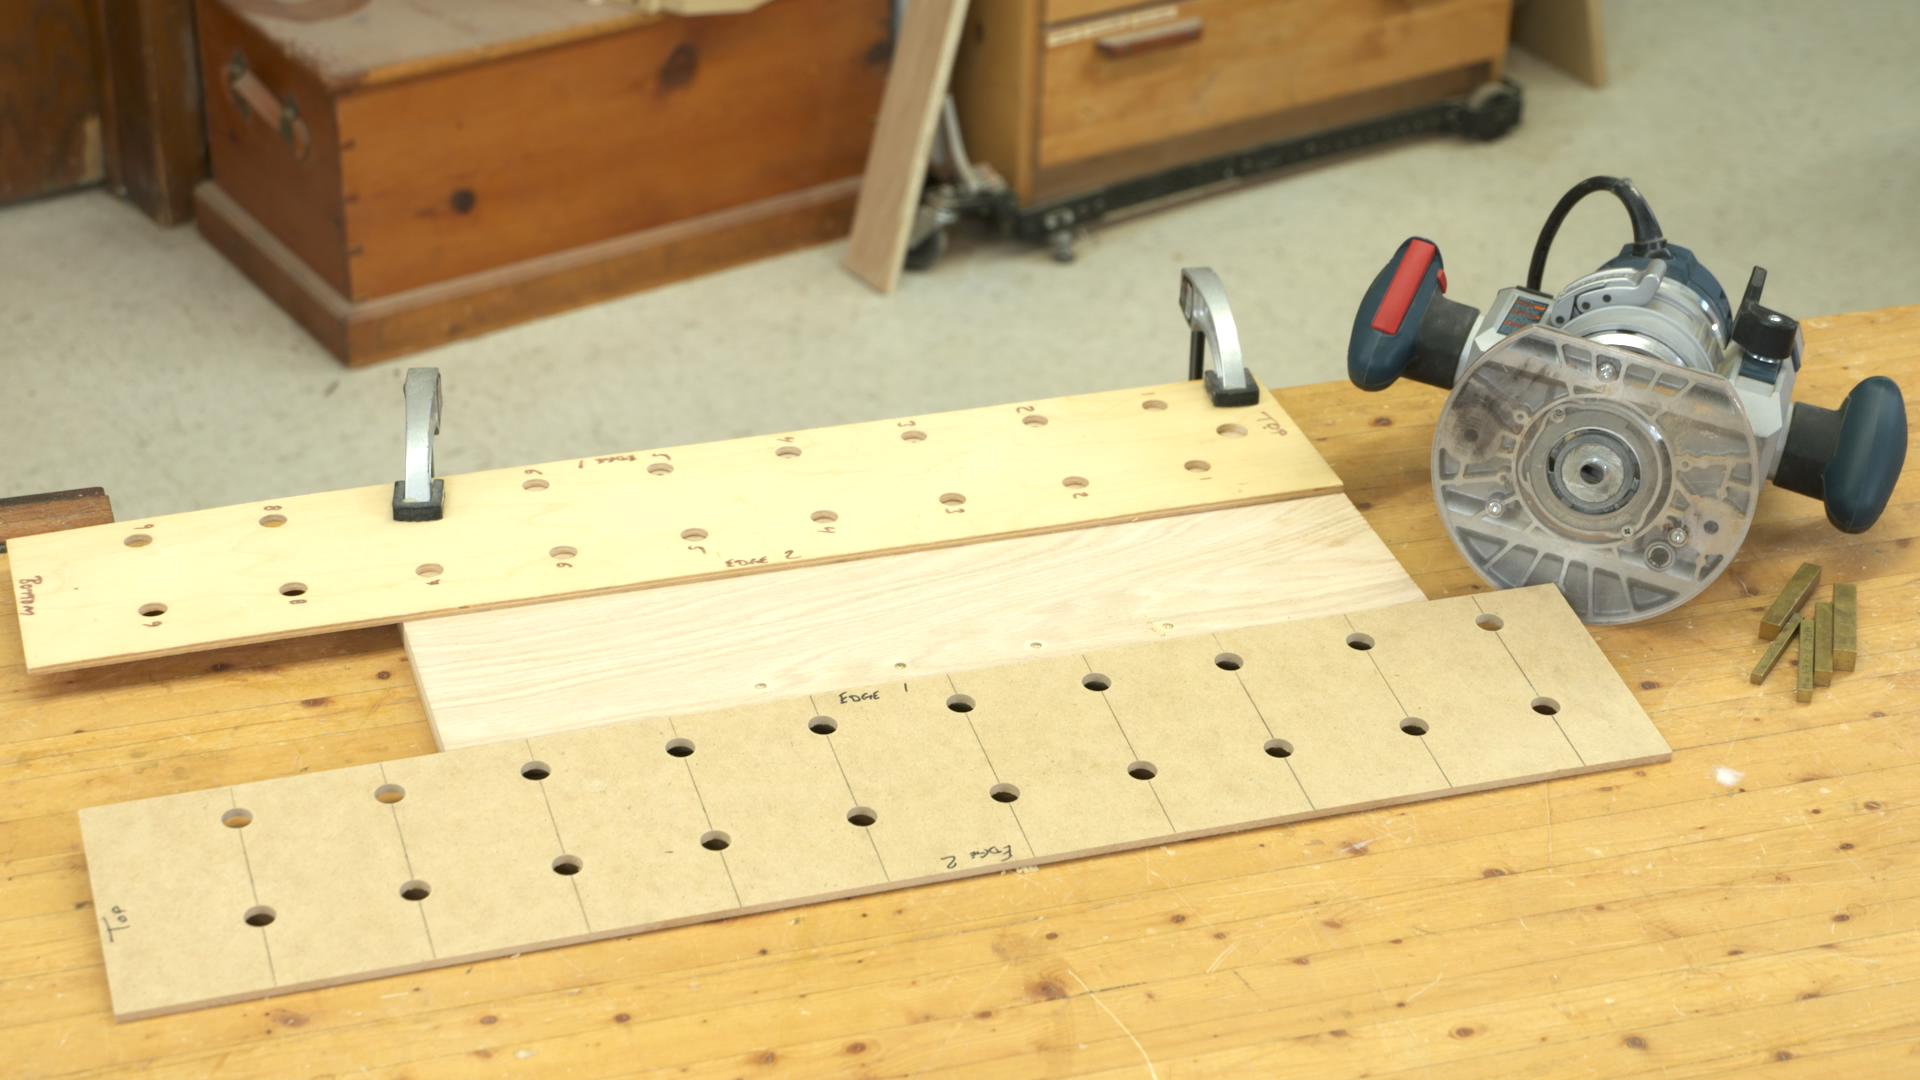
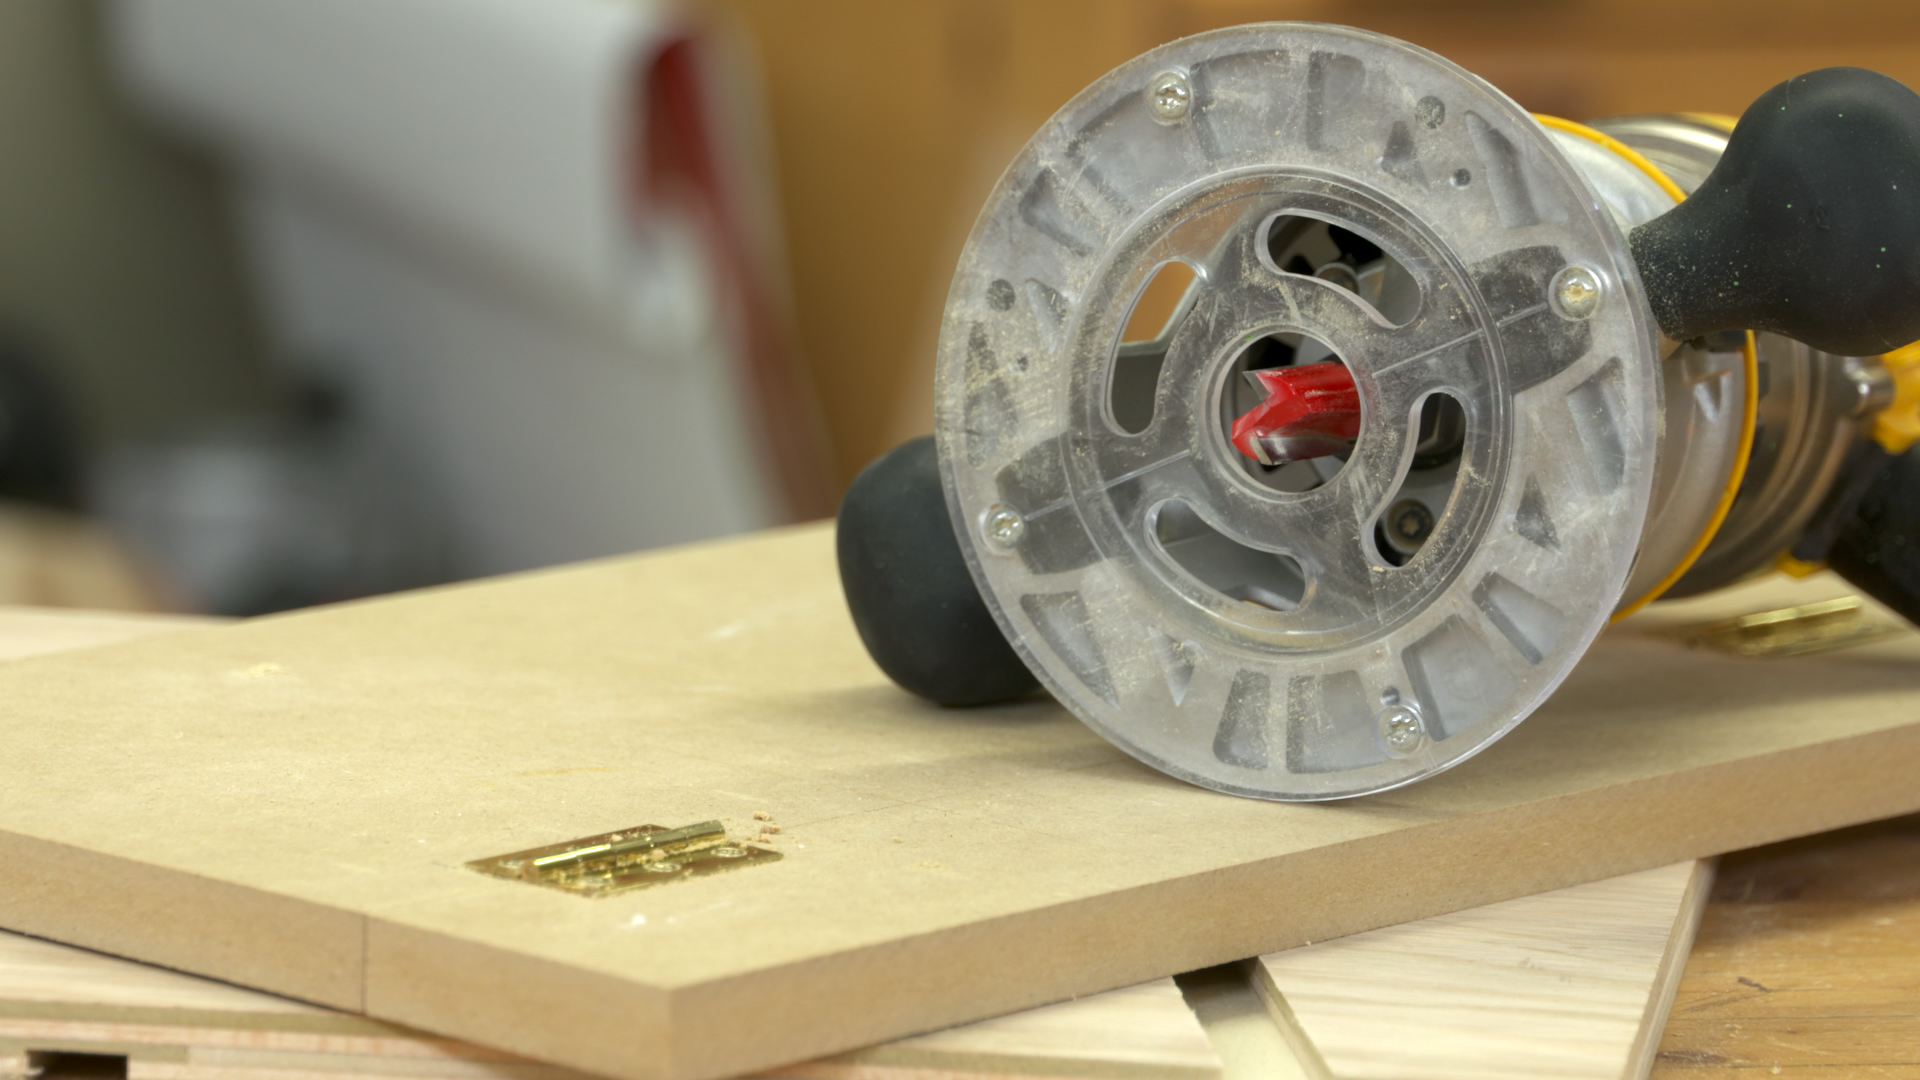
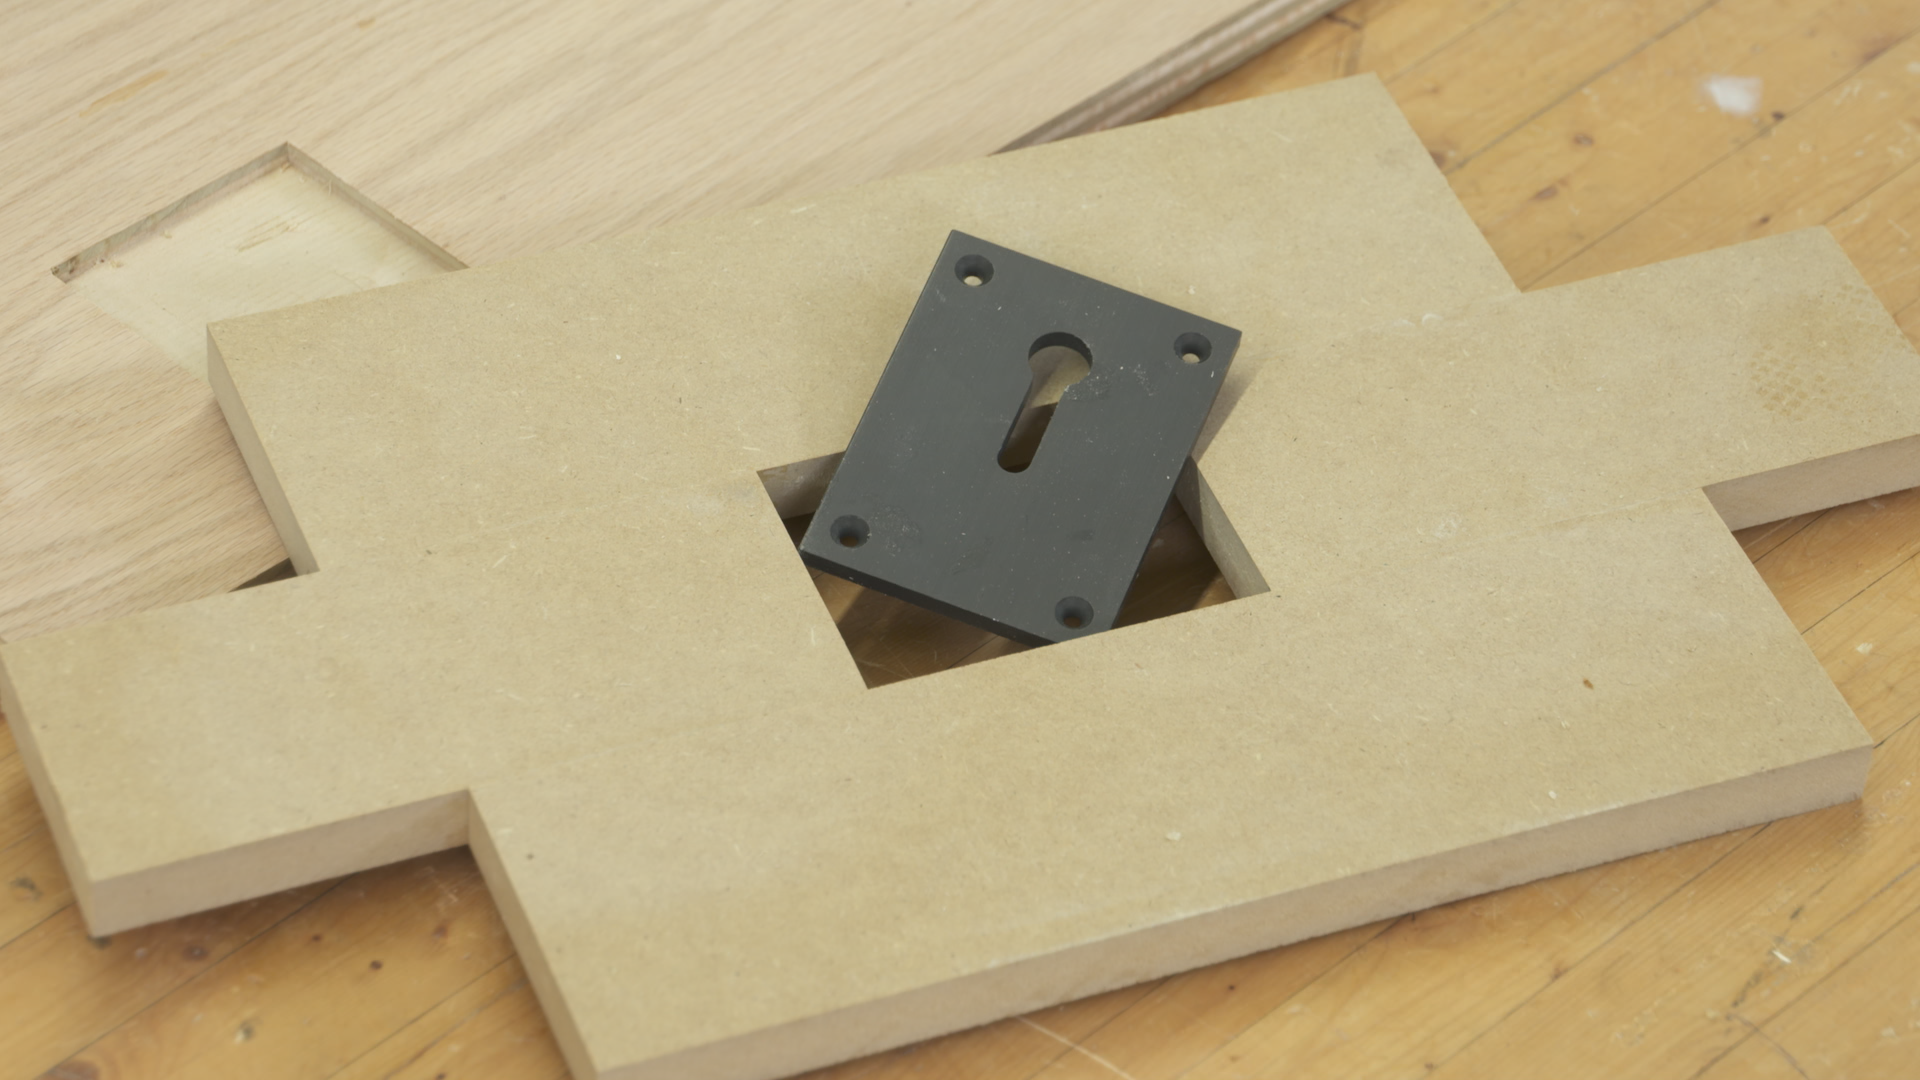
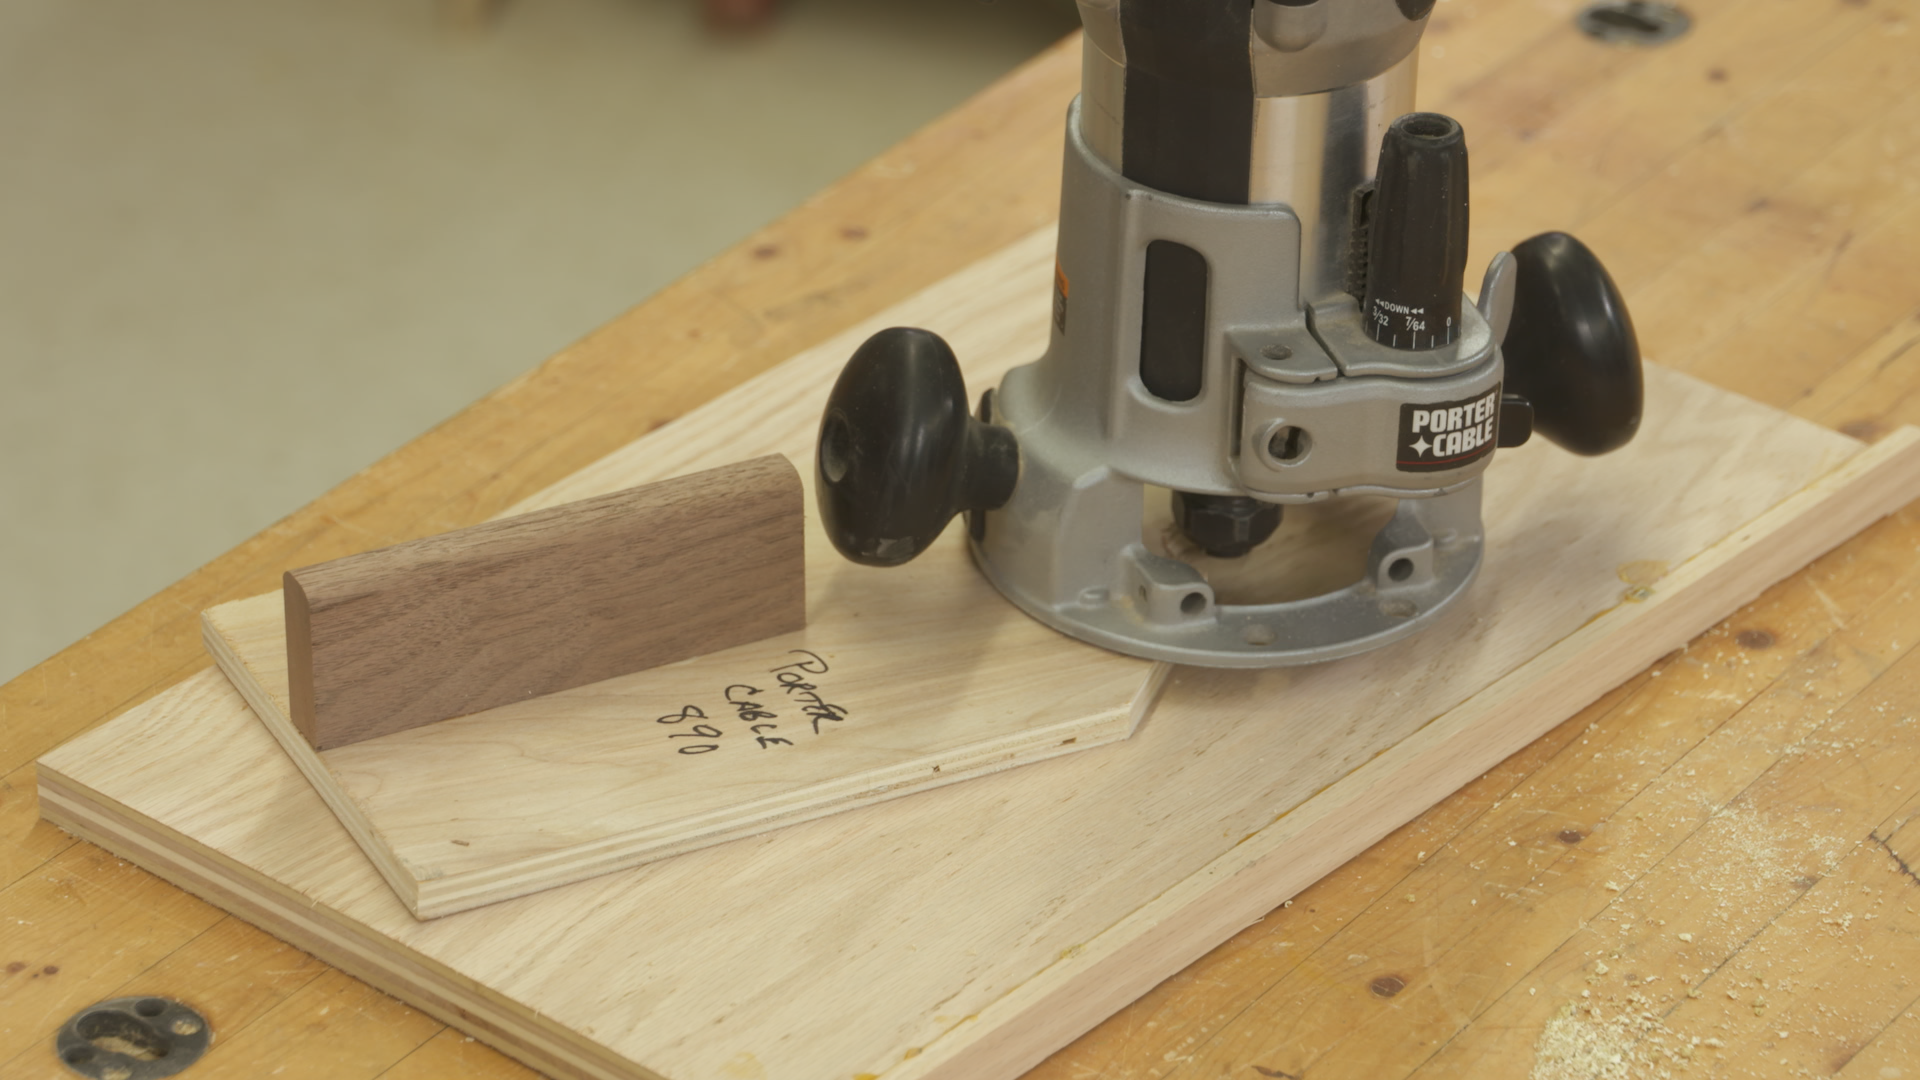
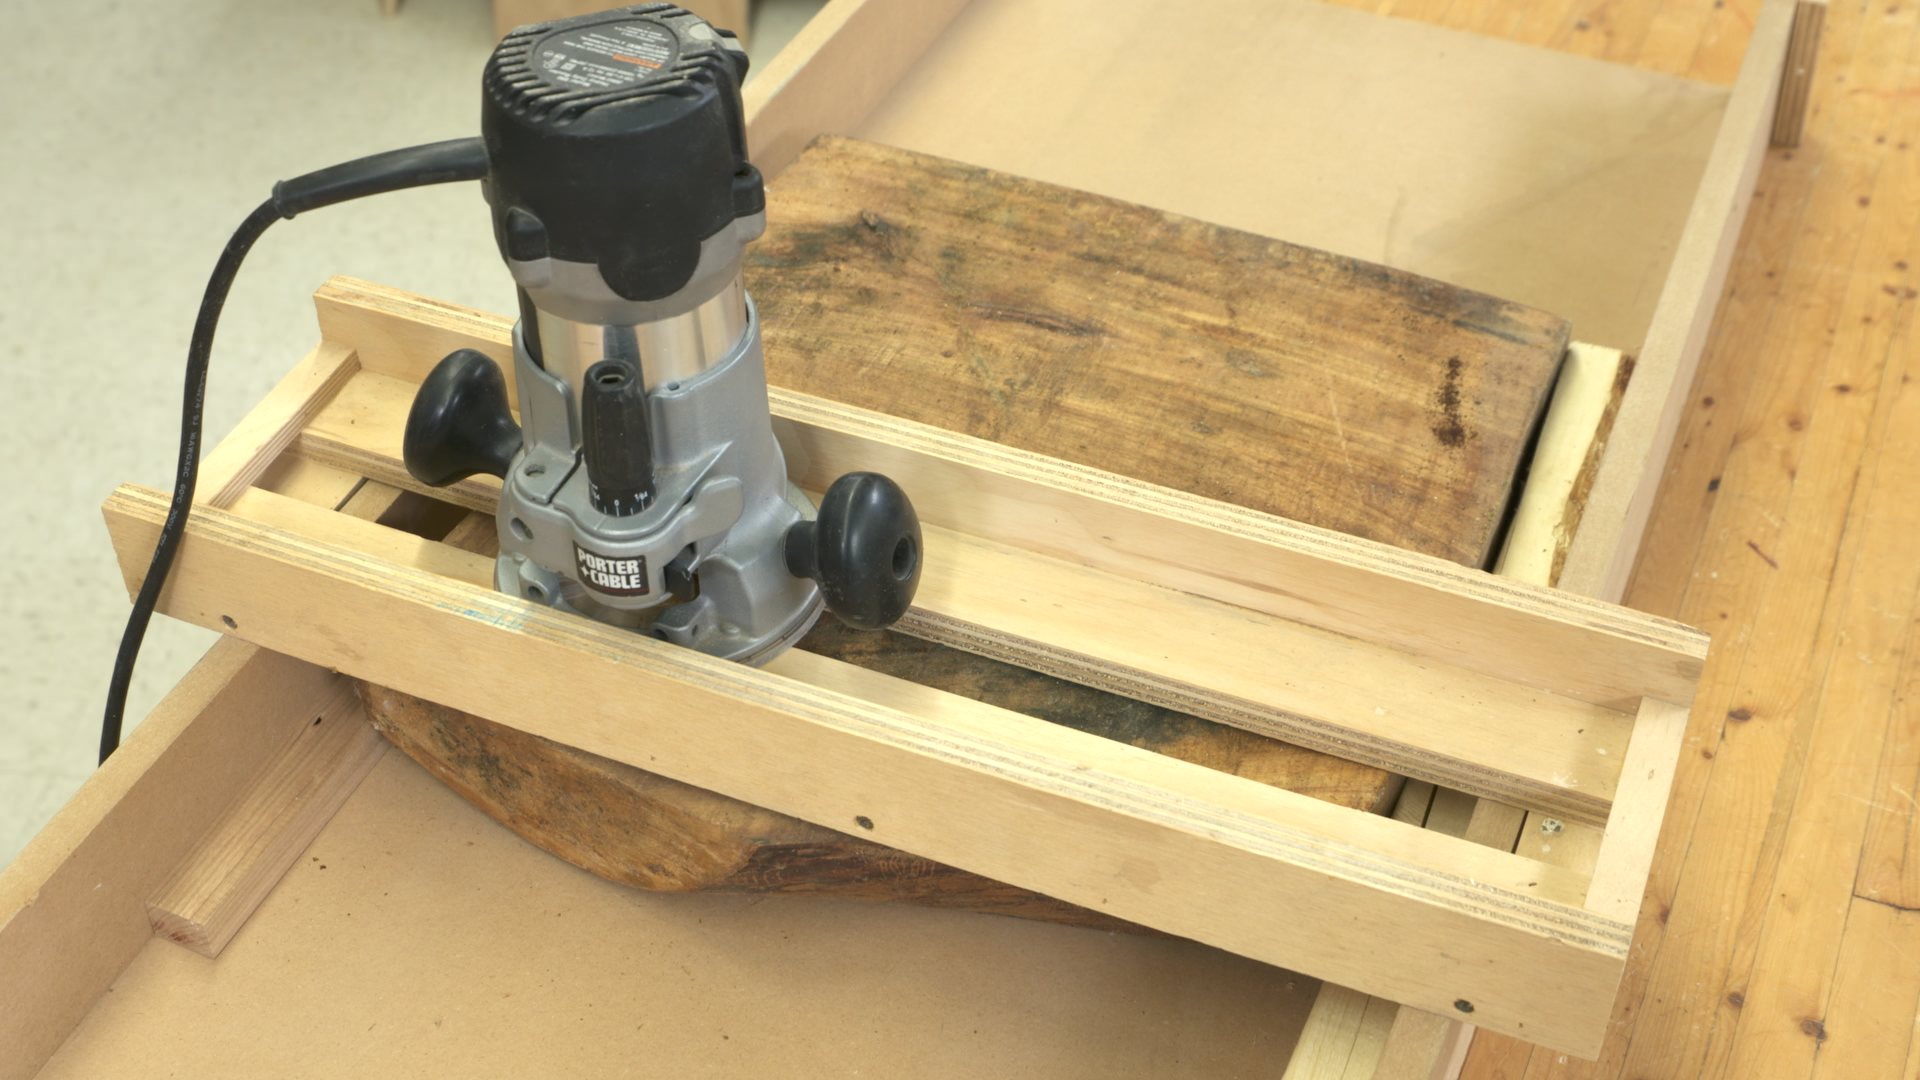
Are you getting the most out of your router? There’s so much that a router can do, we want to help you make sure you’re optimizing what these machines are capable of. The eight jigs we teach you to build in this class will help you take your router skills to a new level.
The format
For each jig, your instructor George Vondriska will lead you step-by-step through the process of using the jig. Setting it up, choosing the correct router bit, positioning the jig on your work, and more. Once you understand how the jig is set up and used, we’ll take you step-by-step through building the jig, including:
- A cut list of parts required
- A list of hardware required
- Adjustments required to make the jig work for your tools
- Type of router bit needed
- Tips and tricks that simplify jig building
What jigs are used?
Regardless of what kind of woodworking you like to do, there’s a jig in this class that will help you out. You’ll see jigs that will help you:
- Clean up edges on your pieces
- Create perfectly fitting dadoes
- Make adjustable shelf holes
- Locate dadoes, grooves or coves in the perfect spot every time
- Rout a perfect recess
- Trim banding flush with the surrounding surface
- Flatten large slabs or end grain cutting boards
No matter what kind of router you own, or woodworking you do, there really is something for everyone in this class. Invest in making these great jigs, and you’ll be using them for many years to come.
In addition to the detailed video help you’ll receive, this Class provides you with some downloadable resources and helpful information to print and keep, including: A detailed Class Guide you can follow and use as a reminder for the key points of the class instruction; and a resources document that will give you detailed cut lists and information to create the jigs you’ll see in the Class.
George Vondriska
Formally trained in technology education, George Vondriska has been teaching woodworking since 1986. He has been the managing editor of Woodworkers Guild of America since 2007. In addition to classes at his own Vondriska Woodworks School, George teaches at woodworking shows across the country and has taught woodworking for the Peace Corps, Andersen Window, Northwest Airlines and the Pentagon.

Bonus materials available after purchase